


Choosing the Type of Light
When you add a light to your scene, an Omni light is added by default. You
can change the light type and its properties, and add as many lights to your
scene as needed.
You can define physical properties for your light, depending on the type of
light you selected. There are three types of lights available.
Omni
Simulates a point light source that casts rays in all directions from
the position of the light. Similar to a light bulb, where the light rays emanate
in all directions from the bulb.
Spotlight
Casts rays in a cone, or four-sided pyramid, simulating a real
spotlight. This is useful for lighting a specific object or area and creating
sharp-edged shadows.
Directional
Casts rays in a single direction, from a geometric area and is
useful for creating soft-edged shadows with both an umbra (a full shadow
where an object blocks all rays from a light) and a penumbra (a partial shadow
where an object blocks some of the rays).
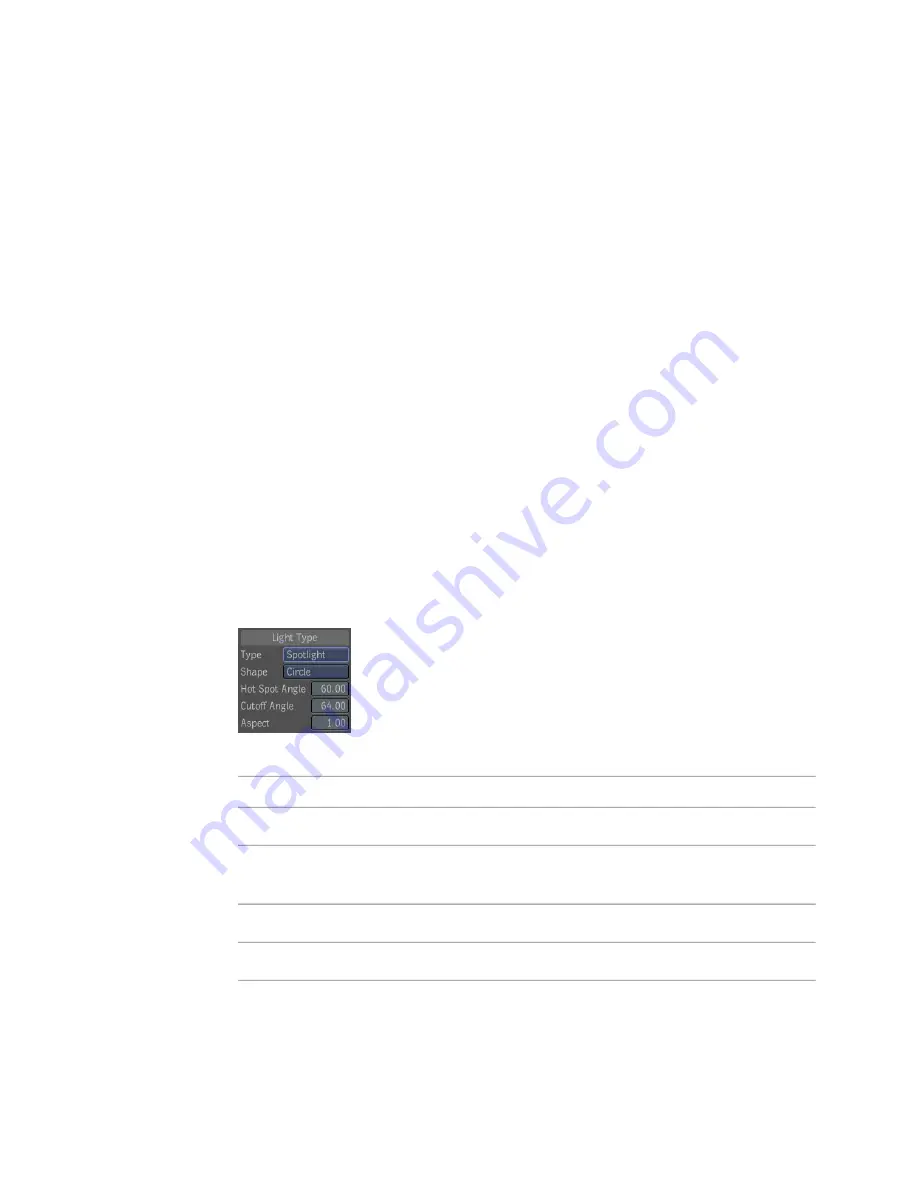
To set attributes for a Spotlight:
1
Select the Lights tab.
2
Under Light Type, select the Spotlight light type.
3
Set the Spotlight properties.
Description
Properties
The shape of the light can be a circle or rectangle.
Shape
The angle where the solid cone of full intensity light ends and a gradual
fading begins.
Hot Spot
Angle
The angle at which the light ends.
Cutoff Angle
The aspect ratio of the spotlight shape.
Aspect
270 | Chapter 12 Multilayer Compositing and 3D Effects
Summary of Contents for 495B1-05A111-1301 - 3ds Max Design 2010
Page 1: ...Composite User Guide ...
Page 16: ...4 ...
Page 18: ...6 ...
Page 88: ...76 ...
Page 92: ...6 A new composition has been created 80 Chapter 4 Start Compositing Now ...
Page 102: ...90 ...
Page 122: ...110 ...
Page 126: ...114 ...
Page 186: ...174 Chapter 9 Getting Familiar with Your Workspace ...
Page 195: ...UdaTextField XML Resource Files 183 ...
Page 196: ...UdaValueEditor UdaMenu 184 Chapter 9 Getting Familiar with Your Workspace ...
Page 197: ...UdaPushedToggle XML Resource Files 185 ...
Page 198: ...UDA Declaration 186 Chapter 9 Getting Familiar with Your Workspace ...
Page 200: ...188 ...
Page 250: ...238 ...
Page 310: ...298 ...
Page 348: ...336 ...
Page 399: ...About Blurs 387 ...
Page 411: ...Output Controls The Output UI allows you to control the following parameters About Blurs 399 ...
Page 450: ...438 ...
Page 478: ...466 ...
Page 520: ...508 ...
Page 548: ...536 ...
Page 578: ...566 ...
Page 596: ...The last step is to add the sun s reflection to the water 584 Chapter 24 Raster Paint ...
Page 606: ...594 ...
Page 670: ...658 ...
Page 710: ... a Tool time cursor b Global time frame markers 698 Chapter 28 Time Tools ...
Page 722: ...710 ...
Page 806: ...794 ...
Page 828: ...816 ...
Page 870: ...858 ...
Page 888: ...876 ...
Page 898: ...886 ...


