


NOTE
You cannot undo the removal of an item from the Pick List. You can,
of course, add that item to the Pick List again at any time.
To create a new Pick List group:
➤
Do one of the following:
■
Right-click anywhere in the Pick List tab and select New Group.
■
Drag an item to the Pick List tab and drop it into the tab's background.
A new Pick List group is added at the end when dropping on the
background. Right-clicking and adding will add it after the currently
selected group. This will allow new groups to be placed in-between existing
groups.
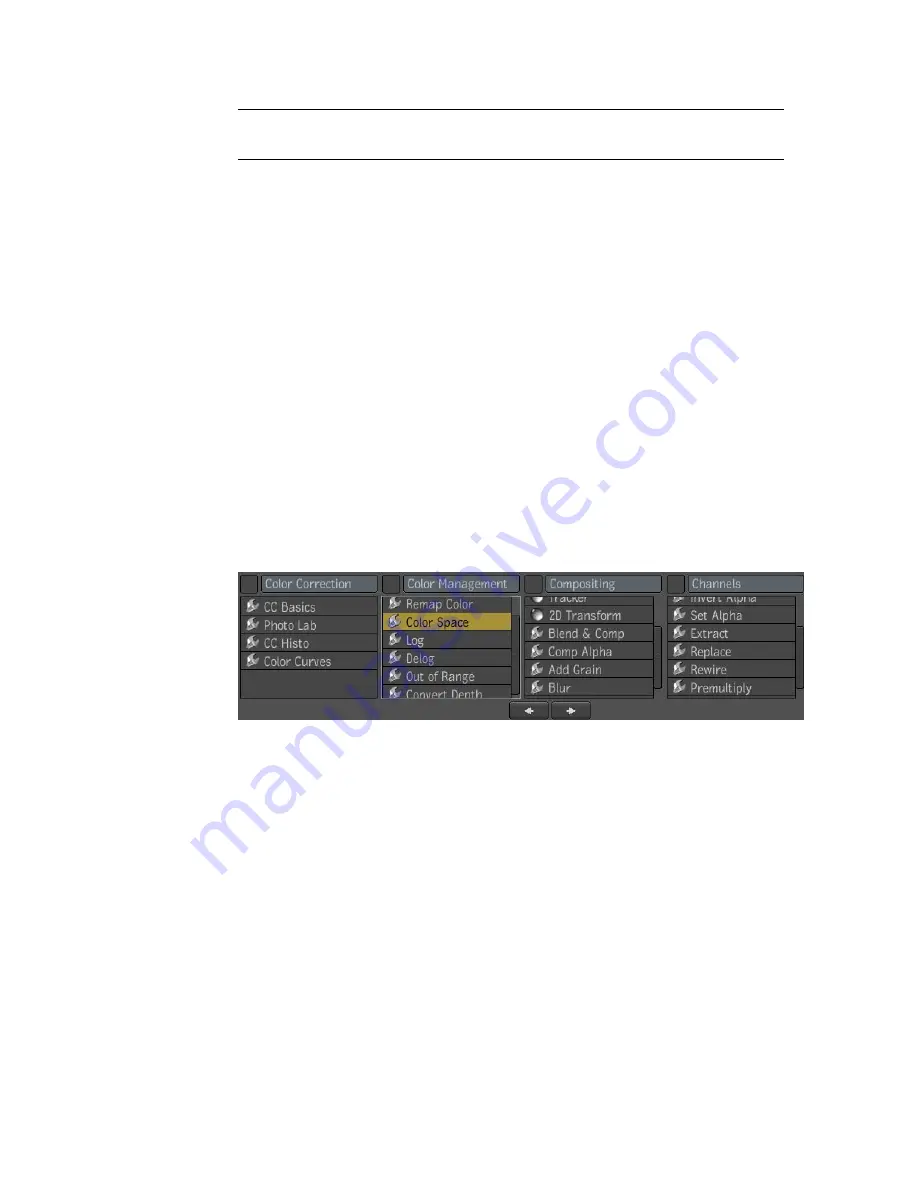
To move the groups within the Pick List in the Tool UI:
1
Right-click and select Edit Groups.
2
Click anywhere in a group's window.
3
Use the right and left arrow buttons.
To delete a Pick List group:
➤
Right-click inside a Pick List group and select Delete Group.
The Pick List group is deleted.
To rename a Pick List group:
1
Right-click and select Edit Groups.
2
Select the name of the Pick List group in the Name field at the top of the
Pick List.
3
Select the current group name, type in a new name and press
Enter
.
144 | Chapter 9 Getting Familiar with Your Workspace
Summary of Contents for 495B1-05A111-1301 - 3ds Max Design 2010
Page 1: ...Composite User Guide ...
Page 16: ...4 ...
Page 18: ...6 ...
Page 88: ...76 ...
Page 92: ...6 A new composition has been created 80 Chapter 4 Start Compositing Now ...
Page 102: ...90 ...
Page 122: ...110 ...
Page 126: ...114 ...
Page 186: ...174 Chapter 9 Getting Familiar with Your Workspace ...
Page 195: ...UdaTextField XML Resource Files 183 ...
Page 196: ...UdaValueEditor UdaMenu 184 Chapter 9 Getting Familiar with Your Workspace ...
Page 197: ...UdaPushedToggle XML Resource Files 185 ...
Page 198: ...UDA Declaration 186 Chapter 9 Getting Familiar with Your Workspace ...
Page 200: ...188 ...
Page 250: ...238 ...
Page 310: ...298 ...
Page 348: ...336 ...
Page 399: ...About Blurs 387 ...
Page 411: ...Output Controls The Output UI allows you to control the following parameters About Blurs 399 ...
Page 450: ...438 ...
Page 478: ...466 ...
Page 520: ...508 ...
Page 548: ...536 ...
Page 578: ...566 ...
Page 596: ...The last step is to add the sun s reflection to the water 584 Chapter 24 Raster Paint ...
Page 606: ...594 ...
Page 670: ...658 ...
Page 710: ... a Tool time cursor b Global time frame markers 698 Chapter 28 Time Tools ...
Page 722: ...710 ...
Page 806: ...794 ...
Page 828: ...816 ...
Page 870: ...858 ...
Page 888: ...876 ...
Page 898: ...886 ...


