


Thermo Scientific
imPULSE S.U.M. with Touchscreen Console User’s Guide
|
48
Chapter 3
|
Touchscreen Console setup
6. Once you finish setting the High High and Low Low alarms touch
Done
.
7. After a moment, a confirmation screen will appear. Touch
Done
to return to the Configuration screen—the values in the
High High
and Low Low
field will reflect your changes.
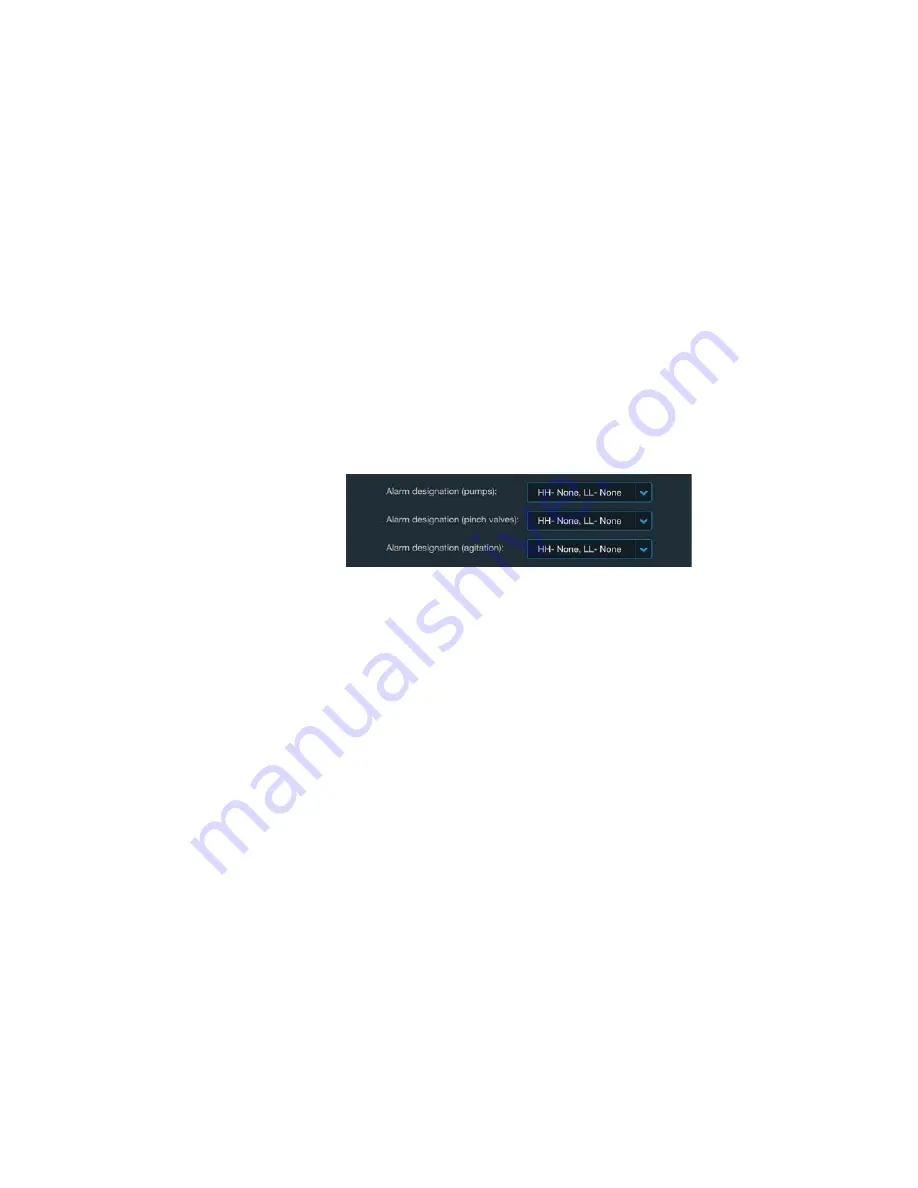
Alarm designation (pumps, pinch valves, and agitation)
Use these fields to specify which operations are affected by the High
High and/or Low Low alarms (agitation, specific pumps, or specific
pinch clamps).
1. If you would like to designate alarms for agitation and/or
specific pumps/pinch valves that have been set up, touch the
corresponding
Alarm designation
field (Figure 3.18) on the Mass
Module Configuration screen.
Figure 3.18. Alarm designation fields for the Mass Module
Configuration screen
Note:
Enabling a pump or pinch valve allows it to adjust the mass
after the alarm has been triggered. Enabling an alarm for agitation
will shut agitation off after the alarm has been triggered.
2. The screen that appears displays the interlock and hysteresis
parameters entered for the High High and/or Low Low alarms for
reference. Below that, options for individual pumps, pinch clamps,
or agitation, depending on the alarm designation field you selected
on the Mass Module Configuration screen are displayed. Touch a
pump
,
pinch valve
, or
agitation
option.
Note:
Figure 3.19 shows the Alarm Designation screen for pumps.
Alarm designation screens for pinch clamps and agitation look
similar and function the same.


