


91
B. Video Chat
Click the “Intercom” icon and the following interface
appears. Double click on the delegate whom you want
to contact and request for a video dialog (The
earphone must have been inserted; otherwise it will
prompt “Please insert headphone first”).
When someone asks you for a video conversation,
video request information will be displayed on your
LCD. Click “Accept” button to start video conversation
or click “Refuse” to refuse his/her request.
When the request for video conversation has been
accepted, the video user interface of the following
figure is displayed. The microphone will be activated;
the microphone indicator and the microphone On/Off
button lamp will turn red. The videos of both speakers
will be displayed on the LCDs.
The earphone is needed to listen to the video dialog.
When the intercom is finished, click the “End Session”
button and confirm to end the video dialog and to exit
the video interface.
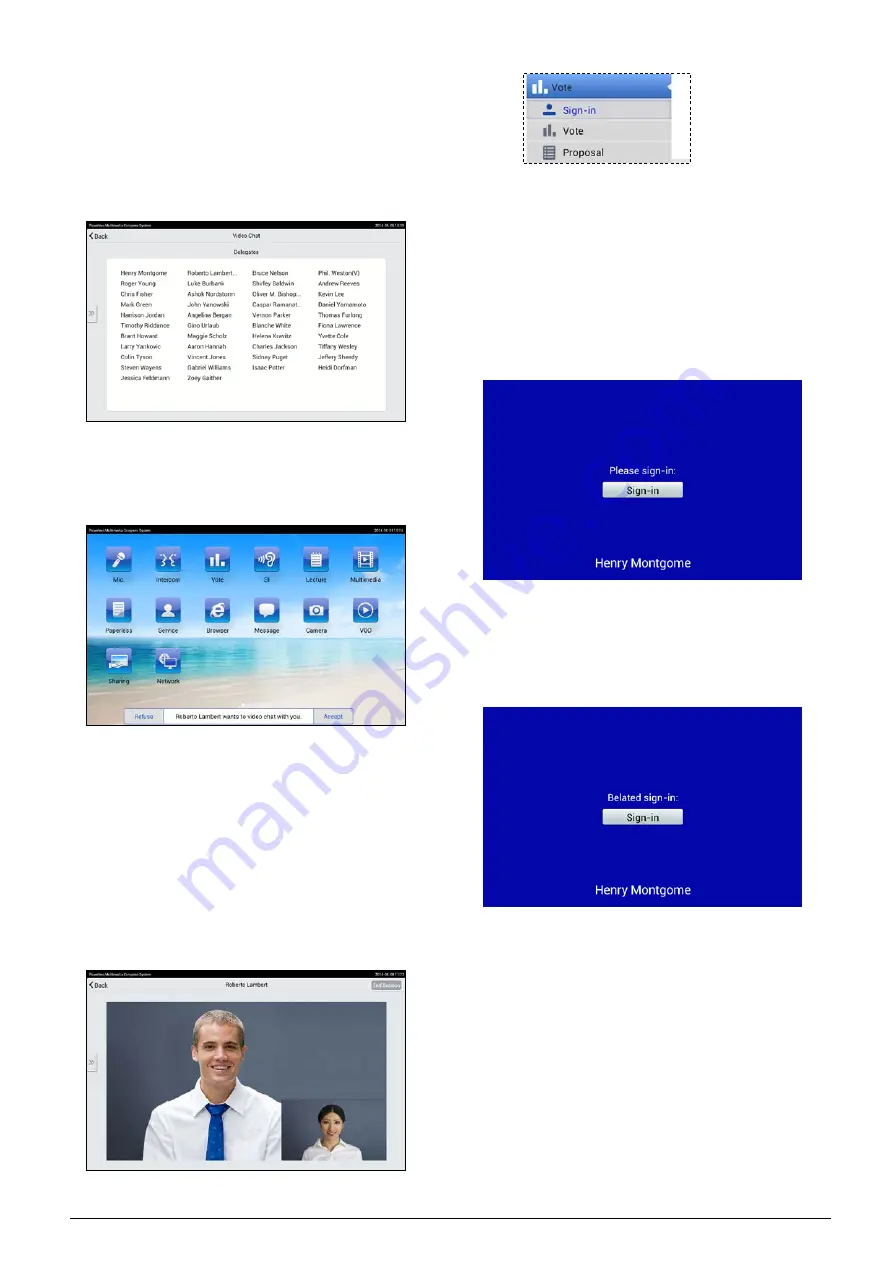
3. Vote
Including “Sign-in”, “Vote” and “Proposal”.
A. Sign-in
Delegates must sign-in before voting.
Key press sign-in
In sign-in status, “Please sign-in” will be displayed on
the LCD, click “Sign-in” button to sign-in, as in the
following figure:
If "Allow belated sign-in after stop" is enabled, After
stop of sign-in, “Belated sign-in" will be displayed on the
LCD. The "Sign-in" button can now be clicked for
belated sign-in. Or else, after stop of sign-in, “Not
present.” will be displayed on the LCD.
IC-card sign-in
The paperless multimedia congress terminals are
equipped with a built-in contactless IC-card reader. In
IC-card sign-in mode, “Please read IC Card!” will be
displayed on the LCD. For “Only One Seat” mode, the
delegate’s name displayed on the bottom of the LCD
screen.
Summary of Contents for hcs-8300
Page 22: ...9 Figure 1 1 6 CongressMatrix TM Software Interface ...
Page 25: ...12 Figure 1 1 10 By using microphone array terminals the conference room looks tidy ...
Page 89: ...76 3 4 2 Installation Figure 3 4 2 Fixing of HCS 8336 SDI monitor ...
Page 93: ...80 B About Display the product information including unit ID serial and version ...
Page 168: ...155 Figure 6 1 3 CMU connecting to infrared language distribution system via HCS 8300MO ...
Page 210: ...197 6 9 2 Connection Figure 6 9 4 Connection between the HCS 8301M and the HCS 8300MAU FS ...
Page 249: ...236 Appendices Custom made cables AppendixⅠ Dedicated 6 PIN Extension Cable ...
Page 250: ...237 Appendix Ⅱ CBL2SS 01 Professional 2 pin Cable for Conference System ...
Page 251: ...238 Appendix Ⅲ CBL4PK 01 Power Adapter Cable ...
Page 252: ...239 Appendix Ⅳ CBL4PT 02 Power Branch Cable ...
Page 253: ...240 Appendix Ⅴ CBL4PS 4 pin Extension Cable ...
Page 254: ...241 Appendix Ⅵ Cat 6 Gigabit Ethernet Cable ...