1-11
Setting and Operating Outline
1
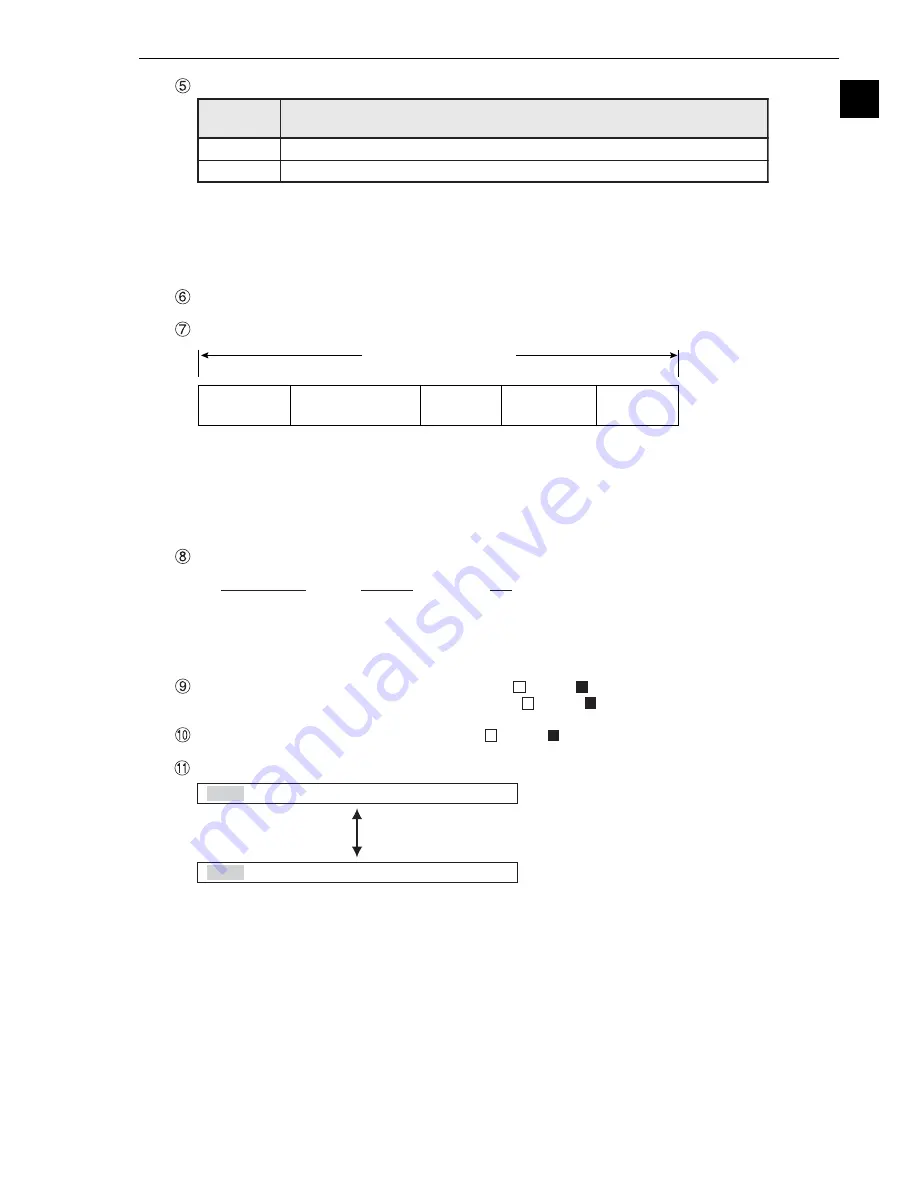
The brightness of the captured image can be set to one of two levels.
How to select the brightness level
On any screen, except the operation screen, move the cursor to the "F" (freeze) or "T" (through)
position on the upper part of the screen by pressing the SEL key. Then, press the left or right arrow key
to move the cursor to the "BRT" (bright) or "DRK" (dark) indicator. Press the up or down arrow key to
switch between bright and dark.
Displays the software version.
Displays the measurement time currently assigned.
Display setting details of each measurement.
Displays the status of input relays X0 to X7: OFF [
], ON [
].
Displays the status of output relays Y0 to Y7: OFF [
], ON [
].
Displays the status of the ready output: OFF [
], ON [
].
The menu bar at the bottom has two rows. When this menu is selected, the second row will appear.
The details of each item on this menu bar are shown on the next page.
- Serial communication time is not included.
- Set the controller as follows to reduce the measurement time.
1. Increase the shutter speed.
2. Select the "partial" image capture feature for the CCD.
3. Select "NO" for the measurement results display (message display, pattern display, and binary
image display).
(Only when changing the object type)
Actual measurement time
Time to change
object type
CCD exposure time
(Shutter operation time)
CCD image
capture time
Image
processing time
Result output
time
MEASURE 0
CAM1
NO
↑
↑
↑
Measurement
numbers from 0 to 4
Camera 1 or
camera 2
Measurement
program name
MNU-CHG MAIN-COND CHG-MEA COND-CHG CHNG-REG SCREEN-CHG CHG-TYPE
MNU-CHG NEXT-NG CHG-C1 CHG-C2 MANL-MEAS SHORTCUT
Screen
display
Description
BRT
Display the captured image without changing its brightness.
DRK
Display the captured image at 1/2 the actual brightness


