Appendix G: Old PX3 Character LCD Display
729
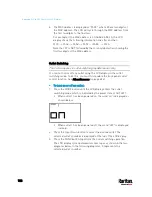
To cancel the outlet switching operation, press the FUNC button
again.
4.
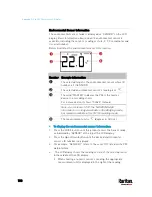
To turn on the outlet, press the Up button. The "on?" confirmation
message displays.
To turn off the outlet, press the Down button. The "oF?" confirmation
message displays.
5.
Press the same button as step 4 again to confirm the operation.
Note: If you press a different button in this step, for example,
pressed the Down button in step 4 but the Up button in step 5, the
outlet switching operation is not confirmed and the LCD display will
return to the messages in step 3.
6.
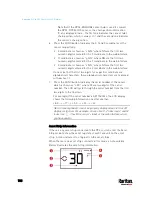
The outlet switching operation is confirmed now and the LCD display
indicates the latest power state of the selected outlet.
on: The outlet has been turned on.
oFF: The outlet has been turned off.
7.
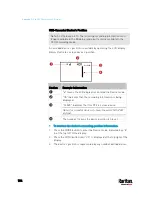
You can verify the power state of the selected outlet by checking its
LED color. Green indicates the power off state and red indicates the
power on state.
Summary of Contents for PX3-3000 series
Page 5: ......
Page 18: ...Contents xviii Index 841...
Page 93: ...Chapter 4 Connecting External Equipment Optional 69...
Page 787: ...Appendix J RADIUS Configuration Illustration 763 Note If your PX3 uses PAP then select PAP...
Page 792: ...Appendix J RADIUS Configuration Illustration 768 14 The new attribute is added Click OK...
Page 793: ...Appendix J RADIUS Configuration Illustration 769 15 Click Next to continue...
Page 823: ...Appendix K Additional PX3 Information 799...


