Chapter 6: Using the Web Interface
291
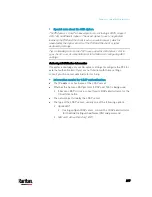
Creating a CSR
Follow this procedure to create the CSR for your PX3 device.
Note that you must enter information in the fields showing the message
'required.'
To create a CSR:
1.
Choose Device Settings > Security > SSL Certificate.
2.
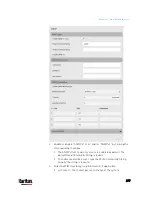
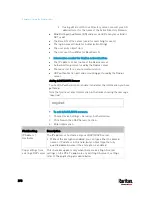
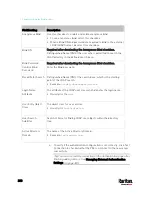
Provide the information requested.
Subject:
Field
Description
Country
The country where your company is located. Use the standard ISO
country code. For a list of ISO codes, visit the
ISO website
(
State or Province
The full name of the state or province where your company is located.
Locality
The city where your company is located.
Organization
The registered name of your company.
Organizational Unit
The name of your department.
Common Name
The fully qualified domain name (FQDN) of your PX3 device.
Email Address
An email address where you or another administrative user can be
reached.
Warning: If you generate a CSR without values entered in the
required fields, you cannot obtain third-party certificates.
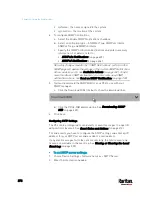
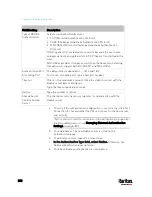
Subject Alternative Names:
If you want a certificate to secure multiple hosts across different
domains or subdomains, you can add additional DNS host names or
IP addresses of the wanted hosts to this CSR so that a single
certificate will be valid for all of them.
Click
when there are more than one additional
hosts to add.
Examples of subject alternative names:
support.raritan.com,
help.raritan.com, help.raritan.net, and 192.168.77.50.
Summary of Contents for PX3-3000 series
Page 5: ......
Page 18: ...Contents xviii Index 841...
Page 93: ...Chapter 4 Connecting External Equipment Optional 69...
Page 787: ...Appendix J RADIUS Configuration Illustration 763 Note If your PX3 uses PAP then select PAP...
Page 792: ...Appendix J RADIUS Configuration Illustration 768 14 The new attribute is added Click OK...
Page 793: ...Appendix J RADIUS Configuration Illustration 769 15 Click Next to continue...
Page 823: ...Appendix K Additional PX3 Information 799...

