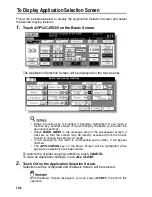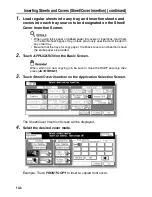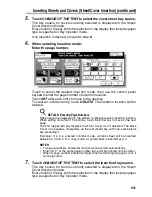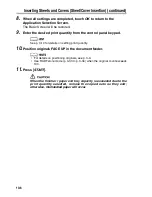
Specifying Original Direction (continued)
9-3
3.
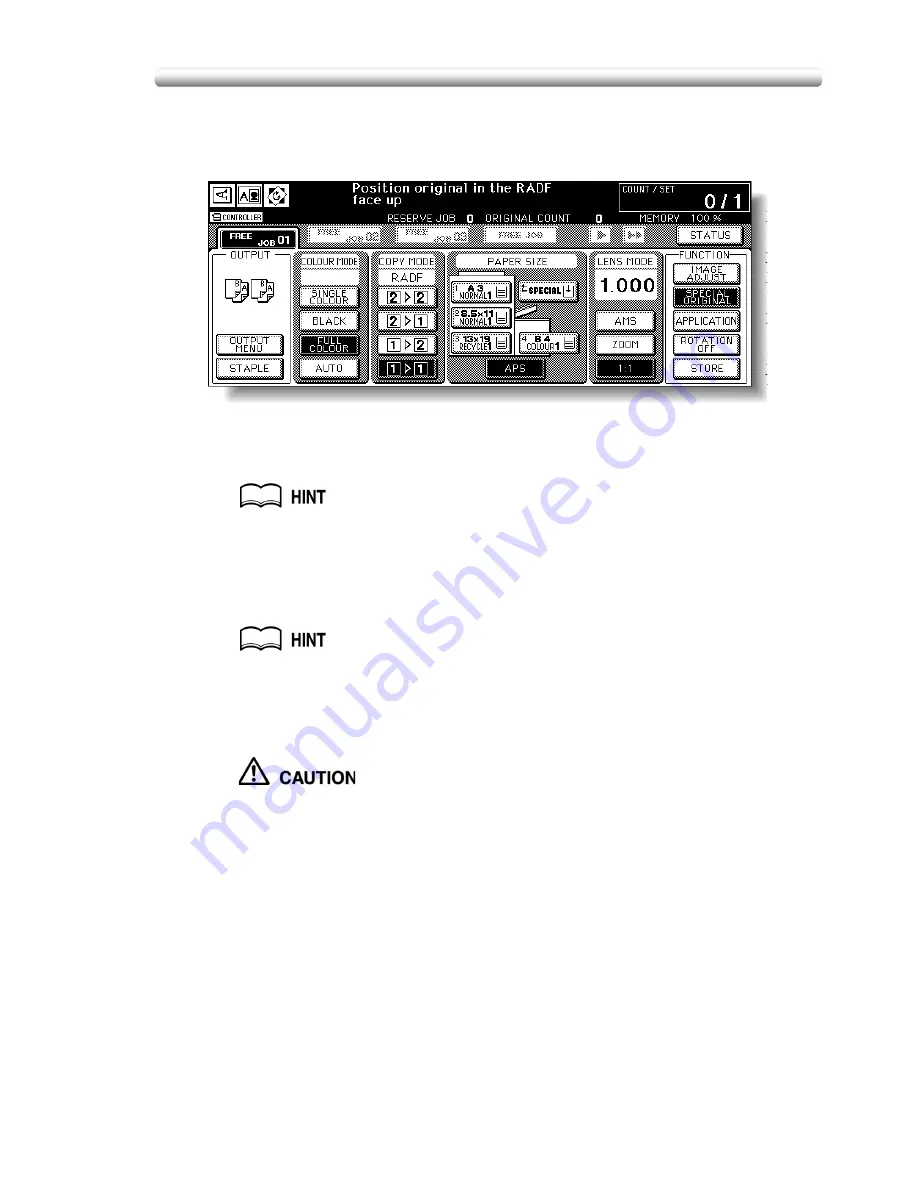
Touch
OK
to complete the setting and return to the Basic Screen.
The
SPECIAL ORIGINAL
key on the Basic Screen is highlighted, and the
icon in the message area indicates the selected original direction.
4.
Make other compatible selections.
5.
Enter the desired print quantity from the control panel keypad.
See p. 3-10 for details on setting print quantity.
6.
Position originals FACE UP in the document feeder or FACE DOWN
on the platen glass according to the original direction specified in
step
2
.
See the illustration on previous page, and p. 3-4 to p. 3-9 for details on
positioning originals.
7.
Press [
START
].
When the finisher / trimmer unit / paper exit tray capacity is
exceeded due to the print quantity selected, remove the copied sets
as they exit; otherwise, mishandled paper will occur.
Summary of Contents for CF5001
Page 1: ...CF5001 User Manual ...
Page 17: ...Basic ...
Page 18: ......
Page 73: ...Positioning Originals continued 3 5 3 Adjust paper guides ...
Page 159: ...Advanced ...
Page 160: ......
Page 168: ...Colour Copy Quality continued 7 8 4 4 Blue ...
Page 170: ...Colour Copy Quality continued 7 10 4 4 Yellow 4 4 Black ...
Page 196: ......
Page 232: ......
Page 302: ......
Page 331: ...12 Section 12 Paper and Original Information Paper Information 12 2 Original Information 12 9 ...
Page 342: ......
Page 364: ......
Page 423: ...Index ...
Page 424: ......
Page 430: ......
Page 431: ...65AN97100 01 ...


