Storing Job Conditions (Job Memory: Job Store) (continued)
4-12
4.
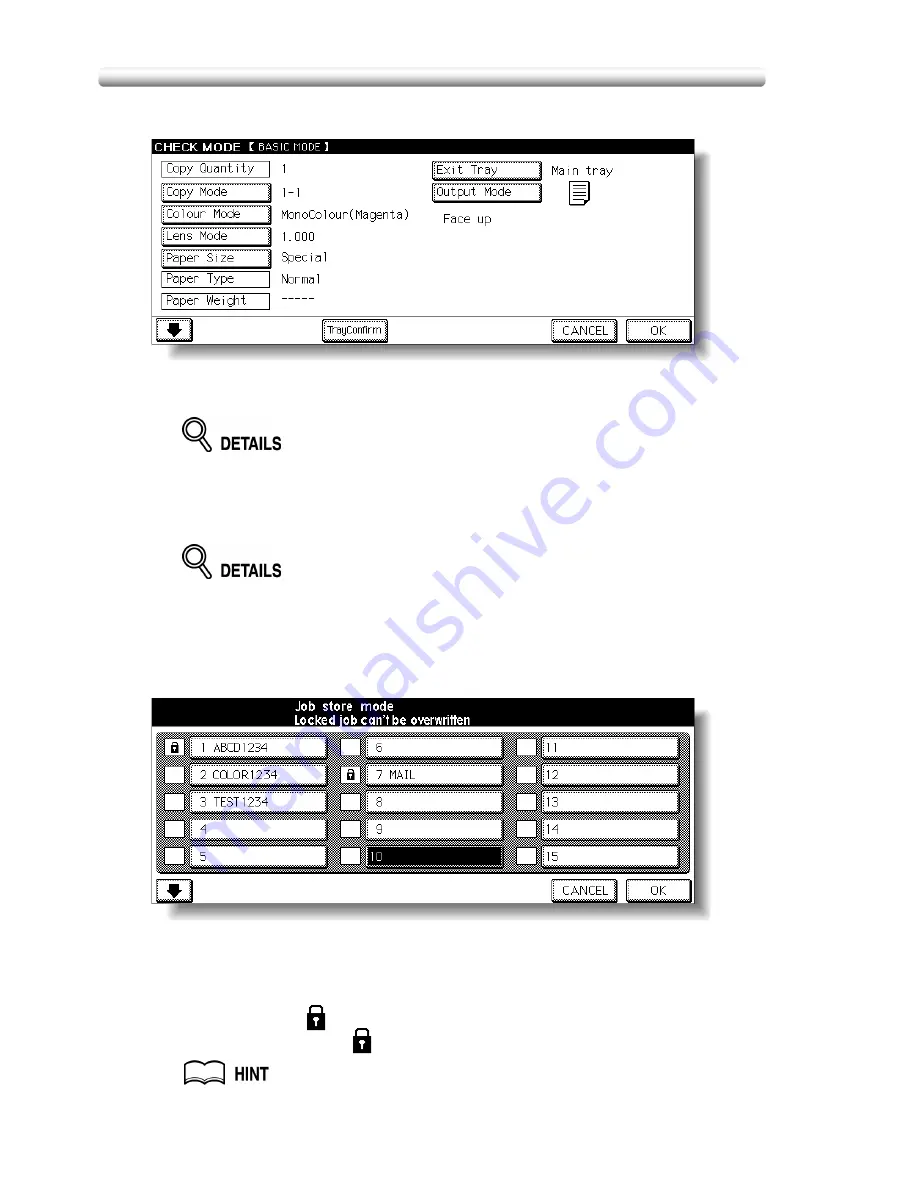
Review the settings on the Job Store Check Screen.
Touch the lower arrow key to scroll to the following pages.
Check that the selections made in step
1
are correctly entered.
If any correction is required, touch
CANCEL
to return to the Basic Screen.
Make new selections, then restart the Job Store operation from step
2
.
5.
Touch
OK
.
The Job No. Selection Screen will be restored.
To suspend the storing job after step
6
, press [
AUTO RESET
].
Job Memory mode will be cancelled, and the Basic Screen will return from any
screen.
6.
Touch to highlight one of the keys numbered from 1~30 to store
the job under that number.
The screen displays 15 job number keys. The arrow key at the lower left
corner can be used to scroll to the next/previous page.
A blank key indicates that no job is stored under that key, and a named job
without a lock icon (
) displayed can be overwritten.
The key with a lock icon (
) displayed is locked and cannot be selected.
To lock or unlock a job, and to delete a locked job, see p. 14-20.
Summary of Contents for CF5001
Page 1: ...CF5001 User Manual ...
Page 17: ...Basic ...
Page 18: ......
Page 73: ...Positioning Originals continued 3 5 3 Adjust paper guides ...
Page 159: ...Advanced ...
Page 160: ......
Page 168: ...Colour Copy Quality continued 7 8 4 4 Blue ...
Page 170: ...Colour Copy Quality continued 7 10 4 4 Yellow 4 4 Black ...
Page 196: ......
Page 232: ......
Page 302: ......
Page 331: ...12 Section 12 Paper and Original Information Paper Information 12 2 Original Information 12 9 ...
Page 342: ......
Page 364: ......
Page 423: ...Index ...
Page 424: ......
Page 430: ......
Page 431: ...65AN97100 01 ...


