84
PRACTICAL GUIDE
* The beat resolution is the
smallest impulse of the
Sequencer.
In the S Series, there are
192 ‘ticks’ per quarter.
In M
IDI
, there are 24
impulses per quarter.
Select the parameters of the Song
Rotate the
DIAL
to select one of the displayed parameters in the central part of the “Record
pending” display, and press
ENTER
to activate the edit of the selected parameter.
5.
Select the required Quantize (auto-correct) value. “Free” will record your events
exactly as played; other values represent the number of “divisions” that make up a bar.
The Quantize effect is not noticeable during the recording but it is effective on re-
corded tracks.
6.
Set a suitable Tempo value (playing speed) for the Song.
7.
Set the required Time Signature (3/4, 4/4, etc.).
The Song pointer (locator)
The recording starts at the bar indicated by the “Locator” parameter (“Loc”, at the centre
of the display shown on the previous page). This parameter (otherwise know as the “Song
pointer”), composed of three numbers, shows the bar, the beat and the beat resolution*. In
the record pending display, only the bar can be modified, and, unless you start a record-
ing right at the beginning (1 - 1 - 1), the start bar must always be indicated.
You are free to end your recording at any point: press
STOP
to stop the recording process.
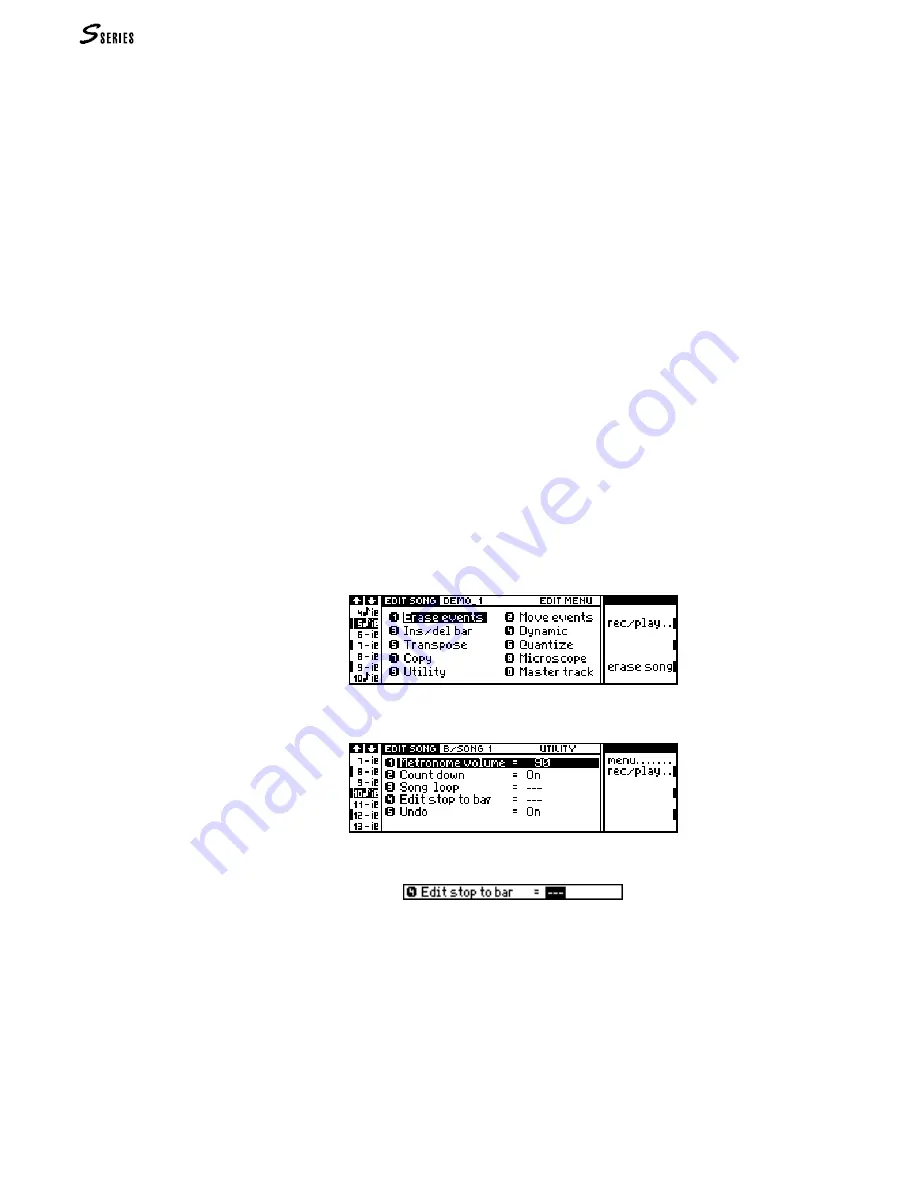
For a precise end-record point, you can make use of the “Edit stop to bar” parameter in
EDIT
SONG
—Utility
. Follow this procedure:
8.
If the
RECORD
led is on, press the record button to escape the Record pending display
and return to the Playback display. (This operation annuls some of the options selected
in
Record
).
9.
Select the “Edit” command in the Playback display. The
EDIT
SONG
menu appears (or the
last
EDIT
SONG
editor selected; in this case, press the “Menu” command to return to the
main
EDIT
SONG
menu):
10.
Access the
Utility
editor:
11.
Activate the edit of the “Edit Stop to Bar” parameter:
12.
Use the
NUMERIC
KEYPAD
(or the
DIAL
) to specify the last bar of the recording. At the
end of the specified bar, the recording will stop automatically.
13.
Select the “Rec/play” command to return to the Playback display.
14.
Press
RECORD
to enter the
“Record
pending” display. Repeat the track selection process
and the selection of the options as already described.
Summary of Contents for S2 Turbo
Page 1: ......
Page 3: ...MUSICPROCESSORS OWNER S MANUAL ...
Page 17: ...INTRODUCTION 1 1 INTRODUCTION INTRODUCTION ...
Page 21: ...5 LAYOUTS 2 LAYOUTS S2 S3 Front panel S2 S3 Rear panel S2R Front panel S2R Rear panel ...
Page 42: ...26 OVERVIEW ...
Page 120: ...104 PRACTICAL GUIDE ...
Page 140: ...124 SAMPLE TRANSLATOR ...
Page 256: ...II APPENDIX ...
Page 257: ...MIDI iii MIDI IMPLEMENTATION CHART MIDI CONTROLLERS SYSTEM EXCLUSIVE ...
Page 267: ...Waveforms Sounds Performances xiii WAVEFORMS SOUNDS AND PERFORMANCES ...
Page 278: ...XXIV APPENDIX ...
Page 279: ...ROM Drumkits and Percussion Samples xxv DRUMKITS AND PERCUSSION SAMPLES ...
Page 291: ...TECHNICAL SPECIFICATIONS xxxvii TECHNICAL SPECIFICATIONS ...
Page 302: ...J TROUBLESHOOTING ...


