115
You can listen to the sample to help you decide in what keyboard area you can obtain the
best results.
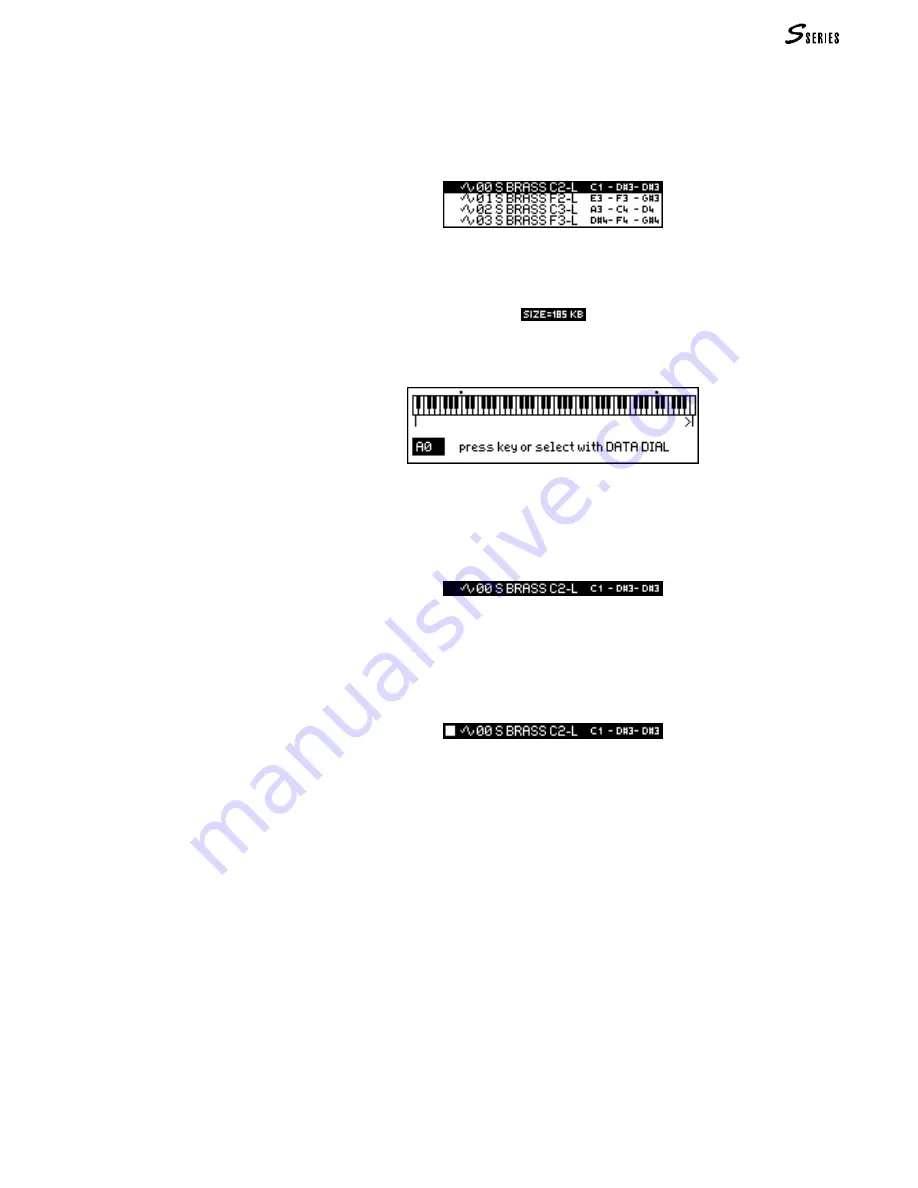
Use the Assign command to define the keyboard range to which the selected sample will
be assigned. Once the Assign operation has been carried out, the sample will play to-
gether with the other saamples assigned to the keyboard range:
Only assigned samples become a part of the Waveform. The overall size of the assigned
samples (and consequently the size of the Waveform) is shown on the top line of Wave-
form:
1. Select the Assign command from the Waveform display. The range defining window
appears:
2. Play the lower limit-note and press
ENTER
to confirm. Play the upper limit-note and
press
ENTER
to confirm. Keyboard range limits can also be set with
DIAL
+
ENTER
. In
Waveform, the keyboard range is shown next to the sample name (notes C1 and D#3 in
the example); the note in the middle (D#3 in the example) represents the original pitch
of the sample:
The keyboard range to which a sample is assigned cannot overlap the range of another
sample.
After being assigned, the sample played on the keyboard will be shown by a small square
that appears next to its name*:
Cancelling assignments (“UnAssign”)
The Unassign command cancels the keyboard extension limits to which a sample is
assigned. After this command, the sample will play only if it is selected, and a new assign
procedure must be carried out to insert the sample into the Waveform again.
Re-assigning limits after an Unassign command
After the assignment of a sample to a keyboard range has been cancelled, the note limits
of a new assignment will be those of the previous one. In this case, it is usually sufficient
to press
ENTER
twice, without carrying out further assign operations.
Assigning the samples to the keyboard zones (“Assign”/”UnAssign”)
* This symbol appears
only if you are playing from
the keyboard (Local) or
from Common.
Summary of Contents for S2 Turbo
Page 1: ......
Page 3: ...MUSICPROCESSORS OWNER S MANUAL ...
Page 17: ...INTRODUCTION 1 1 INTRODUCTION INTRODUCTION ...
Page 21: ...5 LAYOUTS 2 LAYOUTS S2 S3 Front panel S2 S3 Rear panel S2R Front panel S2R Rear panel ...
Page 42: ...26 OVERVIEW ...
Page 120: ...104 PRACTICAL GUIDE ...
Page 140: ...124 SAMPLE TRANSLATOR ...
Page 256: ...II APPENDIX ...
Page 257: ...MIDI iii MIDI IMPLEMENTATION CHART MIDI CONTROLLERS SYSTEM EXCLUSIVE ...
Page 267: ...Waveforms Sounds Performances xiii WAVEFORMS SOUNDS AND PERFORMANCES ...
Page 278: ...XXIV APPENDIX ...
Page 279: ...ROM Drumkits and Percussion Samples xxv DRUMKITS AND PERCUSSION SAMPLES ...
Page 291: ...TECHNICAL SPECIFICATIONS xxxvii TECHNICAL SPECIFICATIONS ...
Page 302: ...J TROUBLESHOOTING ...


