96
PRACTICAL GUIDE
Selecting the Sounds with Bank Select and
Program Change
The Sounds assigned to each track can be selected via M
IDI
with appropriate Program
Change and Bank Select* messages.
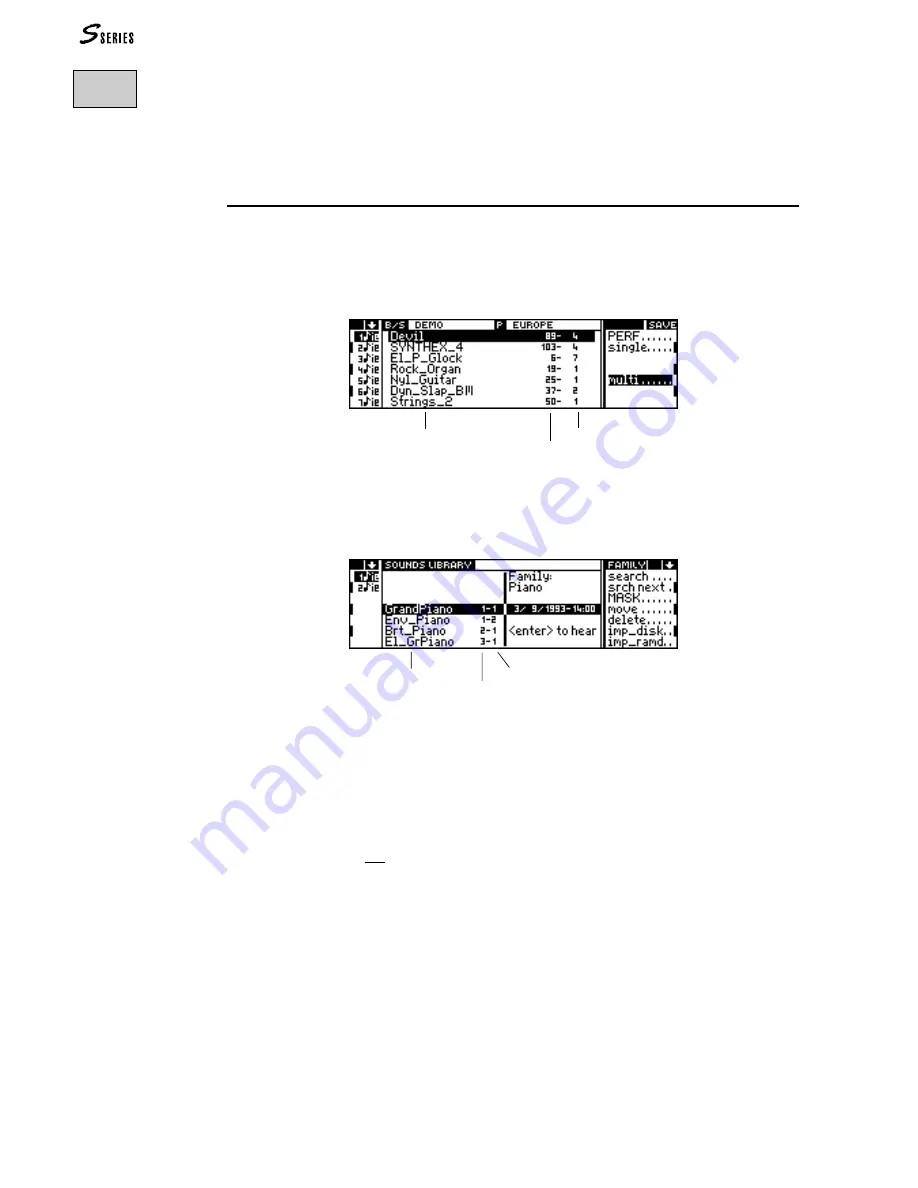
Each Sound is identified by a Program Change number and a Bank Select number, dis-
played near the name of the Sound (in Sound mode):
The Program Change and Bank Select numbers also appear in the Sound Library, which is
accessed by pressing the
SOUND
LIBRARY
button:
The Sound map, with relative Program Change and Bank Select numbers appears in the
Appendix.
The Program Change
To change the Sound assigned to each track, it is possible to transmit (from a sequencer
of a master keyboard not connected via M
IDI
-C
OMMON
) a different Program Change
message to each track.
The Program Change is a standard message, available in all sequencers. With the Program
Change message, it is possible to select only the Sound with the Bank Select number “1”.
In the S Series, the Program Change numbers range from 1 to 128. Some instruments and
sequencers use the numbering system based on the range 0 to 127.
The Bank Select (M
IDI
Controller 0)
Note: Bank Select “1” is not obligatory.
The Bank Select message has only recently become a standard, therefore, it is quite
possible that some sequencers are not able to send this message. Some sequencers imple-
ment this message as “M
IDI
Controller 0”.
*Note:
The Bank Select message
does not refer to the S2R
Bank/Songs. It is a
standard M
IDI
message
which permits the
selection of the “variation”
tones of the basic Sounds
with Program Change and
Bank Select numbers of
the type XXX-1.
The S2/S3 User Manual
refers to this message as
“Extended Program
Change”.
The S Series uses the term
“Bank” in two different
cases:
- Bank/Song (Bank of
Performances);
- Bank Select or Sound
Bank (Bank of Sounds).
12
S
ELECTING
THE
S
OUNDS
VIA
M
IDI
Sound names
Program Change
Bank Select
Sound names
Program Change
Bank Select
Summary of Contents for S2 Turbo
Page 1: ......
Page 3: ...MUSICPROCESSORS OWNER S MANUAL ...
Page 17: ...INTRODUCTION 1 1 INTRODUCTION INTRODUCTION ...
Page 21: ...5 LAYOUTS 2 LAYOUTS S2 S3 Front panel S2 S3 Rear panel S2R Front panel S2R Rear panel ...
Page 42: ...26 OVERVIEW ...
Page 120: ...104 PRACTICAL GUIDE ...
Page 140: ...124 SAMPLE TRANSLATOR ...
Page 256: ...II APPENDIX ...
Page 257: ...MIDI iii MIDI IMPLEMENTATION CHART MIDI CONTROLLERS SYSTEM EXCLUSIVE ...
Page 267: ...Waveforms Sounds Performances xiii WAVEFORMS SOUNDS AND PERFORMANCES ...
Page 278: ...XXIV APPENDIX ...
Page 279: ...ROM Drumkits and Percussion Samples xxv DRUMKITS AND PERCUSSION SAMPLES ...
Page 291: ...TECHNICAL SPECIFICATIONS xxxvii TECHNICAL SPECIFICATIONS ...
Page 302: ...J TROUBLESHOOTING ...


