198
REFERENCE GUIDE
Selecting an event with Catch Locator
You can select an event automatically.
1. Play the Song by pressing
PLAY
.
2. When you hear the note (or another event) that you want to see displayed, select
“Catch Locator” in the command/options column. The event closest to the
current Locator of the Song is selected and appears in the Event List.
Programmable Events and Parameters
The types of events–indicated in the Status column of the Event List–are different,
and each one corresponds to a different value.
Note: The Tempo, Performance and Volume events are always present at the Locator 1-1-
1. Their respective values can be modified, but not the Locator. It is not possible to cancel
these starting events, which represent fundamental elements of the Song.
Status = Tempo
Tempo.
Status = Perf.
Performance.
Status = Volume
Pedal Volume (in S2/S3) or Common Volume (in S2R).
Status = Effect 1
Number of Effect 1.
Status = Eff. 1 Vol
Volume of Effect 1.
Status = Effect 2
Number of Effect 2.
Status = Eff. 2 Vol
Volume of Effect 2.
Status = Rotary s/f
Rotary slow/fast inversion.
Status = Scale
Scale parameter, tuning of the instrument. (
S. Edit General).
The Command/Options Column
The command/options of Microscope are different to those of the other modes.
Commands/options
Menu
Returns to the main menu of
EDIT
SONG
.
Rec/Play
Opens the Playback display (from which you can enter Record).
Mask
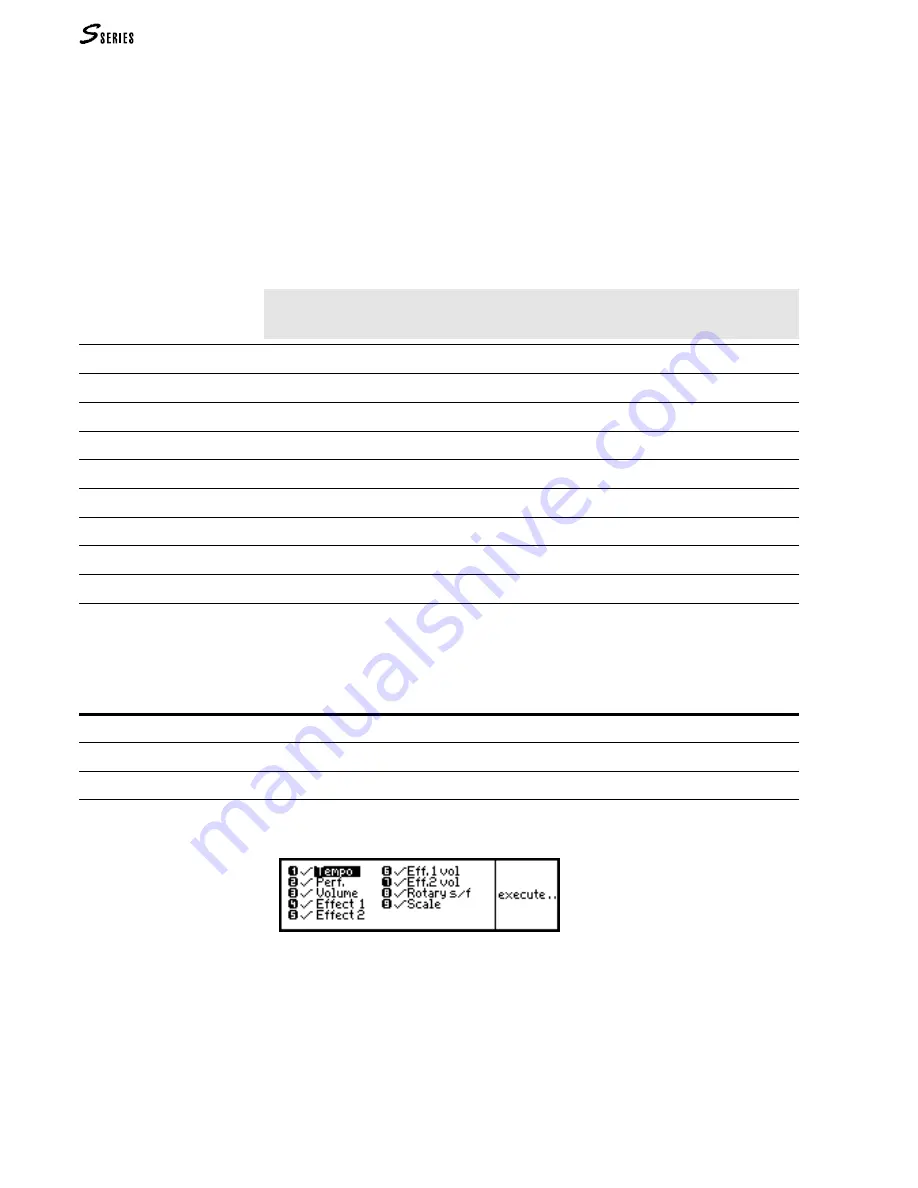
Opens a window where you can select the events to view in the Event List.
1. Select the command. The selection window appears:
The events shown in the Event List are marked by a “tick” (
√
).
2. Select the events to mask in the Event List. Press
ENTER
to confirm (the sign next to the
event disappears).
3. Select all the other types of events you wish to conceal in the Event List in the same way.
Follow the same steps to make the sign reappear next to the events that you wish to view.
4. Press “Execute” to confirm and close the window.
Summary of Contents for S2 Turbo
Page 1: ......
Page 3: ...MUSICPROCESSORS OWNER S MANUAL ...
Page 17: ...INTRODUCTION 1 1 INTRODUCTION INTRODUCTION ...
Page 21: ...5 LAYOUTS 2 LAYOUTS S2 S3 Front panel S2 S3 Rear panel S2R Front panel S2R Rear panel ...
Page 42: ...26 OVERVIEW ...
Page 120: ...104 PRACTICAL GUIDE ...
Page 140: ...124 SAMPLE TRANSLATOR ...
Page 256: ...II APPENDIX ...
Page 257: ...MIDI iii MIDI IMPLEMENTATION CHART MIDI CONTROLLERS SYSTEM EXCLUSIVE ...
Page 267: ...Waveforms Sounds Performances xiii WAVEFORMS SOUNDS AND PERFORMANCES ...
Page 278: ...XXIV APPENDIX ...
Page 279: ...ROM Drumkits and Percussion Samples xxv DRUMKITS AND PERCUSSION SAMPLES ...
Page 291: ...TECHNICAL SPECIFICATIONS xxxvii TECHNICAL SPECIFICATIONS ...
Page 302: ...J TROUBLESHOOTING ...


