83
After configuring the Sources, save the modifications in the current Performance with the
“Save Performance” command in the main display (
[
SAVE
] [
ENTER
] [
ENTER
]
). If you omit this
important step, activating Record mode recalls the original settings of the Performance,
cancelling the newly configured status.
Activate Record mode and select the recording options
1.
Press the
RECORD
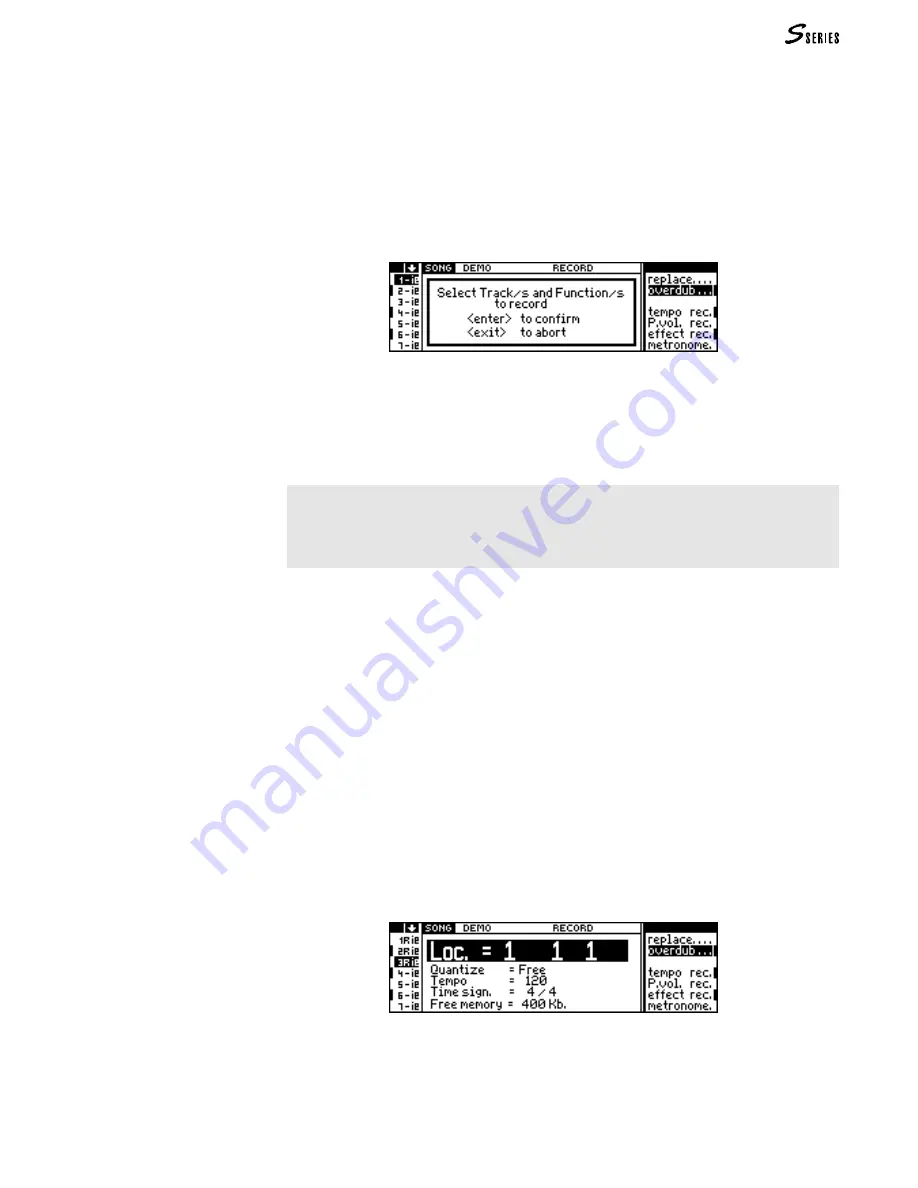
button to access Record mode. A dialogue window appears, above
the “record pending” display, which invites you to select the tracks and the recording
options shown in the command/options column:
“Record pending” display; partially covered by a dialogue window.
This is an S2/S3 display. In S2R “P.vol.rec” is substituted by “C.vol.rec”.
2.
Select the tracks to record with the respective
TRACK
SELECTION
KEYS
. Use the
TRACK
SCROLL
BUTTONS
to bring other tracks into view.
Tracks activated for recording are identified with the symbol “
R
” in the track column.
You can deactivate the tracks in record by repressing the respective
TRACK
SELECT
KEY
.
Attention: If you record from the keyboard of from a master keyboard via M
IDI
-C
OMMON
, the
number of tracks recorded will be equal to the number that appear in the
LOCAL
Source. The
tracks having the lowest numbers will be recorded among those selected in Record. All other
tracks will be ignored and, at the end of the recording, they will be identified by the hyphen (“-”),
which indicates an empty track.
3.
If necessary, select the options which appear in the command/options column:
• if you want to record the Tempo changes effected from the control panel during the
course of the recording, activate the “Tempo rec” option.
• if you want to record the regulations of the general volume effected with the S2/S3
Volume Pedal, activate the “P. vol. rec” option. S2R can record Pedal Volume events
travelling on M
IDI
-C
OMMON
and not originating from the pedal connected to the rear
panel pedal volume socket; the option is called “C.vol. rec”.
• if you want to record the changes made to the Effects and Effect Volumes using the
Function Controllers (in
USER
mode), or by means of M
IDI
messages, activate the
“Effect rec” option.
• if you want to listen to the metronome “tick” during the recording, activate the
“Metronome” option.
4.
Select the required recording option (“Overdub” to add new notes to those already
present, or “Replace” to replace notes already recorded with new ones in the tracks
shown with the “R” symbol).
Once you have set all the required recording options, press
ENTER
to confirm the
settings (or
EXIT
to cancel and escape Record mode):
You can, however, select the options after confirming the track selections with
ENTER
.
(The metronome can be freely activated and deactivated during the recording). Therefore,
if you set one or more of the options incorrectly, confirm with
ENTER
then correct the
error before starting the recording.
(9) Recording a Song
Summary of Contents for S2 Turbo
Page 1: ......
Page 3: ...MUSICPROCESSORS OWNER S MANUAL ...
Page 17: ...INTRODUCTION 1 1 INTRODUCTION INTRODUCTION ...
Page 21: ...5 LAYOUTS 2 LAYOUTS S2 S3 Front panel S2 S3 Rear panel S2R Front panel S2R Rear panel ...
Page 42: ...26 OVERVIEW ...
Page 120: ...104 PRACTICAL GUIDE ...
Page 140: ...124 SAMPLE TRANSLATOR ...
Page 256: ...II APPENDIX ...
Page 257: ...MIDI iii MIDI IMPLEMENTATION CHART MIDI CONTROLLERS SYSTEM EXCLUSIVE ...
Page 267: ...Waveforms Sounds Performances xiii WAVEFORMS SOUNDS AND PERFORMANCES ...
Page 278: ...XXIV APPENDIX ...
Page 279: ...ROM Drumkits and Percussion Samples xxv DRUMKITS AND PERCUSSION SAMPLES ...
Page 291: ...TECHNICAL SPECIFICATIONS xxxvii TECHNICAL SPECIFICATIONS ...
Page 302: ...J TROUBLESHOOTING ...


