Error Messages
Fill out the
Diagnostics Checklist
as you complete these checks.
If the message is not listed, see the documentation for the operating system or the program that was running when the message appeared.
CAUTION:
Before you begin any of the procedures in this section, follow the safety instructions located in the
Product Information Guide
.
A filename cannot contain any of the following characters: \ / : * ? " < > | —
Do not use these characters in filenames.
A required .DLL file was not found —
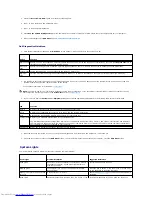
The program that you are trying to open is missing an essential file. To remove and then reinstall the program:
1.
Click the
Start
button, click
Control Panel
, and then click
Add or Remove Programs
.
2.
Select the program you want to remove.
3.
Click the
Change or Remove Program
icon.
4.
See the program documentation for installation instructions.
Alert! Previous attempts at booting this system have failed at checkpoint [
nnnn
]. For help in resolving this problem, please note this checkpoint and
contact Dell Technical Support —
Contact Dell
and report the checkpoint code (
nnnn
) to the support technician.
Attachment failed to respond —
See "
Drive Problems
."
Bad command or file name —
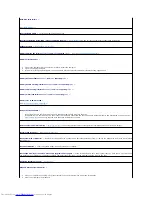
Ensure that you spelled the command correctly, put spaces in the proper place, and used the correct pathname.
Bad error-
correction code (ECC) on disk read —
See "
Drive Problems
."
Controller has failed —
See "
Drive Problems
."
Data error —
See "
Drive Problems
."
Decreasing available memory —
See "
Lockups and Software Problems
."
Diskette drive 0 seek failure —
See "
Drive Problems
."
Diskette read failure —
See "
Drive Problems
."
Diskette subsystem reset failed —
Run the
Dell Diagnostics
.
Diskette write protected —
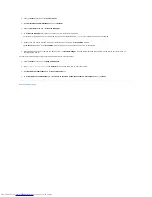
Slide the write-protect notch on the floppy disk to the open position.
Drive not ready —
Put a floppy disk in the drive.
Gate A20 failure —
See "
Lockups and Software Problems
."
Hard-
disk configuration error —
Hard-
disk controller failure —
Hard-
disk drive failure —
Summary of Contents for OptiPlex GX520
Page 22: ...4 Press Alt b to restart the computer and implement your changes Back to Contents Page ...
Page 29: ......
Page 97: ...Back to Contents Page ...
Page 108: ......
Page 145: ......
Page 149: ...10 Replace the computer cover Back to Contents Page 3 captive screw housing 2 ...
Page 157: ...Back to Contents Page ...
Page 166: ...Back to Contents Page ...
Page 181: ...10 Replace the computer cover Back to Contents Page 3 captive screw in housing 2 ...
Page 222: ...Back to Contents Page Dell OptiPlex GX520 User s Guide Back to Contents Page ...

