2.
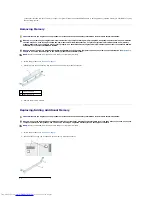
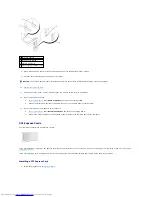
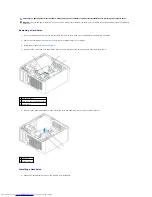
Gently push the release tab on the card retention latch from the inside to pivot the latch open. The latch will remain in the open position.
3.
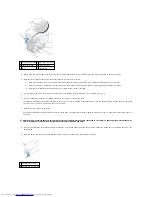
Open the card retention mechanism that secures the adapter bracket and cards in place from the top:
a.
Place your thumb on the top of the card retention mechanism and grip the bottom of the retention mechanism with your fingers.
b.
With your free hand, gently squeeze the sides of the card retention mechanism to release it from the tab slots holding it in place.
c.
Pivot the card retention mechanism upward to release it from the two tab slots.
4.
Remove the filler bracket (if applicable).
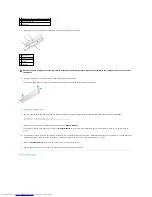
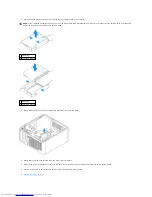
Place the serial-port adapter bracket in the connector and press down firmly. Ensure that the adapter is fully seated in the slot.
5.
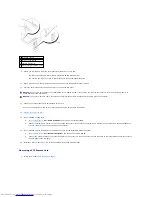
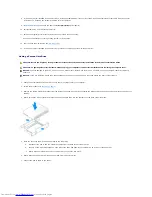
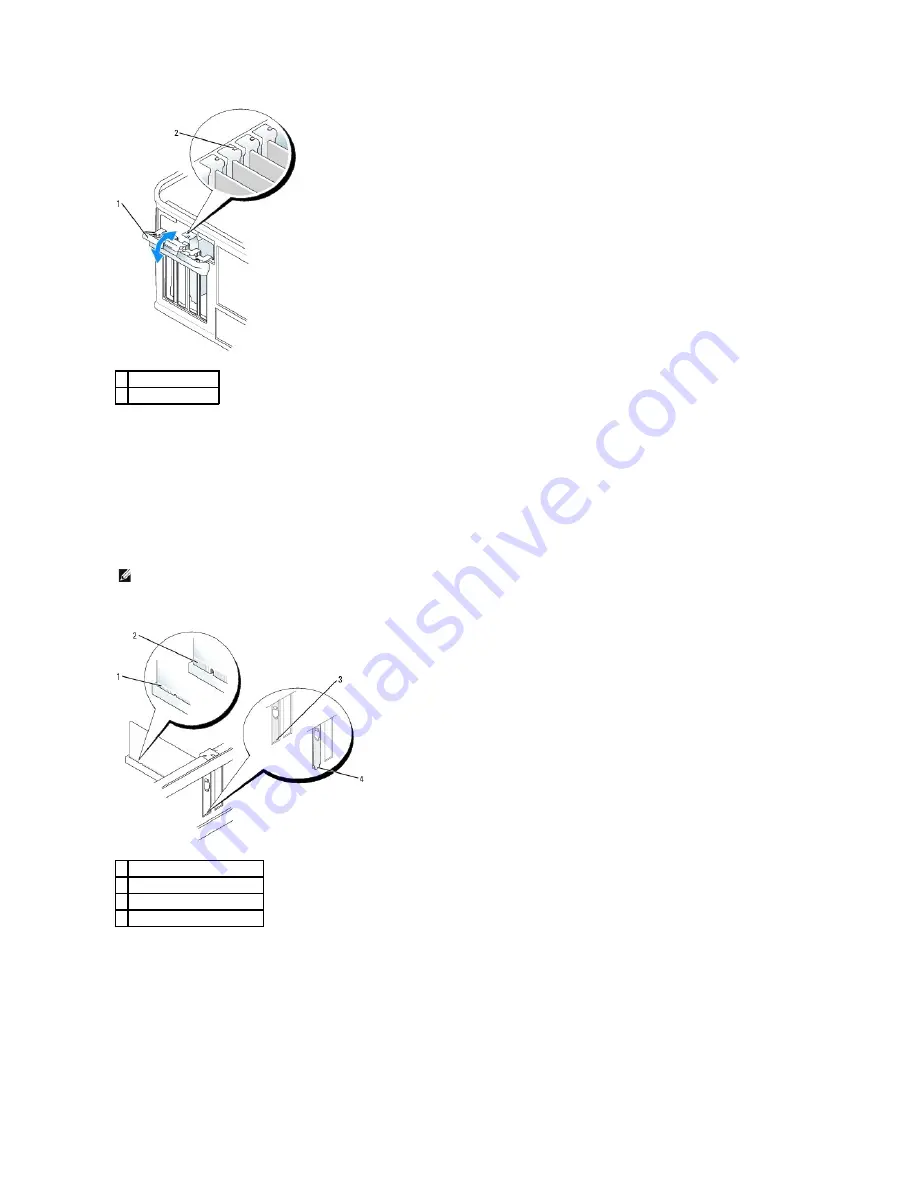
Before you replace and lower the card retention mechanism, ensure that:
l
The tops of all adapters and filler brackets are flush with the alignment bar.
l
The notch in the top of the adapter or filler bracket fits around the alignment guide.
6.
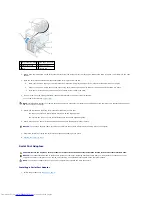
Gently press down on the card retention mechanism to secure the adapter bracket in place.
7.
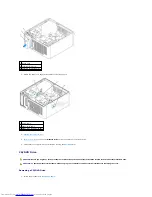
Close the card retention latch and gently press until it clicks into place.
1 card retention latch
2 alignment guide
NOTE:
See the documentation that came with the serial port adapter for information on configuring the adapter, making internal connections, or
customizing it for your computer.
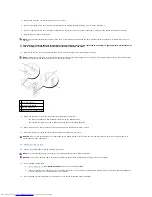
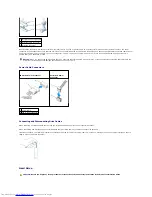
1 card fully seated
2 card not fully seated
3 bracket within slot
4 bracket caught outside of slot
Summary of Contents for OptiPlex GX520
Page 22: ...4 Press Alt b to restart the computer and implement your changes Back to Contents Page ...
Page 29: ......
Page 97: ...Back to Contents Page ...
Page 108: ......
Page 145: ......
Page 149: ...10 Replace the computer cover Back to Contents Page 3 captive screw housing 2 ...
Page 157: ...Back to Contents Page ...
Page 166: ...Back to Contents Page ...
Page 181: ...10 Replace the computer cover Back to Contents Page 3 captive screw in housing 2 ...
Page 222: ...Back to Contents Page Dell OptiPlex GX520 User s Guide Back to Contents Page ...

