8.
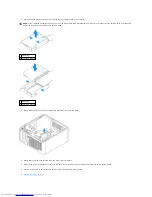
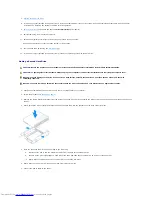
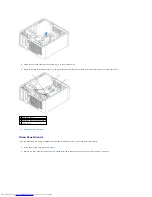
Attach the serial ATA connector removed in
step 5
to the first hard drive.
9.
Locate an unused serial ATA connector on the system board and attach a drive cable to this connector and to the second hard drive.
10.
Replace the computer cover
.
Drive-Panel Inserts
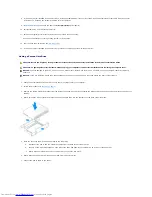
If you are installing a new floppy or CD/DVD drive instead of replacing a drive, remove the drive-panel inserts.
1.
Follow the procedures in "
Before You Begin
."
2.
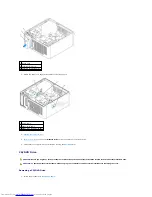
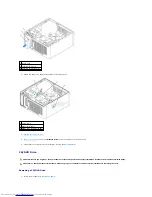
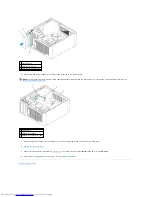
Remove the drive panel by sliding the drive release latch downward to open the panel. Then remove it from the hinges.
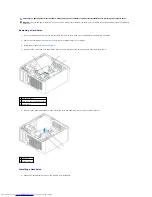
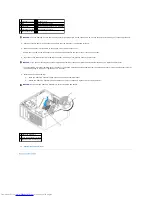
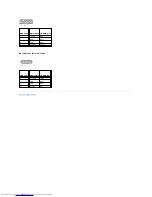
1 hard-drive cable
2 hard-drive cable on system board
3 power cable
Summary of Contents for OptiPlex GX520
Page 22: ...4 Press Alt b to restart the computer and implement your changes Back to Contents Page ...
Page 29: ......
Page 97: ...Back to Contents Page ...
Page 108: ......
Page 145: ......
Page 149: ...10 Replace the computer cover Back to Contents Page 3 captive screw housing 2 ...
Page 157: ...Back to Contents Page ...
Page 166: ...Back to Contents Page ...
Page 181: ...10 Replace the computer cover Back to Contents Page 3 captive screw in housing 2 ...
Page 222: ...Back to Contents Page Dell OptiPlex GX520 User s Guide Back to Contents Page ...

