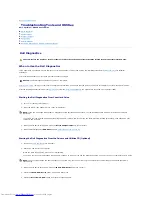
If the screen is difficult to read
Back to Contents Page
Check the monitor power light —
If the power light is off, firmly press the button to ensure that the monitor is turned on. If the power light
is lit or blinking, the monitor has power. If the power light is blinking, press a key on the keyboard or move the mouse.
Test the electrical outlet —
Ensure that the electrical outlet is working by testing it with another device, such as a lamp.
Test the monitor —
Connect a properly working monitor to the computer, and try using the monitor. If the new monitor works, the original
monitor is faulty.
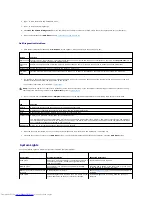
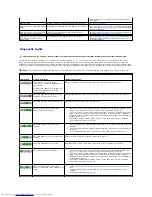
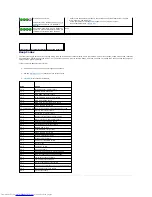
Check the diagnostic lights
Check the card setting —
Enter system setup
and ensure that
Primary Video
option is set correctly. Exit system setup and restart your
computer.
Run the monitor self-test
—
Check the monitor documentation for more information.
Check the monitor settings —
See the monitor documentation for instructions on adjusting the contrast and brightness, demagnetizing
(degaussing) the monitor, and running the monitor self-test.
Move the subwoofer away from the monitor —
If your speaker system includes a subwoofer, ensure that the subwoofer is at least 60 cm
(2 ft) away from the monitor.
Move the monitor away from external power sources —
Fans, fluorescent lights, halogen lamps, and other electrical devices can cause
the screen image to appear "shaky." Turn off nearby devices to check for interference.
Adjust the Windows display settings —
1.
Click the
Start
button, click
Control Panel
, and then click
Appearance and Themes
.
2.
Click
Display
and click the
Settings
tab.
3.
Try different settings for
Screen resolution
and
Color quality.
Summary of Contents for OptiPlex GX520
Page 22: ...4 Press Alt b to restart the computer and implement your changes Back to Contents Page ...
Page 29: ......
Page 97: ...Back to Contents Page ...
Page 108: ......
Page 145: ......
Page 149: ...10 Replace the computer cover Back to Contents Page 3 captive screw housing 2 ...
Page 157: ...Back to Contents Page ...
Page 166: ...Back to Contents Page ...
Page 181: ...10 Replace the computer cover Back to Contents Page 3 captive screw in housing 2 ...
Page 222: ...Back to Contents Page Dell OptiPlex GX520 User s Guide Back to Contents Page ...

