3.
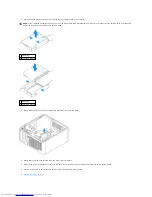
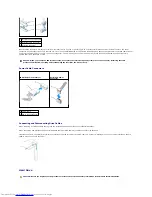
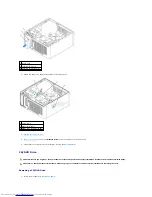
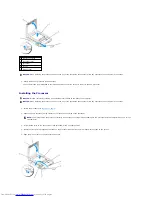
Select the drive-panel insert in front of the drive bay that you want to use.
4.
Gently press the release tab of the insert to remove it from the drive panel.
5.
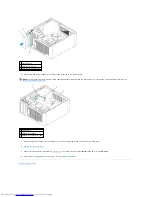
Reattach the drive panel to the front of the computer.
The drive panel only fits one way.
1
drive panel
2
release tab
3
drive-panel insert
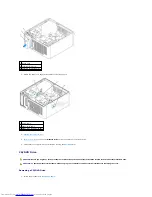
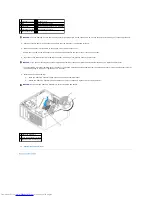
1 CD/DVD-drive panel insert
2 floppy-drive panel insert
3 holder for shoulder screws
Summary of Contents for OptiPlex GX520
Page 22: ...4 Press Alt b to restart the computer and implement your changes Back to Contents Page ...
Page 29: ......
Page 97: ...Back to Contents Page ...
Page 108: ......
Page 145: ......
Page 149: ...10 Replace the computer cover Back to Contents Page 3 captive screw housing 2 ...
Page 157: ...Back to Contents Page ...
Page 166: ...Back to Contents Page ...
Page 181: ...10 Replace the computer cover Back to Contents Page 3 captive screw in housing 2 ...
Page 222: ...Back to Contents Page Dell OptiPlex GX520 User s Guide Back to Contents Page ...

