

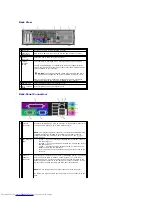
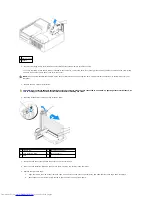
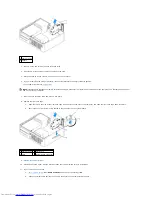


3.
Press in on the tab to raise the card retention latch.
4.
If necessary, disconnect any cables connected to the card.
5.
Grasp the card by its top corners, and ease it out of its connector.
6.
If you are removing the card permanently, install a filler bracket in the empty card-slot opening.
If you need a filler bracket,
contact Dell
.
7.
Lower the card retention latch and press it into place.
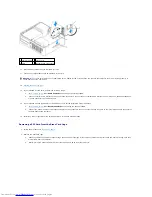
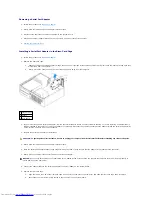
8.
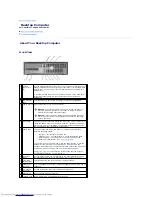
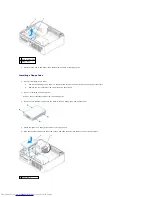
Replace the riser-card cage:
a.
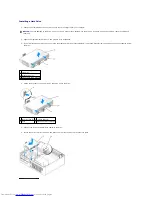
Align the tabs in the side of the riser-card cage with the slots on the side of the computer, and slide the riser-card cage down into place.
b.
Ensure that the riser board is fully seated in the connector on the system board.
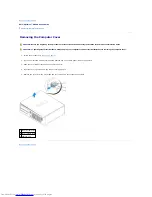
9.
Replace the computer cover
.
10.
Uninstall the card's driver. See the documentation that came with the card for instructions.
11.
If you removed a sound card:
a.
Enter system setup
, select
Audio Controller
, and change the setting to
On
.
b.
Connect external audio devices to the audio connectors on the computer back panel.
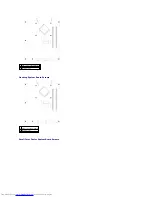
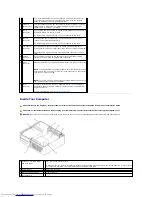
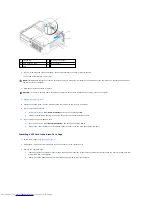
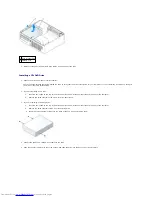
1 riser-card cage
2 handle
NOTE:
Installing filler brackets over empty card-slot openings is necessary to maintain FCC certification of the computer. The brackets also keep dust
and dirt out of your computer.
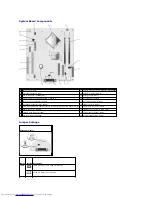
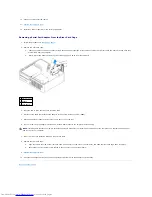
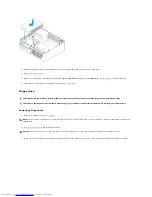
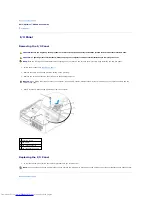
1 riser-card cage 3 riser board
2 slots
4 system board connector
Summary of Contents for OptiPlex GX520
Page 22: ...4 Press Alt b to restart the computer and implement your changes Back to Contents Page ...
Page 29: ......
Page 97: ...Back to Contents Page ...
Page 108: ......
Page 145: ......
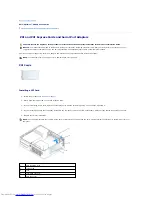
Page 149: ...10 Replace the computer cover Back to Contents Page 3 captive screw housing 2 ...
Page 157: ...Back to Contents Page ...
Page 166: ...Back to Contents Page ...
Page 181: ...10 Replace the computer cover Back to Contents Page 3 captive screw in housing 2 ...
Page 222: ...Back to Contents Page Dell OptiPlex GX520 User s Guide Back to Contents Page ...