


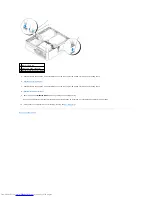
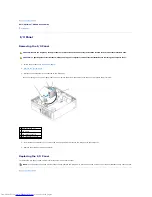


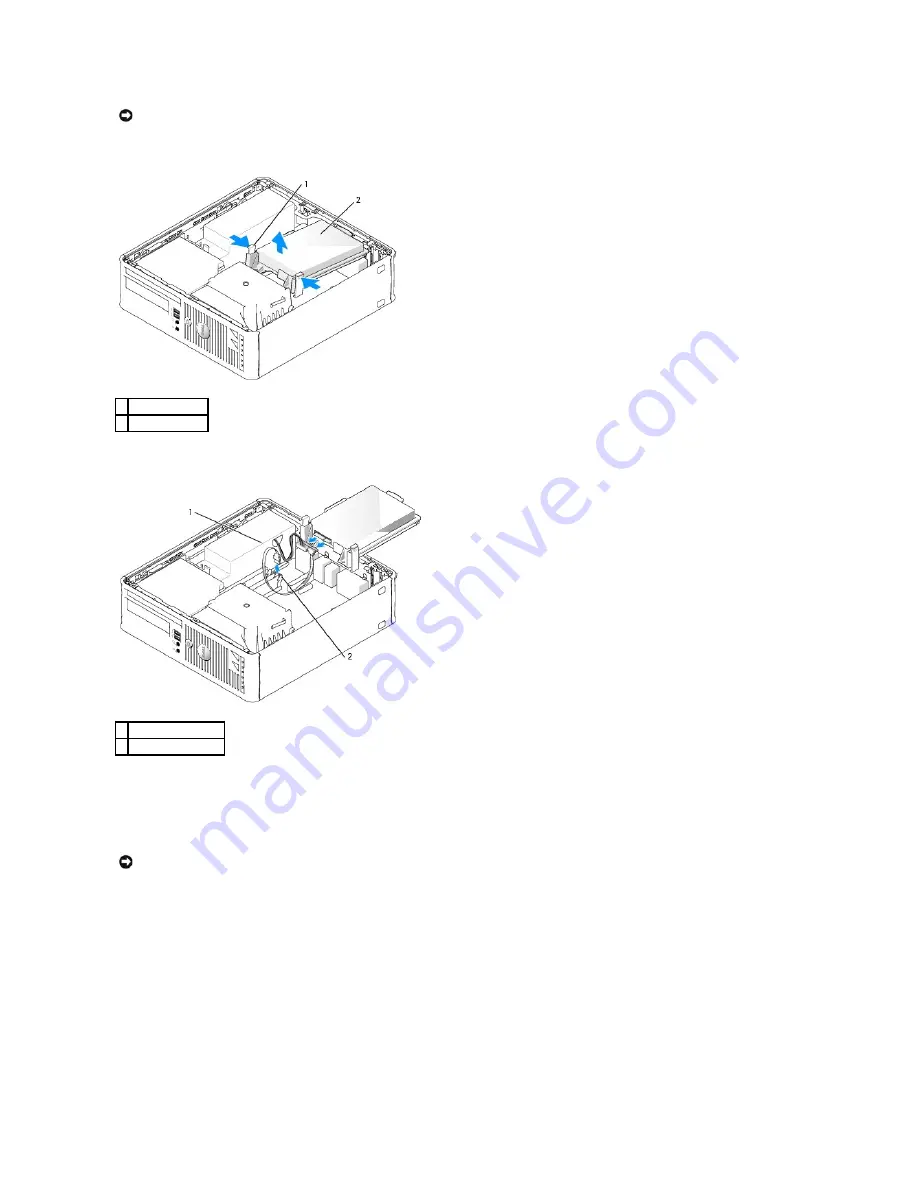
5.
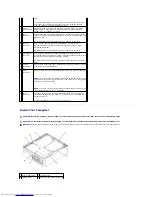
Lift the drive out of the computer and disconnect the power and hard-drive cables from the drive.
6.
Disconnect the power and hard-drive cable from the drive.
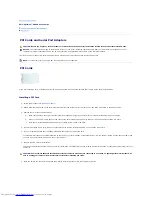
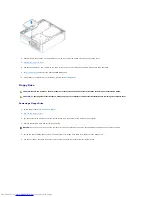
Installing a Hard Drive
1.
Check the documentation for the drive to verify that it is configured for your computer.
2.
Unpack the replacement hard drive, and prepare it for installation.
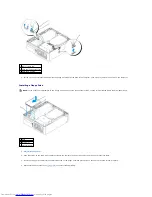
3.
If your replacement hard drive does not have the plastic drive bracket attached, remove the bracket from the existing drive by unsnapping it from the
drive.
NOTICE:
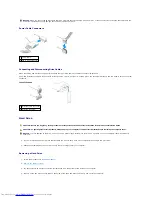
Do not pull the drive out of the computer by the drive cables. Doing so may cause damage to cables and the cable connectors.
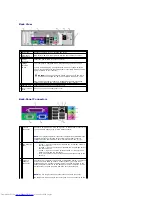
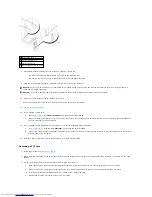
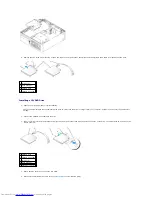
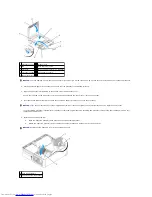
1 securing tabs (2)
2 hard drive
1 power cable
2 serial ATA data cable
NOTICE:
To avoid damage to the drive, do not set it on a hard surface. Instead, set the drive on a surface, such as a foam pad, that will sufficiently
cushion it.
Summary of Contents for OptiPlex GX520
Page 22: ...4 Press Alt b to restart the computer and implement your changes Back to Contents Page ...
Page 29: ......
Page 97: ...Back to Contents Page ...
Page 108: ......
Page 145: ......
Page 149: ...10 Replace the computer cover Back to Contents Page 3 captive screw housing 2 ...
Page 157: ...Back to Contents Page ...
Page 166: ...Back to Contents Page ...
Page 181: ...10 Replace the computer cover Back to Contents Page 3 captive screw in housing 2 ...
Page 222: ...Back to Contents Page Dell OptiPlex GX520 User s Guide Back to Contents Page ...