Back to Contents Page
Dell™ OptiPlex™ GX520 User's Guide
Drives
Drives
Your computer supports:
l
Two serial ATA hard drives
l
Two floppy or optional Zip drives
l
Two CD or DVD drives
General Installation Guidelines
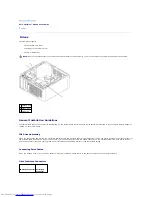
Connect CD/DVD drives to the connector labeled "IDE" on the system board. Serial ATA hard drives should be connected to the connectors labeled "SATA0" or
"SATA2" on the system board.
IDE Drive Addressing
When you connect two IDE devices to a single IDE interface cable and configure them for the cable select setting, the device attached to the last connector on
the interface cable is the master or boot device (drive 0), and the device attached to the middle connector on the interface cable is the slave device (drive 1).
See the drive documentation in your upgrade kit for information on configuring devices for the cable select setting.
Connecting Drive Cables
When you install a drive, you connect two cables
—
a DC power cable and a data cable
—
to the back of the drive and to the system board.
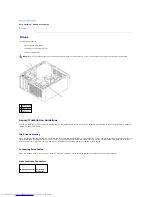
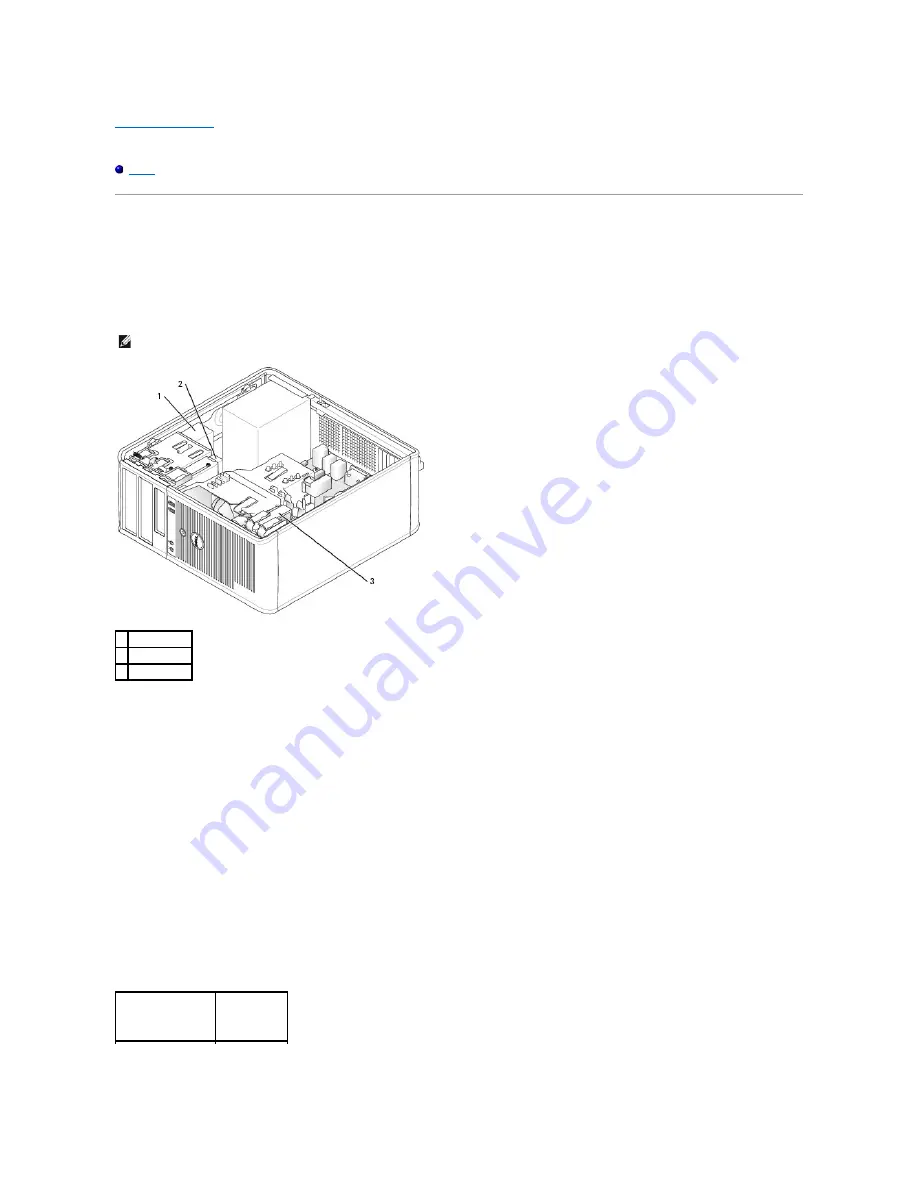
Drive Interface Connectors
NOTE:
Due to the limited number of drive bays and IDE controllers on this computer, you will not be able to connect all supported devices at once.
1 CD/DVD drive
2 floppy drive
3 hard drive
IDE Drive Connector
Serial ATA
Connector
Summary of Contents for OptiPlex GX520
Page 22: ...4 Press Alt b to restart the computer and implement your changes Back to Contents Page ...
Page 29: ......
Page 97: ...Back to Contents Page ...
Page 108: ......
Page 145: ......
Page 149: ...10 Replace the computer cover Back to Contents Page 3 captive screw housing 2 ...
Page 157: ...Back to Contents Page ...
Page 166: ...Back to Contents Page ...
Page 181: ...10 Replace the computer cover Back to Contents Page 3 captive screw in housing 2 ...
Page 222: ...Back to Contents Page Dell OptiPlex GX520 User s Guide Back to Contents Page ...


