5-126
7
Select scannin
g
settin
g
s while viewin
g
the ima
g
e.
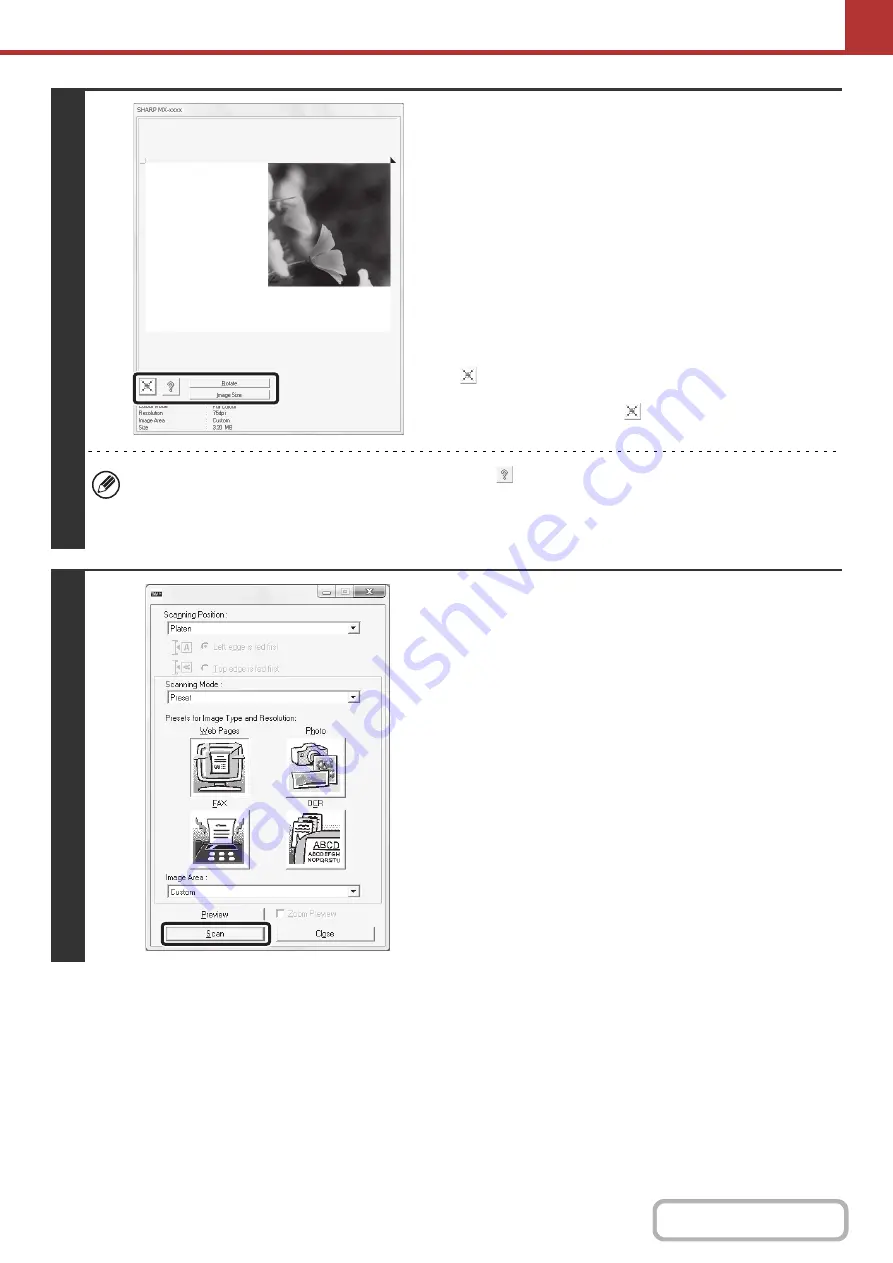
[Rotate] button:
Each time this button is clicked, the preview image rotates 90
degrees. This lets you change the orientation of the image
without picking up and placing the original again. The image file
will be created using the orientation that appears in the preview
window.
[Ima
g
e Size] button:
Click this button to specify the scan area by entering numerical
values. Pixels, mm, or inches can be selected for the units of
the numerical values. If a scanning area has already been
specified, the entered numbers will change the area relative to
the top left corner of the specified area.
button:
When a preview image is displayed and a scanning area is not
specified, you can click the
button to automatically set the
scanning area to the entire preview image.
•
For further information on the scan settin
g
s, click the
button to open scanner driver Help.
• If the originals are placed in the document feeder tray, only the top page will be previewed. The top page will be
delivered to the original exit tray. Be sure to return the previewed page to the document feeder tray before
previewing again or scanning.
8
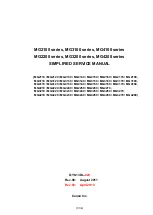
Click the [Scan] button.
Scanning begins. The image appears in your application.
Assign a file name to the scanned image and save it as
appropriate in the software application you are using.
Содержание MX-M266N
Страница 6: ...Make a copy on this type of paper Envelopes and other special media Tab Paper Transparency film ...
Страница 8: ...Assemble output into a pamphlet Create a stapled pamphlet Staple output Create a blank margin ...
Страница 11: ...Conserve Print on both sides of the paper Print multiple pages on one side of the paper ...
Страница 12: ...Print without a computer Print a file in a USB memory device Print a file stored in the machine ...
Страница 34: ...Search for a file abc Search for a file using a keyword Search by checking the contents of files ...
Страница 35: ...Organize my files Delete a file Delete all files Periodically delete files Change the folder ...
Страница 259: ...3 19 PRINTER Contents 4 Click the Print button Printing begins ...
Страница 267: ...3 27 PRINTER Contents 1 Select Layout 2 Select Long edged binding or Short edged binding Macintosh 1 2 ...


