5-93
5
Press the [START] key.
Scanning begins.
To cancel scannin
g
...
Press the [STOP] key (
) to cancel the operation. All scanned data will be cleared.
6
When scannin
g
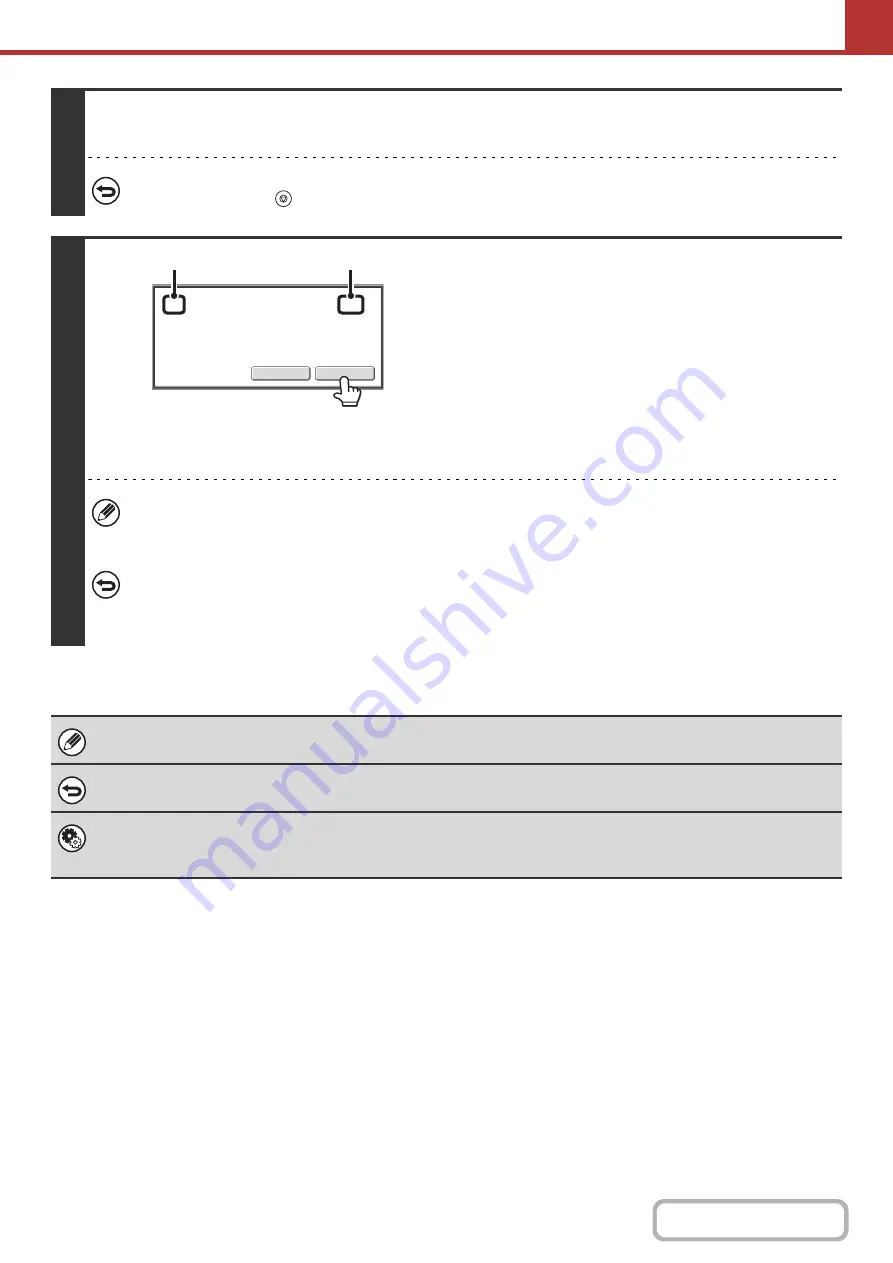
ends, check the number
of ori
g
inal sheets scanned and touch the
[OK] key.
Transmission will begin.
• When Job Build mode is used, the confirmation message will
appear after the [Read-End] key is touched.
• The message on the screen shows the number of sheets
scanned in (A), and the number of pages (sheet sides)
scanned in (B). For example, if both sides of one original
sheet are scanned, "1" will appear in (A) and "2" will appear
in (B).
If this step is not performed for one minute while the above confirmation screen appears, the scanned image and
settings will be cleared and the base screen will reappear. Scanning will not be completed automatically and the
image will not be reserved for transmission.
If the displayed number of ori
g
inal sheets is different from the actual number of sheets...
Touch the [Cancel] key and then touch the [OK] key in the message screen to clear all scanned data. Scan settings
and destination settings will not be cleared. Insert the original sheets in the automatic document feeder again and
press the [START] key to re-scan.
When a broadcast transmission is performed, if the original count function is selected in any of the modes, the function will
operate for all destinations.
To cancel the Ori
g
inal Sheet Count function...
Touch the [Original Count] key in the screen of step 4 so that it is no longer highlighted.
System Settin
g
s (Administrator): Initial Ori
g
inal Count Settin
g
This can be enabled to have the number of original sheets always counted. The setting can be enabled separately for each
mode.
XX
pages
of
original
have
been
scanned.
(P.x)
Send
the
scanned
data
?
OK
Cancel
(A)
(B)
Содержание MX-M266N
Страница 6: ...Make a copy on this type of paper Envelopes and other special media Tab Paper Transparency film ...
Страница 8: ...Assemble output into a pamphlet Create a stapled pamphlet Staple output Create a blank margin ...
Страница 11: ...Conserve Print on both sides of the paper Print multiple pages on one side of the paper ...
Страница 12: ...Print without a computer Print a file in a USB memory device Print a file stored in the machine ...
Страница 34: ...Search for a file abc Search for a file using a keyword Search by checking the contents of files ...
Страница 35: ...Organize my files Delete a file Delete all files Periodically delete files Change the folder ...
Страница 259: ...3 19 PRINTER Contents 4 Click the Print button Printing begins ...
Страница 267: ...3 27 PRINTER Contents 1 Select Layout 2 Select Long edged binding or Short edged binding Macintosh 1 2 ...


