Dis playing and Using a Key pad
Let’s go through a sample project that uses one of the predefined keypads included in EasyBuilder to edit a Numeric
Input Object and an ASCII Input Object. This example will show you how to place these objects on a window
screen, and then use the keypad to edit the data registers.
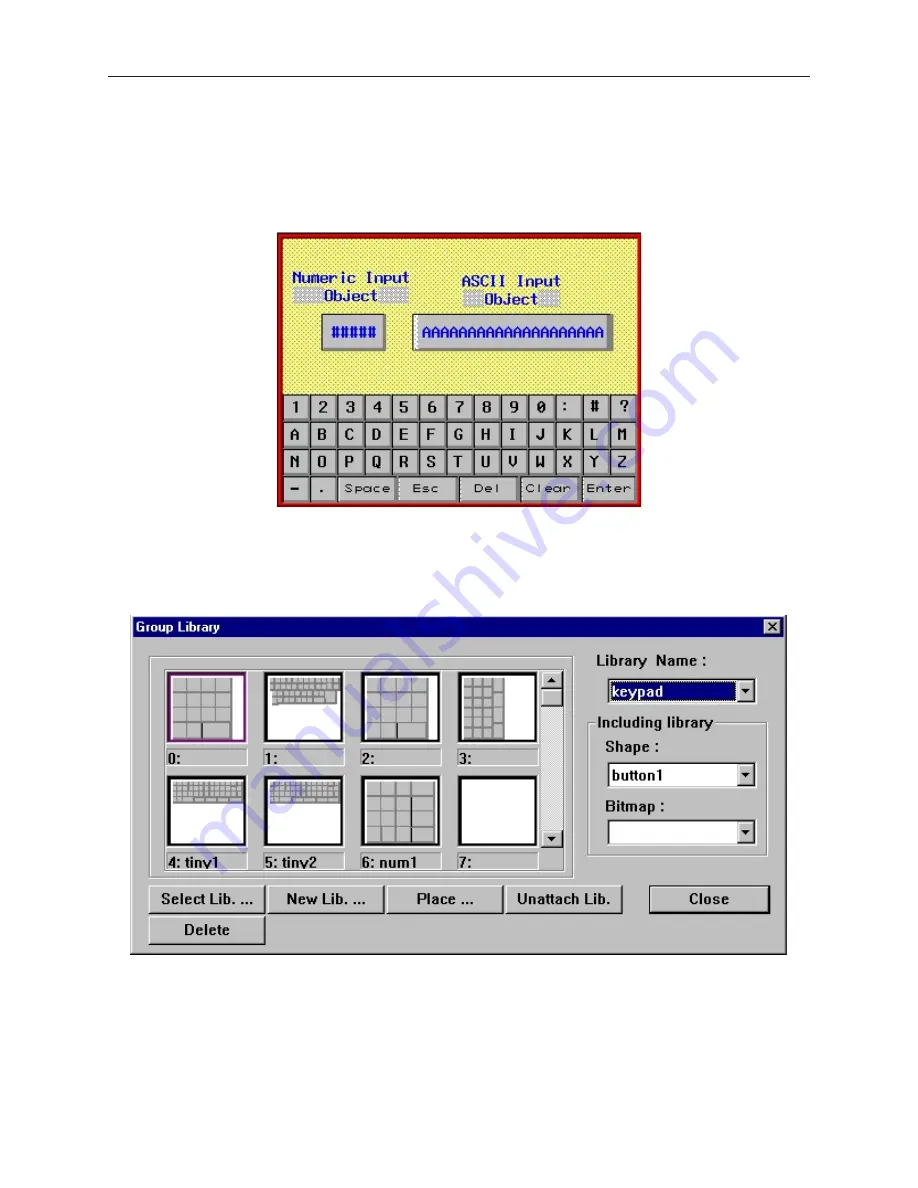
The screen we create should look like the following when finished:
4
To create a sample keypad entry screen
1.
Start a new project file, with the initial screen configured as the startup screen. Note: this is
the default setting. Display the initial screen in the work area of EasyBuilder.
2.
From the
Library
menu, click
Group
, and then click
Call up Library
. The Group Library
dialog box appears.
3.
Click on the
Library Name:
pull-down box to select the
keypad
library.
4.
Click on part 5, and then click
Place...
The Group Library dialog box closes and the keypad is
placed onto the upper left corner of the work area of EasyBuilder.
5.
Click on the part to move it to the lower half of the window screen.
1010-1001a, Rev 02
204
Sil ver Se ries In stal la tion & Op er a tion Man ual
Содержание Silver HMI504T
Страница 1: ...1010 1001A Rev 02...
Страница 20: ...1010 1001a Rev 02 16 Silver Series Installation Operation Manual OIT to PC Serial Port Pin Assignments...
Страница 32: ...1010 1001a Rev 02 28 Silver Series Installation Operation Manual...
Страница 128: ...1010 1001a Rev 01 124 Silver Series Installation Operation Manual...
Страница 156: ...1010 1001a Rev 02 152 Silver Series Installation Operation Manual...
Страница 166: ...1010 1001a Rev 02 162 Silver Series Installation Operation Manual...
Страница 216: ...1010 1001a Rev 01 212 Silver Series Installation Operation Manual...
Страница 251: ...1010 1001a Rev 02 Macros 247 Set Bit Objects Attributes Dialog Project Example of Add 2...
Страница 264: ...End Macro_Command 1010 1001a Rev 02 260 Silver Series Installation Operation Manual...
Страница 268: ...1010 1001a Rev 01 264 Silver Series Installation Operation Manual...


