5.
In the Frame section of the Style tab, click the pull-down arrow of the
Color
box and select a
color. Click
OK
in the Color dialog box to go back to the Scale Object’s Attribute dialog
box.
6.
Click on the line thickness that you want to use.
7.
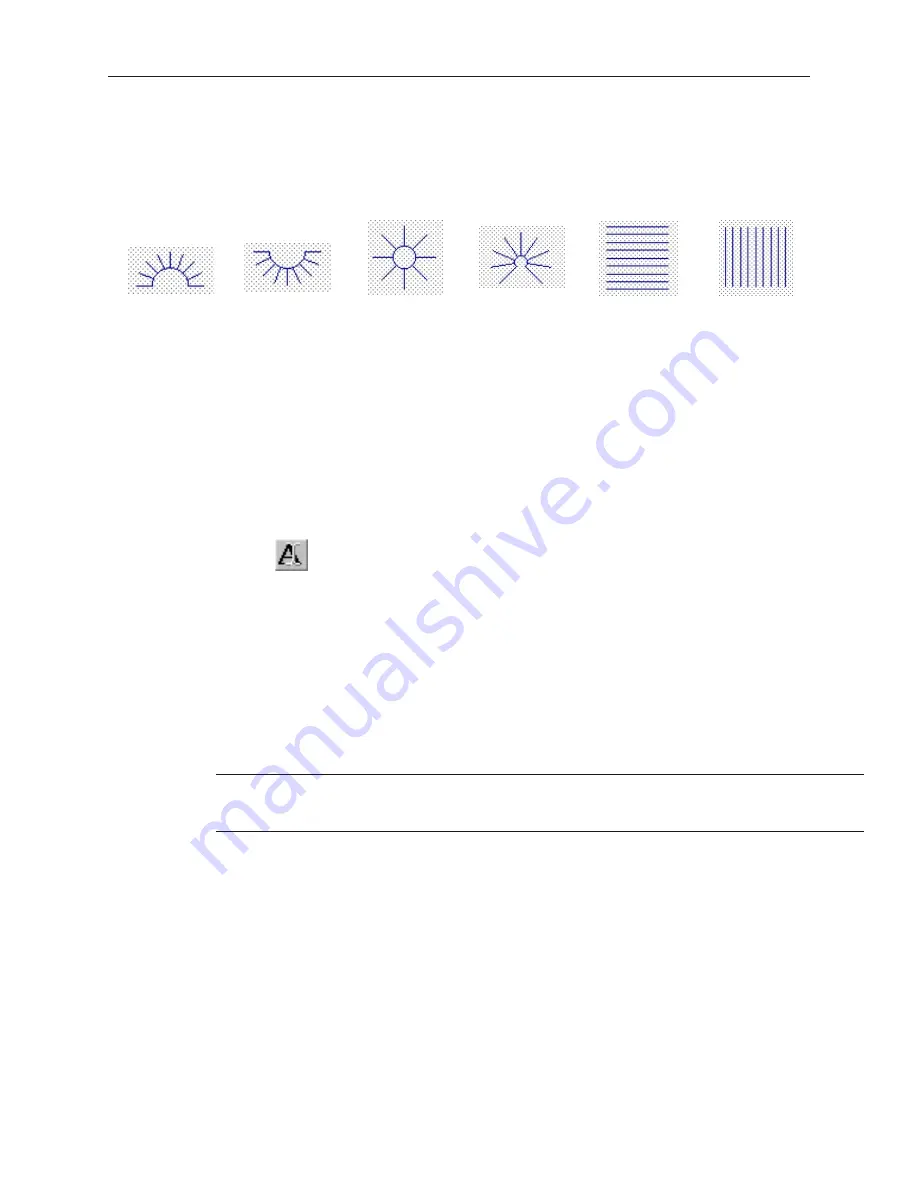
In the Scale section, select from one of the six
Styles
:
Up
Down
Full
¾ Size
Horizontal
Vertical
8.
Enter the number of divisions in the
Division:
box. For
Up, Down, Full,
and
¾
Size
enter
the
Meter Length
.
9.
Adjust the size and position of the scale in the Profile tab, if necessary.
10. Click
OK
. The Scale Object’s Attribute closes and the main screen of EasyBuilder reappears
with the Scale Object displayed. Scale lines are most often used when creating bar graphs,
scale meters, and trend graphs.
Using Text
EasyBuilder allows you to create text boxes using eight font sizes: 8, 16, 24, 32, 48, 64, 72, and 96. The text can be
displayed using any of the 256 colors available in the HMI520C, HMI520H HMI530C, or HMI550H or the four
shades available in the HMI520M and HMI550M. The text can be left, center, or right justified in the text box.
4
To create a text box
1.
From the
Draw
menu, click
Text
. Or click the
Text
icon in the Draw toolbar. The Create
Text Object dialog box appears.
2.
Select which color you want in the
Color:
box.
3.
Select the font size in the
Font:
box.
4.
Select the type of justification in
Align:
box.
5.
In the
Content:
box, enter the text that you would like to appear in the text box.
6.
Click
OK
. The main screen of EasyBuilder reappears with the outline of the text box tagged
to the cursor in the upper left corner of the work area.
7.
Move the text box to the area you wish to place it on the window and click.
8.
The text box appears with small square boxes around the perimeter. Click on another area of
the window to end the edit session or double-click to reedit the text box parameters.
If you wish to create your own characters, you can use the EasyASCIIFontMaker
program to edit the character sets. For more information, see the section “The
EasyASCIIFontMaker” in Chapter 4 “Using EZware-500”.
1010-1001a, Rev 02
128
Sil ver Se ries In stal la tion & Op er a tion Man ual
Содержание Silver HMI504T
Страница 1: ...1010 1001A Rev 02...
Страница 20: ...1010 1001a Rev 02 16 Silver Series Installation Operation Manual OIT to PC Serial Port Pin Assignments...
Страница 32: ...1010 1001a Rev 02 28 Silver Series Installation Operation Manual...
Страница 128: ...1010 1001a Rev 01 124 Silver Series Installation Operation Manual...
Страница 156: ...1010 1001a Rev 02 152 Silver Series Installation Operation Manual...
Страница 166: ...1010 1001a Rev 02 162 Silver Series Installation Operation Manual...
Страница 216: ...1010 1001a Rev 01 212 Silver Series Installation Operation Manual...
Страница 251: ...1010 1001a Rev 02 Macros 247 Set Bit Objects Attributes Dialog Project Example of Add 2...
Страница 264: ...End Macro_Command 1010 1001a Rev 02 260 Silver Series Installation Operation Manual...
Страница 268: ...1010 1001a Rev 01 264 Silver Series Installation Operation Manual...


