occurred, then try using the Direct Window object on the Common Window, (more about the common
window later in this chapter).
·
If you want to display one of many possible popup windows on any full screen window
, then try using
the Indirect Window object on the Common Window. You can then let the PLC determine which popup
window should be displayed or you can create several Set Word objects to allow the OIT operator to select
which window to look at, (more about the Set Word object in a succeeding chapter).
·
If you want to display a child popup window within a parent popup window
, then it is best to use either
the Indirect or Direct Window object not the Function Key object, even when you want the OIT operator to
press a key to display the child popup window. Using the Function Key object causes the popup window to
be displayed at the Window Setting position regardless of the location of the parent window. This means
that the child window could appear outside of the parent window’s area, especially if the parent window can
be moved about the OIT screen. By using the Indirect or Direct Window object, the child window will
always be located within the parent window even when the parent window has moved. To allow the OIT
operator to press a key to display the child popup window, configure a Set Word or Set Bit object to trigger
the Indirect or Direct Window object, (more about Set Word and Set Bit objects in a succeeding chapter).
Creating a moving window
The popup windows that you create for display on the OIT can be configured so that the OIT operator can touch the
window and touch somewhere else on the OIT display to move the window to that location. To create a popup
window that can be moved, you must perform the following steps:
1.
Create a popup window
2.
Add a Function Key object with the Window Bar attribute in the popup window
The best way to show how this is done is to go through an example.
4
Creating a moving window
1.
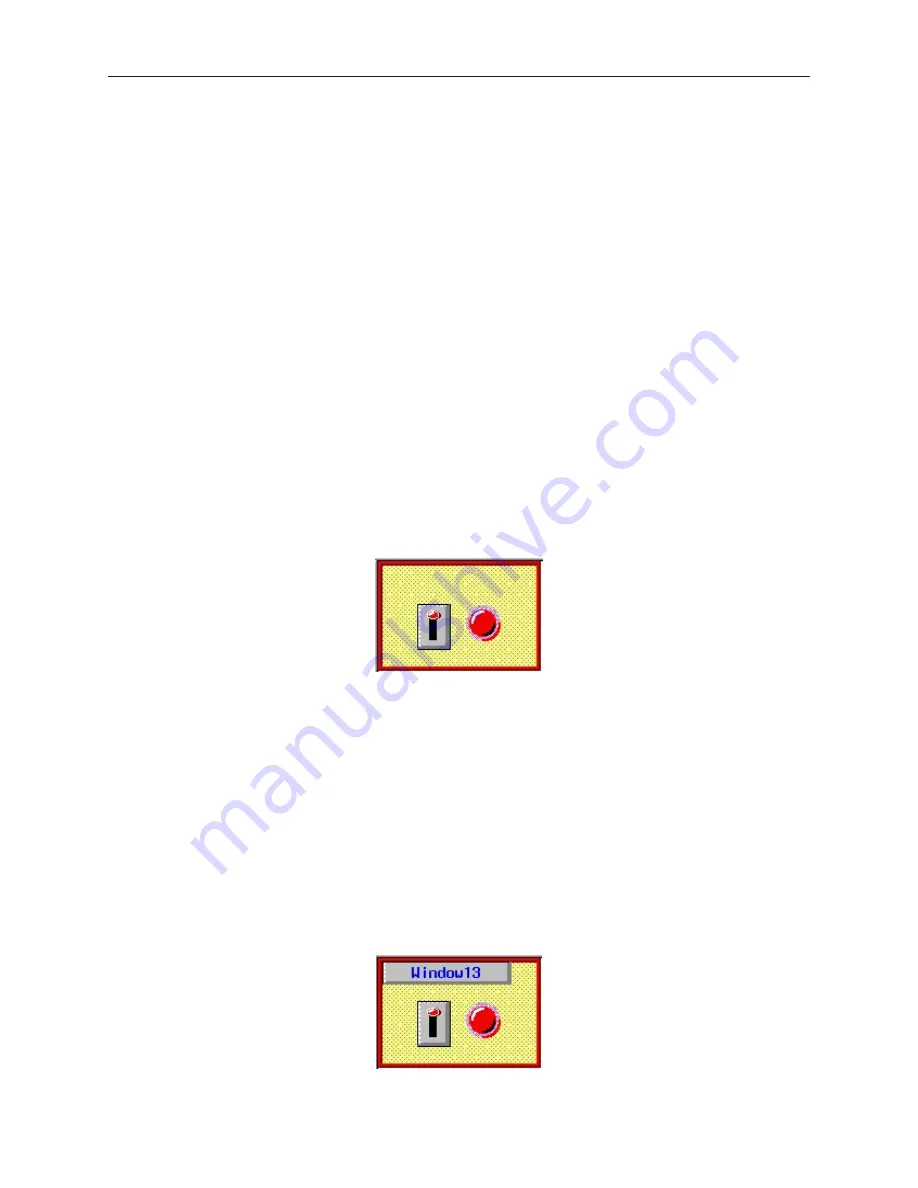
Create a new window that is 150 x 100 pixels similar to Window #13 shown below:
Note that it really doesn’t matter what type of objects are displayed in the window.
2.
From the
Parts
menu, select
Function Key
. The Create Function Key Object dialog box is
displayed.
3.
Click Window Bar.
4.
Click the
Shape
tab. Click
Use Shape
. Click on the
Shape Library…
command. Select
Shape#0
from the
button1
library. Click
OK
to return to the Create Function Key Object
dialog box.
5.
Click the
Label
tab. Click the
Use label
checkbox.
6.
Enter the text ‘Window #13’ into the
Contents
box. Click
OK
to exit the Create Function
Key Object dialog box and go back to the EasyBuilder main screen.
7.
Place the new Function Key object somewhere on Window #13. Reenter the Function Key
Attributes dialog box by double-clicking on the Function Key object.
8.
Click the
Profile
tab. Select
X=4
and
Y=4
. Select
Width=119
and
Height=21
.
9.
Click
OK
.
10. Window #13 should now look something like this:
1010-1001a, Rev 02
Cre ating Win dows
99
Содержание Silver HMI504T
Страница 1: ...1010 1001A Rev 02...
Страница 20: ...1010 1001a Rev 02 16 Silver Series Installation Operation Manual OIT to PC Serial Port Pin Assignments...
Страница 32: ...1010 1001a Rev 02 28 Silver Series Installation Operation Manual...
Страница 128: ...1010 1001a Rev 01 124 Silver Series Installation Operation Manual...
Страница 156: ...1010 1001a Rev 02 152 Silver Series Installation Operation Manual...
Страница 166: ...1010 1001a Rev 02 162 Silver Series Installation Operation Manual...
Страница 216: ...1010 1001a Rev 01 212 Silver Series Installation Operation Manual...
Страница 251: ...1010 1001a Rev 02 Macros 247 Set Bit Objects Attributes Dialog Project Example of Add 2...
Страница 264: ...End Macro_Command 1010 1001a Rev 02 260 Silver Series Installation Operation Manual...
Страница 268: ...1010 1001a Rev 01 264 Silver Series Installation Operation Manual...


