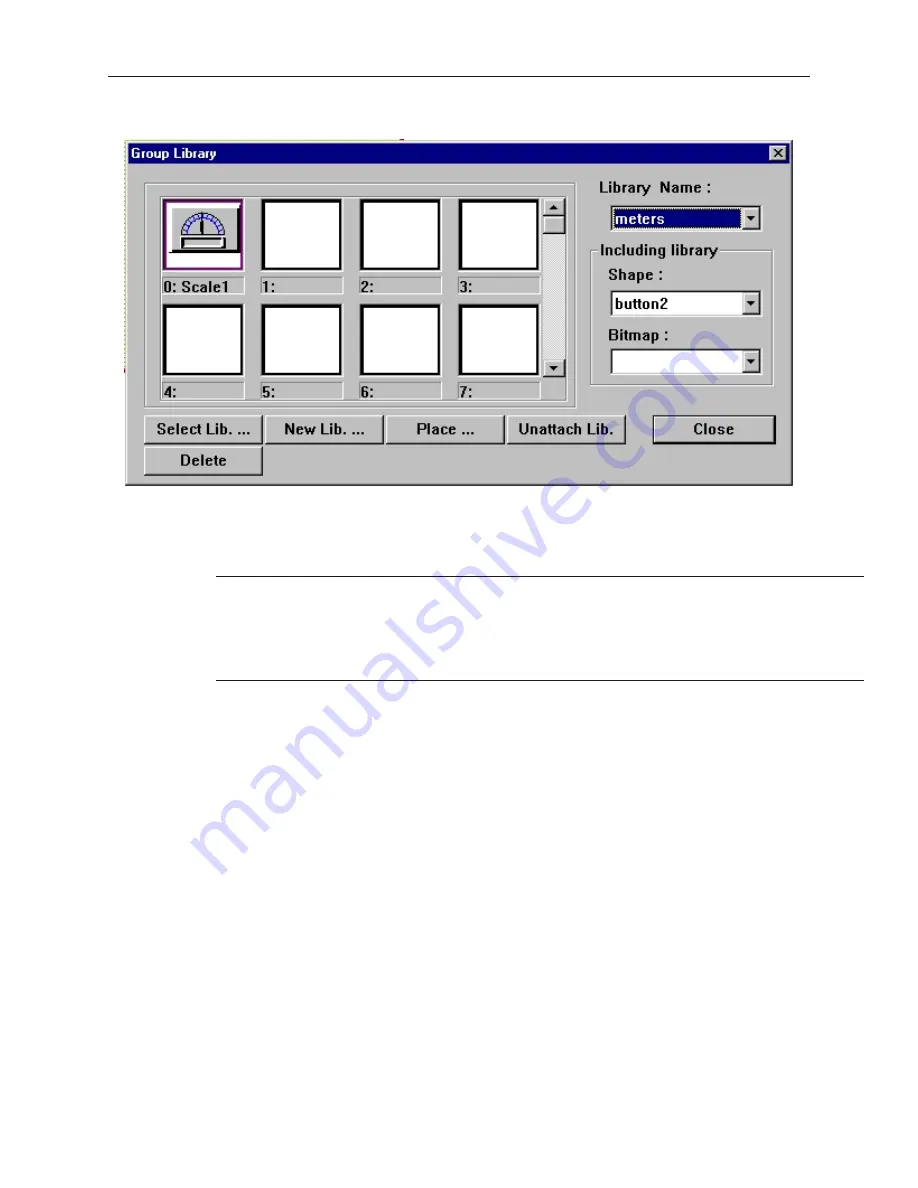
6.
Click
OK
. The Group Library dialog box appears with the group stored in the library.
7.
Notice that any shape or bitmap libraries used to create the group object are listed for your
reference in the
Including library
box.
8.
Click
Close
to return to the main screen of EasyBuilder.
9.
From the
File
menu, click
Save
to permanently save the group to the library.
When adding new group objects to existing group libraries that come with the
EZware-500 software, remember that any future upgrade that you receive from Maple
Systems may overwrite existing libraries during installation. This will delete any new
group objects that you have entered! Therefore, we recommend that you create new
libraries to store these group objects or make backup files of the libraries before
installing new upgrades.
If you find that some of the groups included in the libraries are not useful, you have the option of deleting them so
that they may be replaced by another group.
4
To delete a group from a library
1.
From the
Library
menu, click
Group
, then
Call up library
.
2.
Select the library that the group is located in.
3.
Click on the group that you wish to delete from the library.
4.
Click
Delete
. The group is removed from the library.
5.
Click
Close
to go back to the main screen of EasyBuilder.
6.
Save the project file to permanently save changes made to the library. Caution – once a
project is saved, the group is permanently deleted from the library and cannot be replaced.
Finally, to place a group object onto the work area for use or editing, do the following.
4
To place a group on the work area
1.
From the
Library
menu, click
Group
, then
Call up library
.
2.
Select the library that the group is located in. For this example, select
keypad
.
3.
Click on the group that you want to place on the work area. For this example, select item
0
.
4.
Click
Place…
The main screen of EasyBuilder reappears with the group in the upper-left
corner of the work area.
5.
Move the group object to the preferred location on the window.
1010-1001a, Rev 02
150
Sil ver Se ries In stal la tion & Op er a tion Man ual
Содержание Silver HMI504T
Страница 1: ...1010 1001A Rev 02...
Страница 20: ...1010 1001a Rev 02 16 Silver Series Installation Operation Manual OIT to PC Serial Port Pin Assignments...
Страница 32: ...1010 1001a Rev 02 28 Silver Series Installation Operation Manual...
Страница 128: ...1010 1001a Rev 01 124 Silver Series Installation Operation Manual...
Страница 156: ...1010 1001a Rev 02 152 Silver Series Installation Operation Manual...
Страница 166: ...1010 1001a Rev 02 162 Silver Series Installation Operation Manual...
Страница 216: ...1010 1001a Rev 01 212 Silver Series Installation Operation Manual...
Страница 251: ...1010 1001a Rev 02 Macros 247 Set Bit Objects Attributes Dialog Project Example of Add 2...
Страница 264: ...End Macro_Command 1010 1001a Rev 02 260 Silver Series Installation Operation Manual...
Страница 268: ...1010 1001a Rev 01 264 Silver Series Installation Operation Manual...


