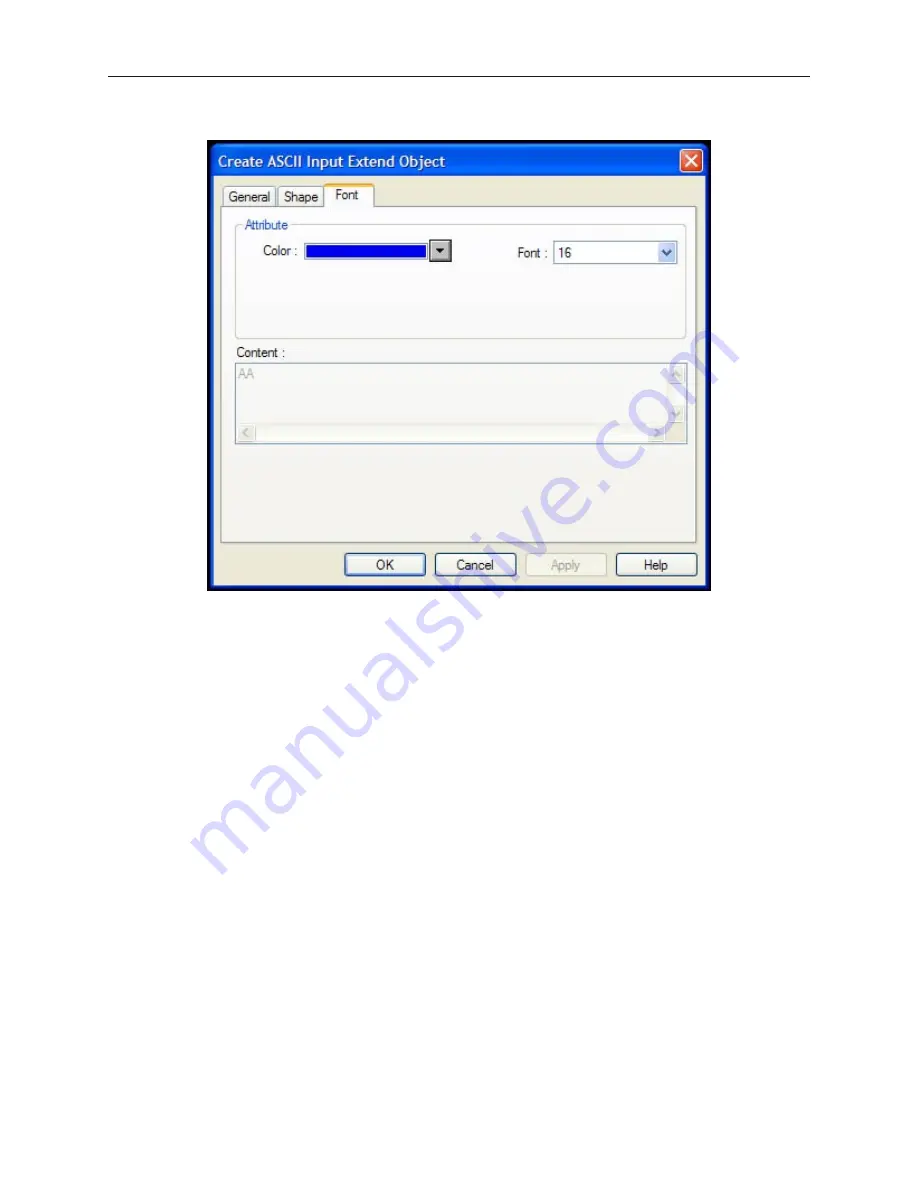
7.
Click the
Font
tab to display the Font form.
8.
Enter the color that you want for the characters displayed in the
Color:
box.
9.
Enter the size of the digits in the
Font:
box.
10. Click
OK
. The ASCII Input Object form closes and the main screen of EasyBuilder appears
with the cursor tied to a rectangular outline of the part you just created at the upper left corner
of the screen. Move the part to the desired location on the window.
11. Once the part is placed onto the window, you can modify the attributes by double-clicking on
the part to display the ASCII Input Extend Object’s Attribute dialog box. You may also
resize the object by single clicking on the object and pulling the border of the object to the
appropriate size. The object’s associated text may be repositioned by clicking on the object,
and then by dragging the text to it’s new position.
The Moving Shape Ob ject
The Moving Shape Object performs three functions depending upon the values in three consecutive PLC registers:
·
Similar to the Word Lamp Object, the Moving Shape object continuously reads a PLC register and displays
the corresponding shape or bitmap that is tagged to the number of states defined
·
the Moving Shape object continuously reads a second PLC register to determine where along an x-axis to
display the shape or bitmap
·
the Moving Shape object continuously reads a third PLC register to determine where along a y-axis to
display the shape or bitmap.
This feature allows you to create a shape or bitmap on a screen that can change the way it looks as well as where it
is located on the OIT screen depending upon the control of the PLC. This can be used to simulate a control process
such as some products moving on a conveyor system to different parts of the plant.
1010-1001a, Rev 02
194
Sil ver Se ries In stal la tion & Op er a tion Man ual
Содержание Silver HMI504T
Страница 1: ...1010 1001A Rev 02...
Страница 20: ...1010 1001a Rev 02 16 Silver Series Installation Operation Manual OIT to PC Serial Port Pin Assignments...
Страница 32: ...1010 1001a Rev 02 28 Silver Series Installation Operation Manual...
Страница 128: ...1010 1001a Rev 01 124 Silver Series Installation Operation Manual...
Страница 156: ...1010 1001a Rev 02 152 Silver Series Installation Operation Manual...
Страница 166: ...1010 1001a Rev 02 162 Silver Series Installation Operation Manual...
Страница 216: ...1010 1001a Rev 01 212 Silver Series Installation Operation Manual...
Страница 251: ...1010 1001a Rev 02 Macros 247 Set Bit Objects Attributes Dialog Project Example of Add 2...
Страница 264: ...End Macro_Command 1010 1001a Rev 02 260 Silver Series Installation Operation Manual...
Страница 268: ...1010 1001a Rev 01 264 Silver Series Installation Operation Manual...


