GE
D
IRECTION
FQ091019, R
EVISION
2
V
IVID Q
N S
ERVICE
M
ANUAL
8-126
Section 8-6 - Performing a Complete System Back-up
Section 8-6
Performing a Complete System Back-up
8-6-1
Database Merge
The Database Merge process can be implemented by using the Import/Export functions of the
Vivid q N system, as described in the procedure below.
8-6-1-1
Preparation
1.) If not already connected, connect the DVD\CD-RW to the USB port at the rear of the system and
connect power to the DVD\CD-RW drive.
2.) Press the <Eject> button of the DVD\CD-RW drive to verify that no disc is present in the disk drive.
8-6-1-2
Database Merge Procedure
8-6-1-2-1
Running Disk Management
NOTE:
See Disk Management in the Vivid i n or Vivid q N User’s Manual on your document CD.
1.) Insert media (e.g. CD/DVD) or connect to a network repository.
2.) From the keyboard, press the
Config
button.
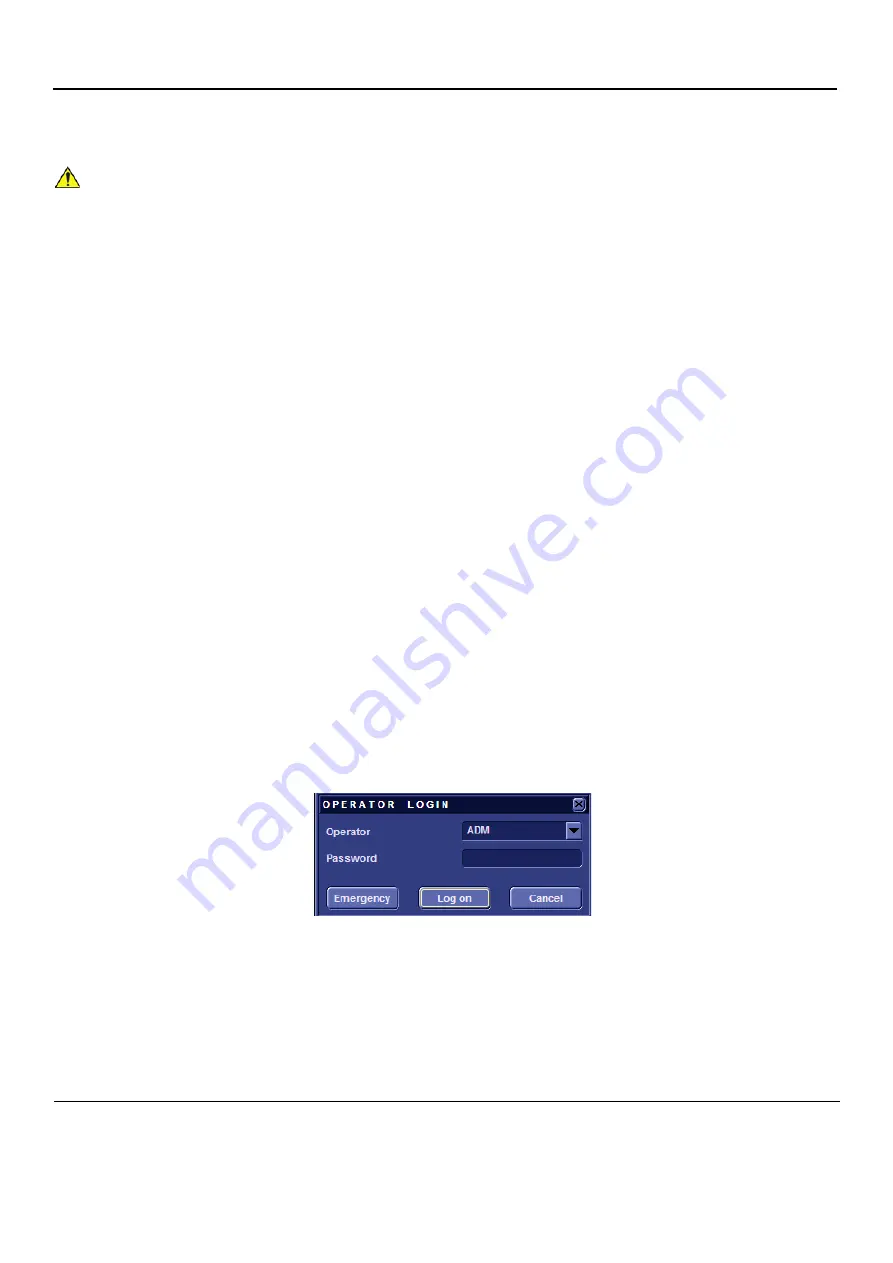
The Operator Logon screen opens - see
.
3.) In the password field, type the required password.
NOTE:
The Operator Logon screen only appears after the first boot up of the system.
4.) Insert media (e.g. CD DVD) or connect to a network repository
.
5.) Click the
Admin
tab at the bottom of the screen.
6.) Click the
Disk Management
tab at the top of the screen - see
NOTICE
IMPORTANT
: Contact the customer and request that a full incremental back-up be performed prior to
upgrade. If necessary, refer them to the Vivid q N User Manual. Ask for removal (delete) of un-necessary
patient information, so that the back-up process will require minimal time.
Remind customers that GE strongly recommends that periodic back-ups of their Archive be performed.
This routine back-up process will assure the retention of all the information that is temporarily saved
into the local Archive (hard-disk). The permanent Archive is the backed-up Archive on the variety of
medias.
Do not proceed with the upgrade process if a complete incremental back-up process has not
been performed.
Contact the On-Line Center to resolve any back-up process issues, before
proceeding with the upgrade. Ignore this note if back-up of patient information is not required, as per
the customer’s instructions.
Figure 8-129 Operator Logon Screen
Содержание FQ000040
Страница 2: ......
Страница 10: ...GE DIRECTION FQ091019 REVISION 2 VIVID Q N SERVICE MANUAL viii 3 SEP 2015 FRONTMATTER FM P R E L I M I N A R Y ...
Страница 11: ...GE DIRECTION FQ091019 REVISION 2 VIVID Q N SERVICE MANUAL ix 3 SEP 2015 FRONTMATTER FM P R E L I M I N A R Y ...
Страница 12: ...GE DIRECTION FQ091019 REVISION 2 VIVID Q N SERVICE MANUAL x 3 SEP 2015 FRONTMATTER FM P R E L I M I N A R Y ...
Страница 13: ...GE DIRECTION FQ091019 REVISION 2 VIVID Q N SERVICE MANUAL xi 3 SEP 2015 FRONTMATTER FM P R E L I M I N A R Y ...
Страница 14: ...GE DIRECTION FQ091019 REVISION 2 VIVID Q N SERVICE MANUAL xii 3 SEP 2015 FRONTMATTER FM P R E L I M I N A R Y ...
Страница 348: ...GE DIRECTION FQ091019 REVISION 2 VIVID Q N SERVICE MANUAL 6 4 Figure 6 6 Identifying Monitor Type ...
Страница 697: ......
Страница 698: ... 2013 and 2015 General Electric Company GE Vingmed Ultrasound AS P O Box 141 N 3191 HORTEN NORWAY www gehealthcare com ...


