Exinda Network Orchestrator
2 Getting started
|
96
Related Topics
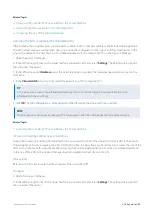
Adjusting the number of CPUs available to the Virtual Machine
Adjusting the NICs available to the Virtual Machine
Increasing the size of the virtual hard drive
Adjusting the NICs available to the Virtual Machine
After installing the virtual machine, you will need to enable the NICs that are available to the Exinda Virtual Appliance.
The basic virtual machine configuration does not include the configuration necessary to link the virtual devices to the
physical hardware on the host machine. You make adjustments to the number of CPUs in the Hyper-V Manager.
1.
Open the Hyper-V Manager.
2.
In the left pane, right-click on the virtual machine you need to edit and select
Settings
. The Settings dialog box for
the virtual machine opens.
3.
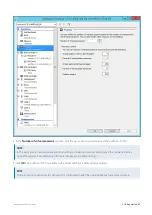
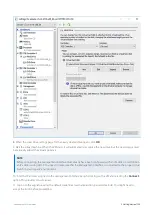
In the left pane, under
Hardware
, select the network adapter to update. The network adapter settings open in the
right pane.
4.
In the
Virtual switch
drop-down list, select the network to which to map the NIC.
TIP
In this pane you can also enable Bandwidth Management. Consult the Hyper-V documentation for more
information on these settings.
5.
Click
OK
. The NIC configuration is immediately modified for when the virtual machine is started.
NOTE
These instructions also apply to changing the configuration after the virtual appliance has entered service.
Related Topics
Adjusting the number of CPUs available to the Virtual Machine
Increase storage by adding new virtual drives
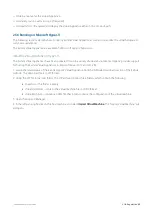
During the process of installing the virtual machine, you needed to connect the virtual hard drive (VHD) to the Exinda
Virtual Appliance. Prior to powering the VM on for the first time, it is likely that you should need to increase the size of the
VHD. You can also make this adjustment after bringing the Exinda Virtual Appliance into service. You make adjustments
to the size of the VHD in the Hyper-V Manager by adding additional hard drives to the VM.
Prerequisites
Before starting this task, ensure that the virtual machine is switched off.
Procedure
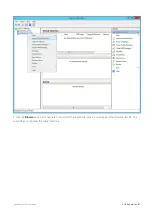
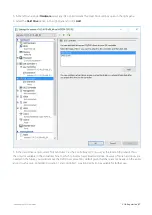
1.
Open the Hyper-V Manager.
2.
In the left pane, right-click on the virtual machine you need to edit and select
Settings
. The Settings dialog box for
the virtual machine opens.
Содержание EXNV-10063
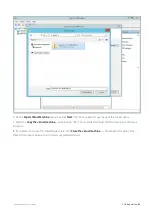
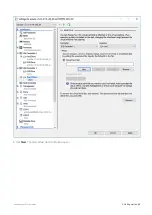
Страница 98: ...Exinda Network Orchestrator 2 Getting started 98 6 Click New The New Virtual Hard Disk wizard opens ...
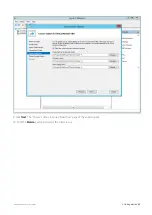
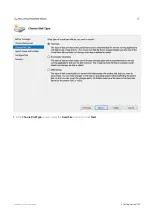
Страница 99: ...Exinda Network Orchestrator 2 Getting started 99 7 Select VHDX as the Disk Format type and click Next ...
Страница 130: ...Exinda Network Orchestrator 2 Getting started 130 Screenshot 35 The life cycle of configuration status ...
Страница 369: ...Exinda Network Orchestrator 4 Settings 369 ...
Страница 411: ...Exinda Network Orchestrator 4 Settings 411 Screenshot 168 P2P OverflowVirtualCircuit ...
Страница 420: ...Exinda Network Orchestrator 4 Settings 420 Screenshot 175 Students OverflowVirtualCircuit ...
Страница 451: ...Exinda Network Orchestrator 4 Settings 451 ...

