Exinda Network Orchestrator
2 Getting started
|
88
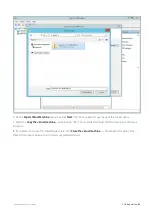
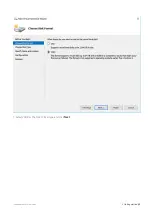
6.
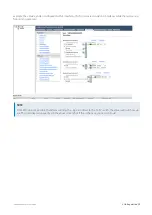
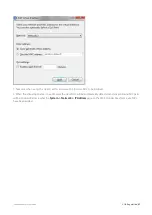
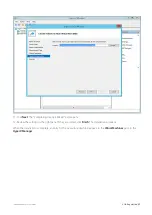
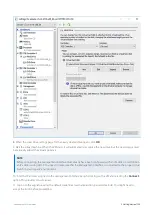
On the
Import Virtual Machine
dialog box, click
Next
. The "Choose Import Type" page of the wizard opens.
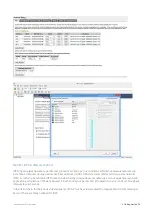
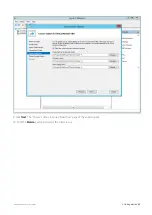
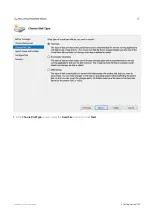
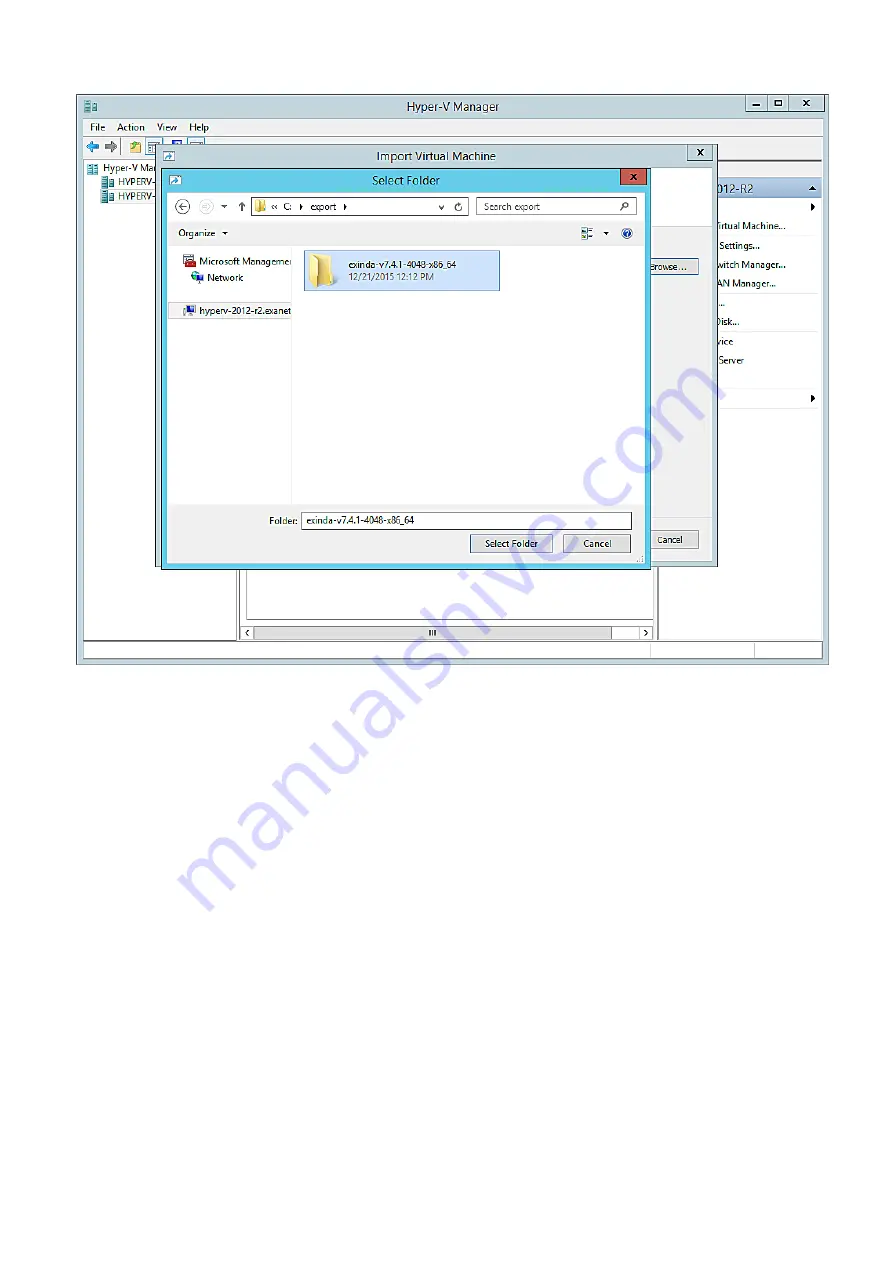
7.
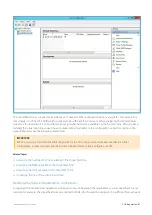
Select the
Copy the virtual machine…
radio button. The "Choose Folder for Virtual Machine Files" page of the wiz-
ard opens.
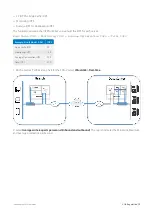
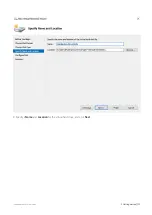
8.
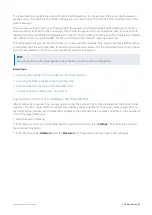
If you prefer not to use the default folders, select the
Store the virtual machine…
checkbox and for each of the
three folder options browse to and select your preferred folder.
Содержание EXNV-10063
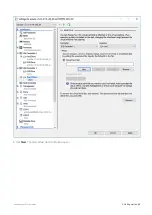
Страница 98: ...Exinda Network Orchestrator 2 Getting started 98 6 Click New The New Virtual Hard Disk wizard opens ...
Страница 99: ...Exinda Network Orchestrator 2 Getting started 99 7 Select VHDX as the Disk Format type and click Next ...
Страница 130: ...Exinda Network Orchestrator 2 Getting started 130 Screenshot 35 The life cycle of configuration status ...
Страница 369: ...Exinda Network Orchestrator 4 Settings 369 ...
Страница 411: ...Exinda Network Orchestrator 4 Settings 411 Screenshot 168 P2P OverflowVirtualCircuit ...
Страница 420: ...Exinda Network Orchestrator 4 Settings 420 Screenshot 175 Students OverflowVirtualCircuit ...
Страница 451: ...Exinda Network Orchestrator 4 Settings 451 ...

