


Exinda Network Orchestrator
4 Settings
|
433
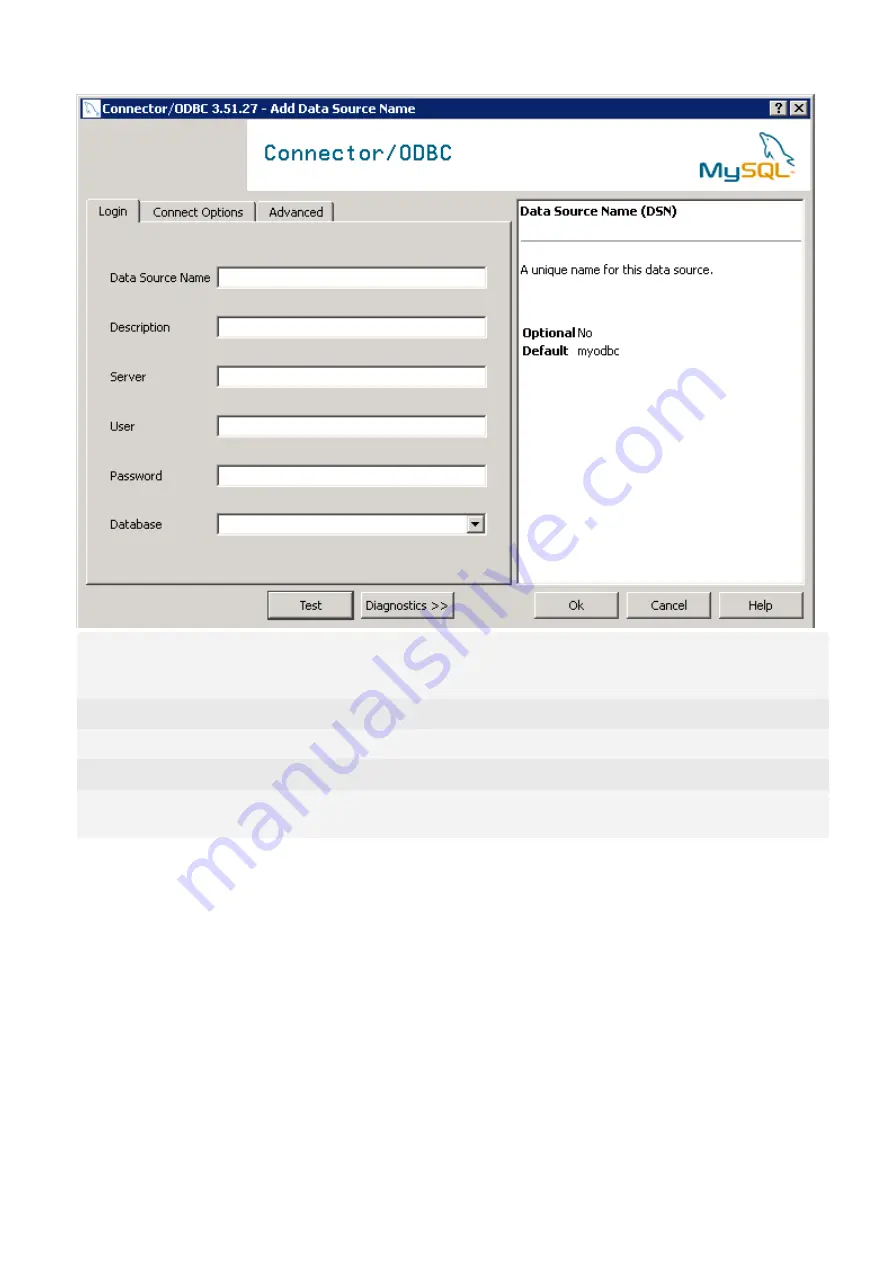
Data Source
Name /
Description
Enter a descriptive name for the DSN. E.g. 'Exinda SQL Database'.
Server
Enter the IP address of the Exinda appliance.
User
Enter the username you specified when enabling SQL access on the Exinda appliance.
Password
Enter the password you specified when enabling SQL access on the Exinda appliance.
Database
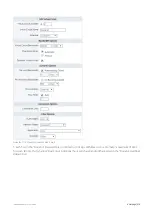
Once the above fields are configured, press the 'Test' button. If the connection attempt is successful, the
'Database' drop down will be populated with a list of available databases. Select 'monitor'.
Here is what a successful configuration looks like:
Содержание EXNV-10063
Страница 98: ...Exinda Network Orchestrator 2 Getting started 98 6 Click New The New Virtual Hard Disk wizard opens ...
Страница 99: ...Exinda Network Orchestrator 2 Getting started 99 7 Select VHDX as the Disk Format type and click Next ...
Страница 130: ...Exinda Network Orchestrator 2 Getting started 130 Screenshot 35 The life cycle of configuration status ...
Страница 369: ...Exinda Network Orchestrator 4 Settings 369 ...
Страница 411: ...Exinda Network Orchestrator 4 Settings 411 Screenshot 168 P2P OverflowVirtualCircuit ...
Страница 420: ...Exinda Network Orchestrator 4 Settings 420 Screenshot 175 Students OverflowVirtualCircuit ...
Страница 451: ...Exinda Network Orchestrator 4 Settings 451 ...