Exinda Network Orchestrator
2 Getting started
|
103
8.
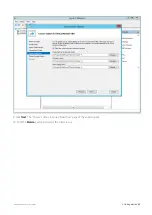
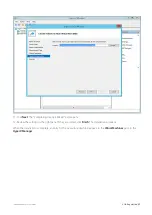
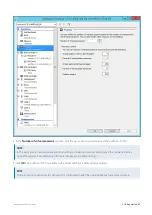
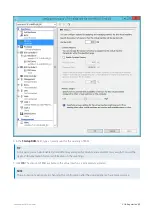
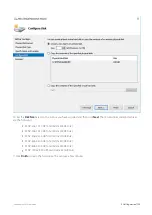
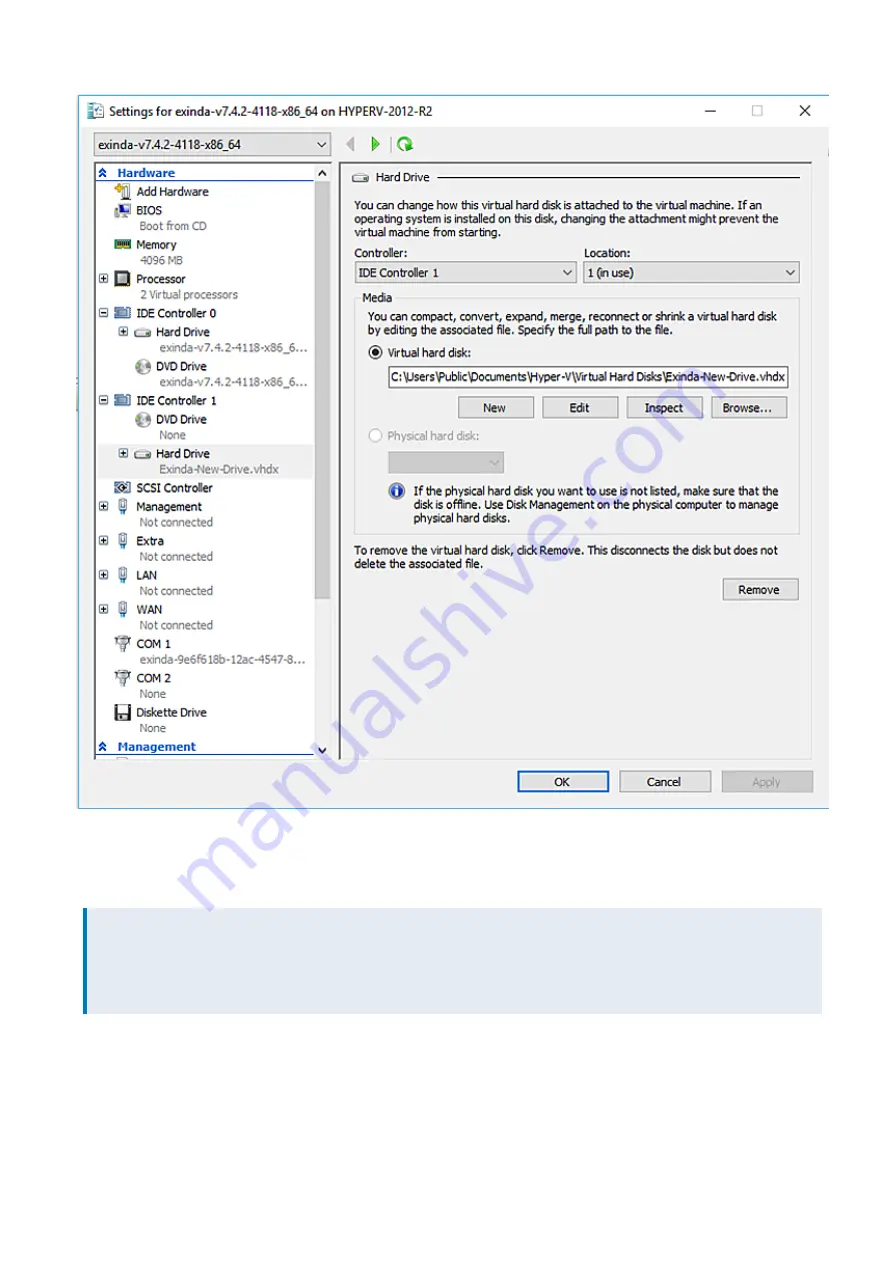
When the Hard Drive settings page for the newly created drive opens, click
OK
.
9.
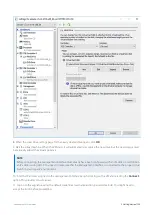
Start the virtual machine. When the VM starts, it will automatically recognize the new drive, but the new storage must
be manually added the virtual appliance.
NOTE
Before connecting, the management interface must already have been configured with an IP address or will obtain
an IP address using DHCP. You need to make sure that the Management Interface is connected to the proper Virtual
Switch in your Hyper-V environment.
10.
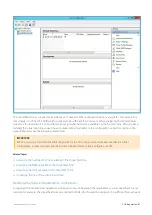
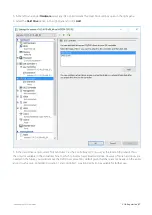
Find the IP address assigned to the management interface by right-clicking on the VM and selecting the
Connect
option. This provides console access.
11.
Log on to the appliance using the default credentials (username: admin, password: exinda). You might need to
accept the EULA before proceeding.
Содержание EXNV-10063
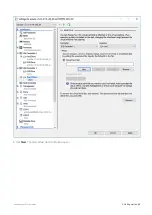
Страница 98: ...Exinda Network Orchestrator 2 Getting started 98 6 Click New The New Virtual Hard Disk wizard opens ...
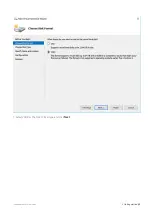
Страница 99: ...Exinda Network Orchestrator 2 Getting started 99 7 Select VHDX as the Disk Format type and click Next ...
Страница 130: ...Exinda Network Orchestrator 2 Getting started 130 Screenshot 35 The life cycle of configuration status ...
Страница 369: ...Exinda Network Orchestrator 4 Settings 369 ...
Страница 411: ...Exinda Network Orchestrator 4 Settings 411 Screenshot 168 P2P OverflowVirtualCircuit ...
Страница 420: ...Exinda Network Orchestrator 4 Settings 420 Screenshot 175 Students OverflowVirtualCircuit ...
Страница 451: ...Exinda Network Orchestrator 4 Settings 451 ...

