Exinda Network Orchestrator
3 Using
|
182
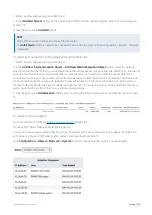
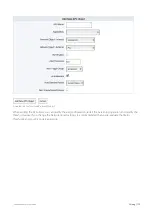
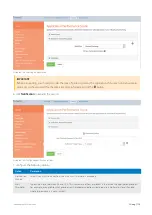
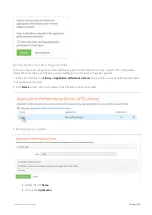
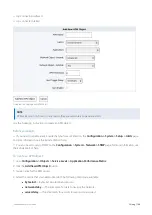
rics will appear on the screen. Or edit the APS object in the list, then on the
Edit APS Object
form, the
Scoring Metrics
appear at the bottom of the form.
3.
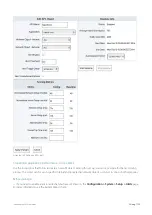
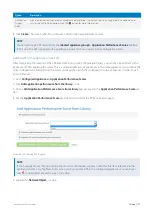
Enter or modify the values for the metrics that you are interested in setting thresholds for. Note that any metric that
does not have a threshold set will not be analyzed when calculating the APS score.
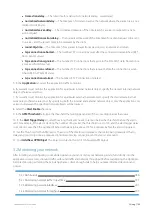
Network delay – the time taken for data to traverse the network (on the wire) in one direction from the client
through the Exinda appliance to the server (or in the opposite direction) in ms
Server delay – the time taken for a server to respond to the request in ms
Normalized network delay – the time taken for data to traverse the network in one direction, where the
delay is measured independent of the transaction size by assuming a normalized packet size of 1024 bytes
Normalized server delay – the time taken for a server to respond to the request, where the delay is measured
independent of the transaction size by assuming a normalized packet size of 1024 bytes
Round-trip time – the time taken for a packet to travel from a client through the Exinda appliance to the
server and back
Jitter – the measure of variability of network delay, defined as one standard deviation of normalized network
delay
Inbound loss – the percentage of packet loss on inbound traffic
Outbound loss – the percentage of packet loss on outbound traffic
4.
Click
Apply Changes
.
To save the changes to the configuration file, in the status bar click the Unsaved changes menu and select Save
configuration changes.
Configuring automatic APS threshold calculation
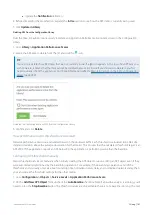
The baselining process can be started when initially creating the APS object or upon editing an APS object. At any time
you can restart the baselining process if you would like the system to recalculate the thresholds.
1.
Go to
Configuration > Objects > Service Levels > Application Performance Score
.
2.
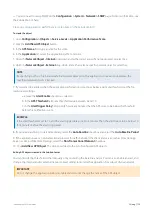
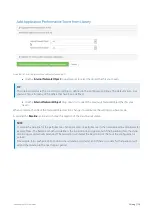
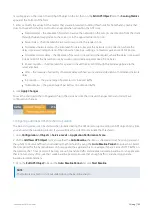
On the
Add New APS Object
form, ensure that the
Auto Baseline
checkbox is checked and set how long you want
the system to observe traffic when calculating the thresholds by using the
Auto Baseline Period
drop-down list. Select
the time period for the baseline based on how popular the application is. For example, if there is a lot of HTTP traffic on
the network, the 1 hour period will be long enough to analyze traffic and create an accurate baseline. For an application
that is not used very often, use the 1 week baseline period to ensure that enough traffic is analyzed to generate
baseline recommendations.
3.
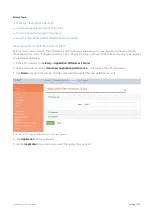
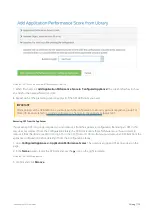
Or on the
Edit APS Object
form, set the
Auto Baseline Period
and click
Start Baseline
.
NOTE
The Network Loss metric is not calculated during the baseline analysis.
Содержание EXNV-10063
Страница 98: ...Exinda Network Orchestrator 2 Getting started 98 6 Click New The New Virtual Hard Disk wizard opens ...
Страница 99: ...Exinda Network Orchestrator 2 Getting started 99 7 Select VHDX as the Disk Format type and click Next ...
Страница 130: ...Exinda Network Orchestrator 2 Getting started 130 Screenshot 35 The life cycle of configuration status ...
Страница 369: ...Exinda Network Orchestrator 4 Settings 369 ...
Страница 411: ...Exinda Network Orchestrator 4 Settings 411 Screenshot 168 P2P OverflowVirtualCircuit ...
Страница 420: ...Exinda Network Orchestrator 4 Settings 420 Screenshot 175 Students OverflowVirtualCircuit ...
Страница 451: ...Exinda Network Orchestrator 4 Settings 451 ...

