Exinda Network Orchestrator
2 Getting started
|
85
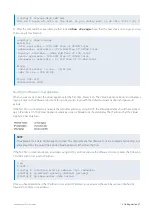
(config) # storage disk add xvdb
This will erase all data on the disk. Do you really want to do this (Y/N)? [N] Y
6.
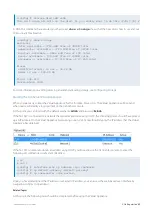
After this command has executed, another look at
show storage
shows that the new disk is now in use and our
200G is ready for allocation.
(config) # show storage
Services:
cifs: available - 3743.46M free of 3876M total
edge-cache: available - 3723.53M free of 3872M total
monitor: available - 9882.83M free of 10G total
users: available - 974.62M free of 1024M total
wan-memory: available - 17.21G free of 17.65G total
Disks:
xvda10(internal): in use - 36.22 GB
xvdb: in use - 200.00 GB
Total: 236.21G
Unallocated: 200G
For more information on adding disks in general and allocating storage, see
.
Starting the XenServer Virtual Appliance
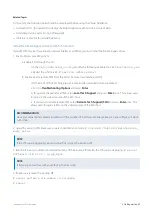
When you are ready to boot the Virtual Appliance for the first time, Power it on. The Virtual Appliance will boot, and
when ready, will display a login prompt on the XenCenter console.
At this point, you can login with the default username
admin
and password
Exinda
.
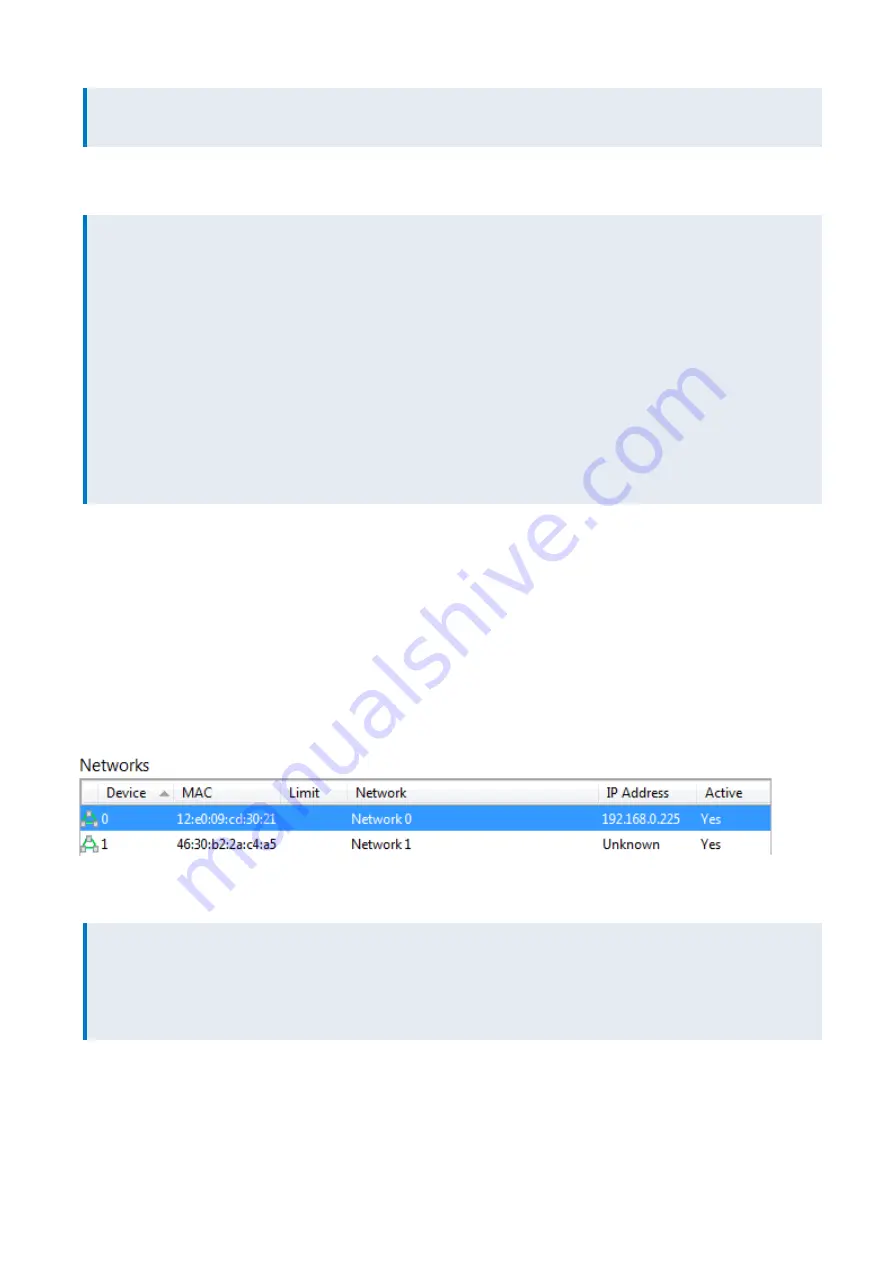
If the first NIC is connected to a network that provides addresses using DHCP, the Virtual Appliance should have picked
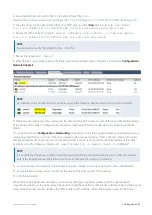
up an IP address. On the Virtual Appliance Networking screen, XenCenter should display the IP address that the Virtual
Appliance has obtained.
If the first NIC is not able to obtain an address using DHCP, you'll need to use the XenCenter console to enter the
following CLI commands to set a static IP address.
> en
# con t
(config) # interface eth0 ip address <ip> <netmask>
(config) # ip default-gateway <default gateway>
(config) # ip name-server <dns server>
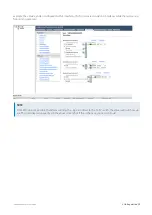
Once you have determined the IP address or set a static IP address, you can access the web-based user interface by
navigating to https://<ip address>.
Related Topics
At this point, the following tasks should be completed before using the Virtual Appliance:
Содержание EXNV-10063
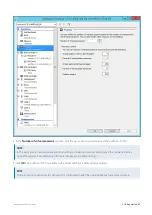
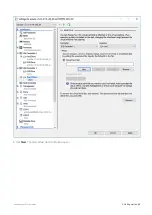
Страница 98: ...Exinda Network Orchestrator 2 Getting started 98 6 Click New The New Virtual Hard Disk wizard opens ...
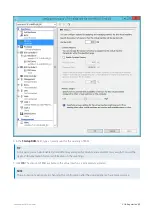
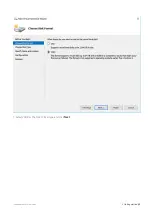
Страница 99: ...Exinda Network Orchestrator 2 Getting started 99 7 Select VHDX as the Disk Format type and click Next ...
Страница 130: ...Exinda Network Orchestrator 2 Getting started 130 Screenshot 35 The life cycle of configuration status ...
Страница 369: ...Exinda Network Orchestrator 4 Settings 369 ...
Страница 411: ...Exinda Network Orchestrator 4 Settings 411 Screenshot 168 P2P OverflowVirtualCircuit ...
Страница 420: ...Exinda Network Orchestrator 4 Settings 420 Screenshot 175 Students OverflowVirtualCircuit ...
Страница 451: ...Exinda Network Orchestrator 4 Settings 451 ...

