


Exinda Network Orchestrator
3 Using
|
146
added.
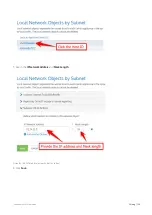
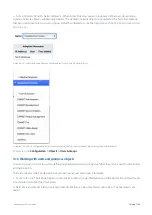
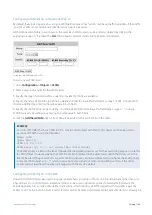
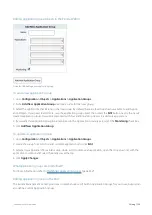
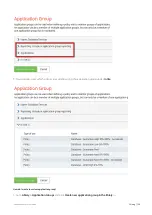
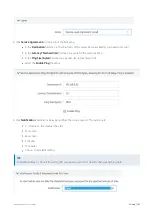
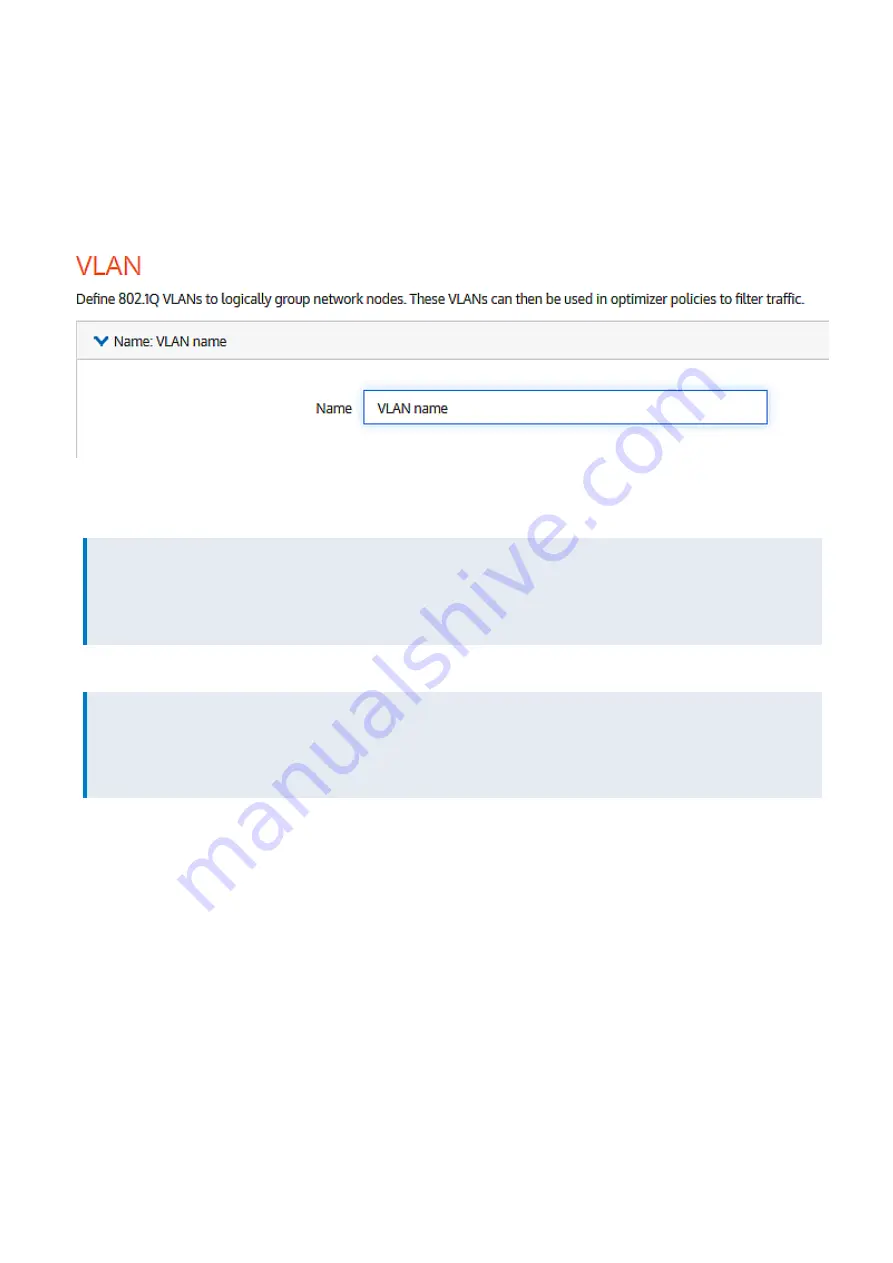
To add a new VLAN object
1.
Go to
Library > VLANs
.
2.
Click
Create new VLAN in the library…
.
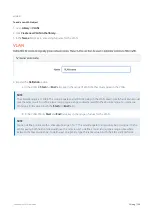
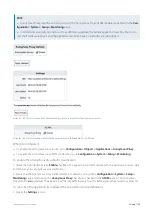
3.
In the
Name
field, key-in a meaningful name for the VLAN.
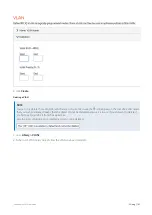
4.
Expand the
Definition
section:
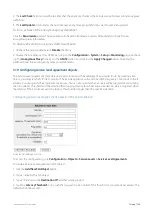
a.
In the VLAN ID
Start
and
End
fields, key-in the range of VLAN IDs that must appear in the VLAN.
NOTE
The absolute range is 0–4094. This would equate to all VLAN IDs being in the VLAN. Leaving both fields blank would
give the same result. To define a lesser range, type a range somewhere within the absolute range. To isolate one
VLAN, type its ID value in both the
Start
and
End
fields.
b.
In the VLAN Priority
Start
and
End
fields, key-in the range of values for this VLAN.
NOTE
You can define priorities within a maximum range of 0–7. This would equate to all priorities being assigned to the
VLAN. Leaving both fields blank would give the same result. To define a lesser range, type a range somewhere
between the maximum range. To define just one priority, type the same value in both the Start and End fields.
Содержание EXNV-10063
Страница 98: ...Exinda Network Orchestrator 2 Getting started 98 6 Click New The New Virtual Hard Disk wizard opens ...
Страница 99: ...Exinda Network Orchestrator 2 Getting started 99 7 Select VHDX as the Disk Format type and click Next ...
Страница 130: ...Exinda Network Orchestrator 2 Getting started 130 Screenshot 35 The life cycle of configuration status ...
Страница 369: ...Exinda Network Orchestrator 4 Settings 369 ...
Страница 411: ...Exinda Network Orchestrator 4 Settings 411 Screenshot 168 P2P OverflowVirtualCircuit ...
Страница 420: ...Exinda Network Orchestrator 4 Settings 420 Screenshot 175 Students OverflowVirtualCircuit ...
Страница 451: ...Exinda Network Orchestrator 4 Settings 451 ...