Exinda Network Orchestrator
4 Settings
|
471
Exinda Communities: adding, editing, and removing appliances
Use the following sets of instructions to edit the listing of Exinda community members. For appliances with firmware
versions v6.4.0 or later, you do not need to manage communities unless you want such an appliance to join a community
created for a pre-6.4.0 appliance group.
NOTE
An Exinda appliance can belong to multiple community groups. By default, all appliances belong to the community
group with Group ID 0. As a security measure, the
Community Group ID
can be used like a PIN to restrict access to
any other Exinda appliance from joining your community.
Manually adding an Exinda appliance to the community
1.
Go to
Configuration > System > Optimization > Community
.
2.
In the
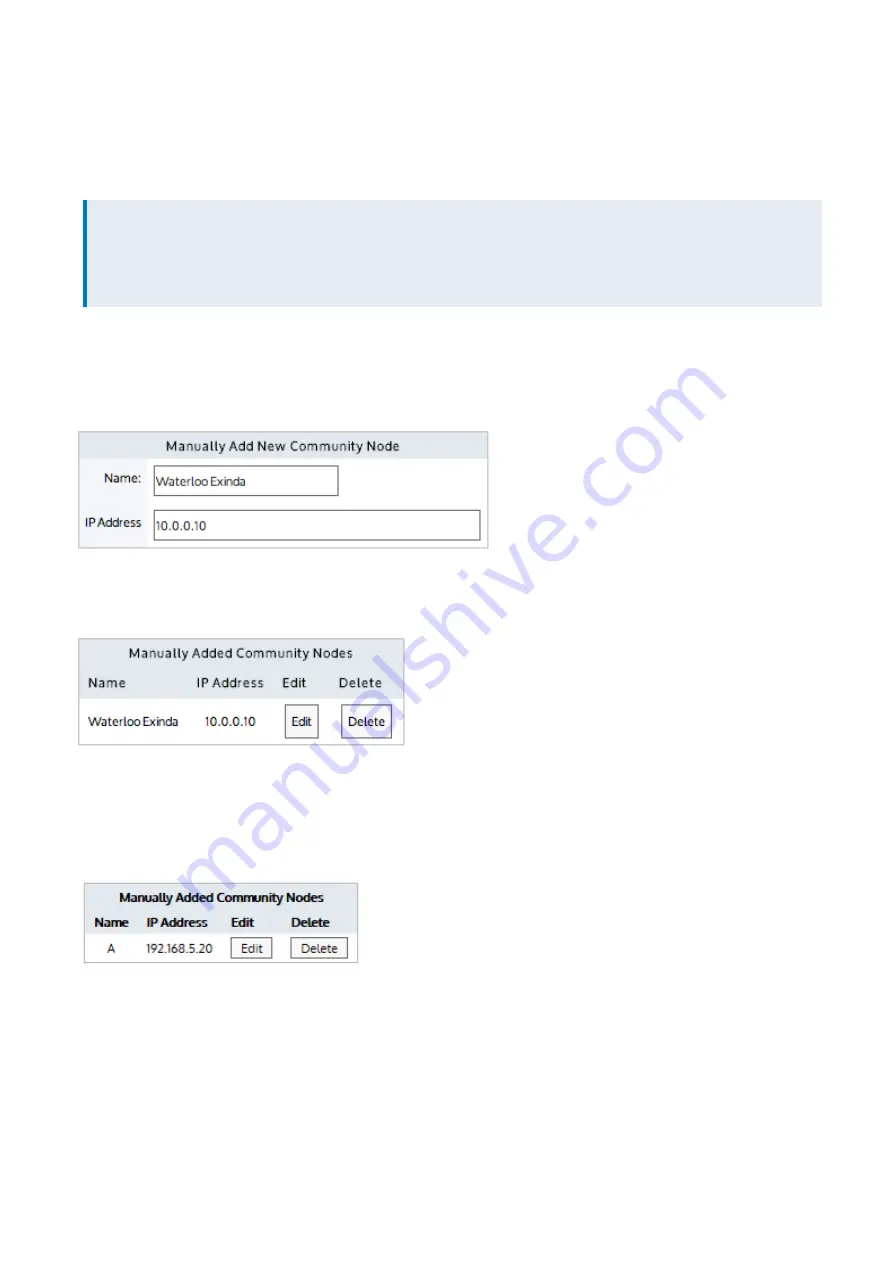
Manually Add New Community Node
area, type a
Name
and the
IP Address
for the Exinda appliance.
3.
Click
Apply Changes
.
The appliance is added to the list of manually added community nodes.
Editing manually added communities
1.
Go to
Configuration > System > Optimization > Community
.
2.
On the
Manually Added Community Nodes
panel, for the particular appliance, click
Edit
.
Screenshot 186: The edit screen opens.
Содержание EXNV-10063
Страница 98: ...Exinda Network Orchestrator 2 Getting started 98 6 Click New The New Virtual Hard Disk wizard opens ...
Страница 99: ...Exinda Network Orchestrator 2 Getting started 99 7 Select VHDX as the Disk Format type and click Next ...
Страница 130: ...Exinda Network Orchestrator 2 Getting started 130 Screenshot 35 The life cycle of configuration status ...
Страница 369: ...Exinda Network Orchestrator 4 Settings 369 ...
Страница 411: ...Exinda Network Orchestrator 4 Settings 411 Screenshot 168 P2P OverflowVirtualCircuit ...
Страница 420: ...Exinda Network Orchestrator 4 Settings 420 Screenshot 175 Students OverflowVirtualCircuit ...
Страница 451: ...Exinda Network Orchestrator 4 Settings 451 ...


