


Exinda Network Orchestrator
2 Getting started
|
108
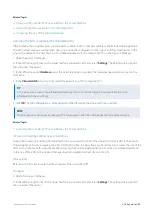
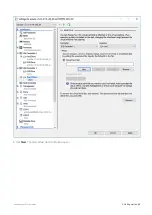
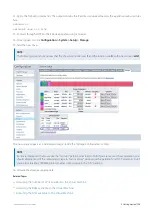
Configuration Item
Configure on EMC
Configure on Appliance
Network Objects
Users and Groups
VLANs
Protocols
Applications
Application Groups
Schedules
Adaptive Response
Service Levels
HTML Response
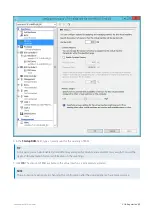
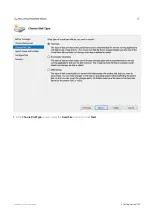
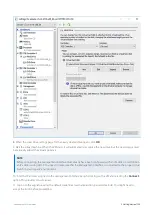
2.6.5 Configuring the EMC
To configure the Exinda Management Center to communicate with the Exinda Network Orchestrator appliances, follow
the workflow below. After you complete the steps, you are ready to create policy and send it to your appliance groups.
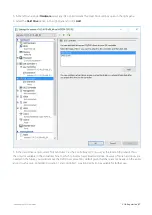
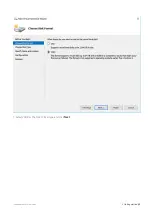
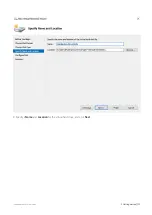
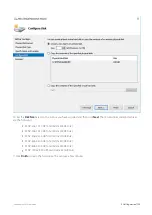
Step 1: Identify the SDP Location on the Exinda Management Center (if forwarding data to an SDP server).
Configure the location of your SDP so that data from the appliances is forwarded to this SDP.
At the top right of the interface, click
Admin > SDP Location
and specify the location of your SDP. The "SDP Location"
configuration pop-up opens.
Содержание EXNV-10063
Страница 98: ...Exinda Network Orchestrator 2 Getting started 98 6 Click New The New Virtual Hard Disk wizard opens ...
Страница 99: ...Exinda Network Orchestrator 2 Getting started 99 7 Select VHDX as the Disk Format type and click Next ...
Страница 130: ...Exinda Network Orchestrator 2 Getting started 130 Screenshot 35 The life cycle of configuration status ...
Страница 369: ...Exinda Network Orchestrator 4 Settings 369 ...
Страница 411: ...Exinda Network Orchestrator 4 Settings 411 Screenshot 168 P2P OverflowVirtualCircuit ...
Страница 420: ...Exinda Network Orchestrator 4 Settings 420 Screenshot 175 Students OverflowVirtualCircuit ...
Страница 451: ...Exinda Network Orchestrator 4 Settings 451 ...