Exinda Network Orchestrator
3 Using
|
295
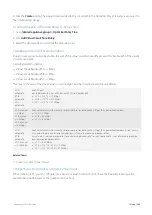
4.
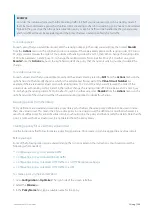
Optionally, specify a
Schedule
.
NOTE
The default is "ALWAYS". Schedules that have been defined will appear in the drop-down list. If necessary. you can
create schedules by going to
Configuration > Objects > Schedules
.
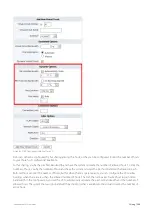
5.
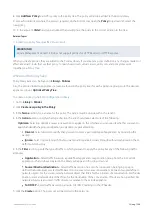
Specify the
Action
.
Optimize
– Perform traffic shaping, acceleration, or packet marking on the traffic
Discard
– Discard the packets effectively blocking the traffic
Ignore
– Perform no action on the packets allowing them to pass through the appliance unaffected. This set-
ting is effective for a monitor only mode. Note that this option should not be used for policies within a dynamic
virtual circuit.
Return HTML Response
– Present the webpage defined in the HTML response object to the source web
browser.
HTTP Redirect
– Redirect the packets to a specified URL effectively presenting the URL to the network client.
NOTE
Each of the policy actions comes with its own set of options.
6.
Complete the additional settings as required by the action.
7.
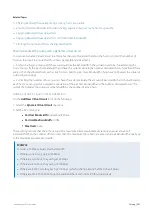
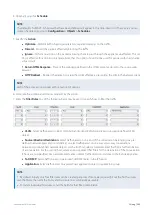
Enter the
Filter Rules
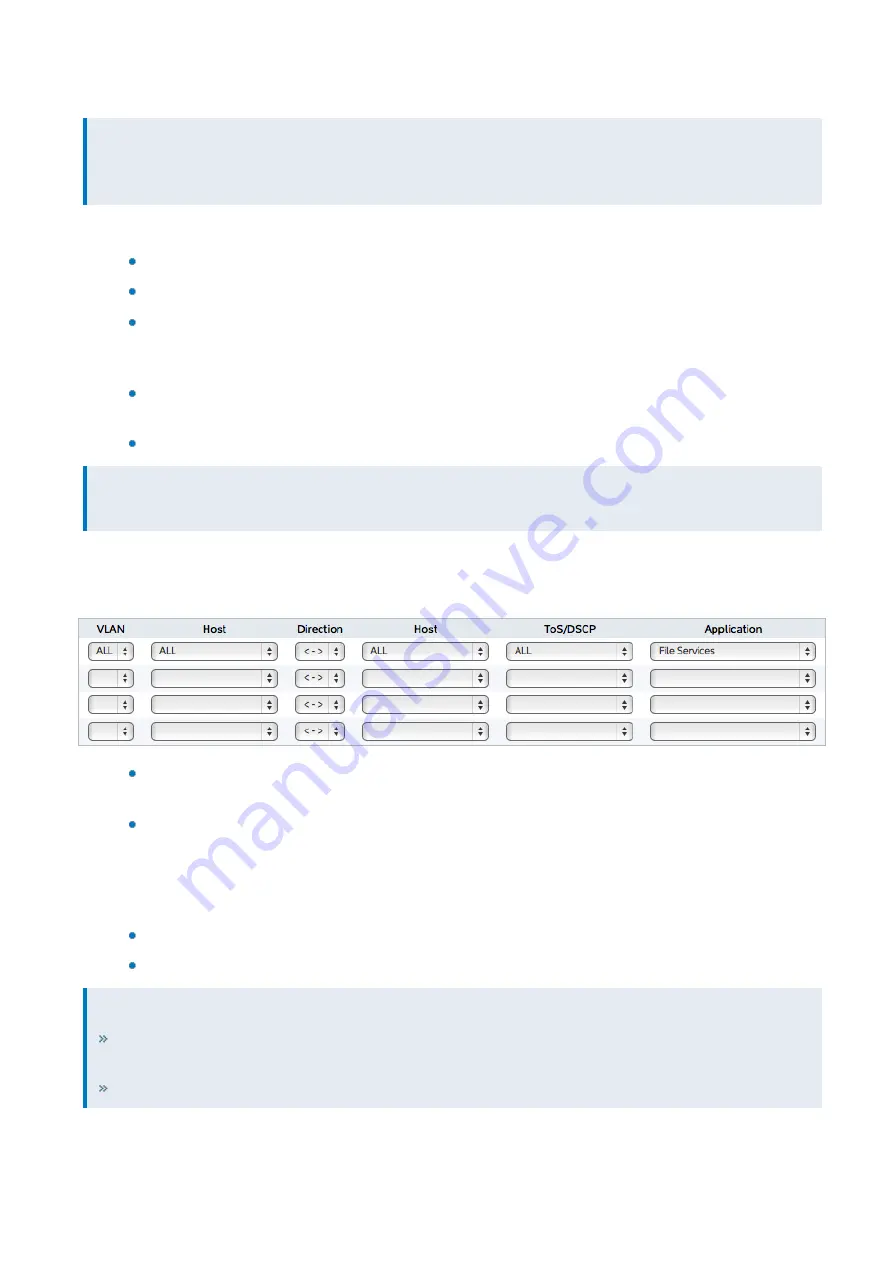
. Any of the following fields may be used to specify how to filter the traffic.
VLAN
– Select traffic based on 802.1Q VLAN ID and/or 802.iP VLAN priority tag using a pre-defined VLAN
object.
Source/Direction/Destination
– Select traffic based on one end of the conversation belonging to a pre-
defined network object (static or dynamic) or select traffic based on one way or two way conversations
between two predefined network objects. For the first host, select a network object that filters for the initiation
of a conversation. For the second host, select a network object that filters for the destination of the conversation.
If hosts are not specified, ALL network objects are assumed. Traffic direction is relative to the Exinda appliance.
ToS/DSCP
– Select traffic based on particular ToS/DSCP marks in the IP header.
Application
– Select traffic based on a predefined application object or application group.
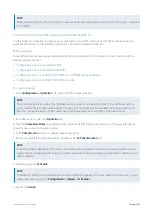
NOTE
By default, initially only four filter rules can be created per policy. If more are required, fill out the first four rules,
save the Policy, then edit the Policy and four more lines will become available.
To delete individual filter rules, set all the fields for that filter rule to blank.
Содержание EXNV-10063
Страница 98: ...Exinda Network Orchestrator 2 Getting started 98 6 Click New The New Virtual Hard Disk wizard opens ...
Страница 99: ...Exinda Network Orchestrator 2 Getting started 99 7 Select VHDX as the Disk Format type and click Next ...
Страница 130: ...Exinda Network Orchestrator 2 Getting started 130 Screenshot 35 The life cycle of configuration status ...
Страница 369: ...Exinda Network Orchestrator 4 Settings 369 ...
Страница 411: ...Exinda Network Orchestrator 4 Settings 411 Screenshot 168 P2P OverflowVirtualCircuit ...
Страница 420: ...Exinda Network Orchestrator 4 Settings 420 Screenshot 175 Students OverflowVirtualCircuit ...
Страница 451: ...Exinda Network Orchestrator 4 Settings 451 ...

