Exinda Network Orchestrator
4 Settings
|
402
1.
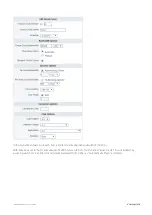
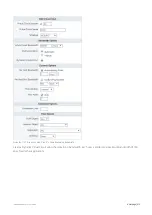
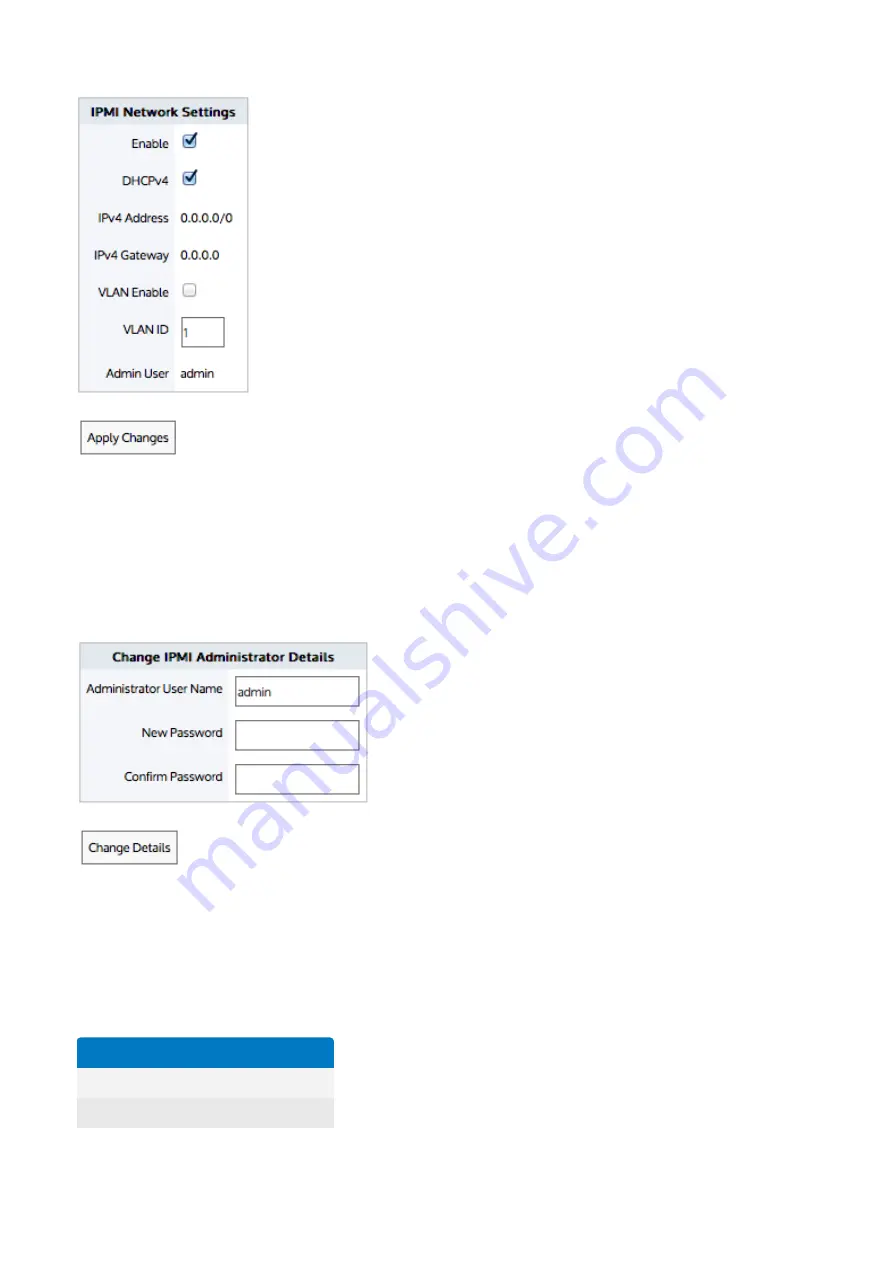
To enable IPMI management, select the
Enable
checkbox.
2.
Select the
DHCPv4
checkbox.
3.
Enable and type the
VLAN ID
, if desired. The VLAN ID should be an 802.1Q VLAN ID.
4.
Click
Apply Changes
.
To change the IPMI username and password
1.
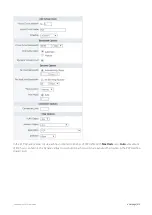
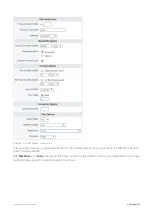
Enter the
Administrator User Name
.
2.
Enter the
New Password
and then type it again in the
Confirm Password
field.
3.
Click
Change Details
.
Which Exinda models support IPMI?
The table below shows the Exinda models that support IPMI and their capabilities.
Model
NIC
User Interface
306X
Shared (eth1)
CLI
406X
Shared (eth1)
CLI
Содержание EXNV-10063
Страница 98: ...Exinda Network Orchestrator 2 Getting started 98 6 Click New The New Virtual Hard Disk wizard opens ...
Страница 99: ...Exinda Network Orchestrator 2 Getting started 99 7 Select VHDX as the Disk Format type and click Next ...
Страница 130: ...Exinda Network Orchestrator 2 Getting started 130 Screenshot 35 The life cycle of configuration status ...
Страница 369: ...Exinda Network Orchestrator 4 Settings 369 ...
Страница 411: ...Exinda Network Orchestrator 4 Settings 411 Screenshot 168 P2P OverflowVirtualCircuit ...
Страница 420: ...Exinda Network Orchestrator 4 Settings 420 Screenshot 175 Students OverflowVirtualCircuit ...
Страница 451: ...Exinda Network Orchestrator 4 Settings 451 ...


