Exinda Network Orchestrator
3 Using
|
228
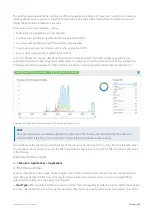
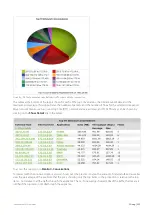
To understand how to set the desired time range for a chart, see
To understand how to drill into the data to find particular filtered data, see
To understand how to print the report or schedule the report, see
Printing and Scheduling Reports
.
Related topic
Set the Time Period Reflected in the Report
Setting the time period for a report
To limit report data to specific periods of time, set the date range. Viewing reports by date range is available on all reports
except Realtime reports.
1.
On your browser, open the Exinda Web UI (
https://UI_IP_address
).
2.
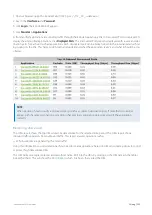
Key-in the
User Name
and
Password
.
3.
Click
Login
. The Exinda Web UI appears.
5.
Select a report from the Monitor list.
6.
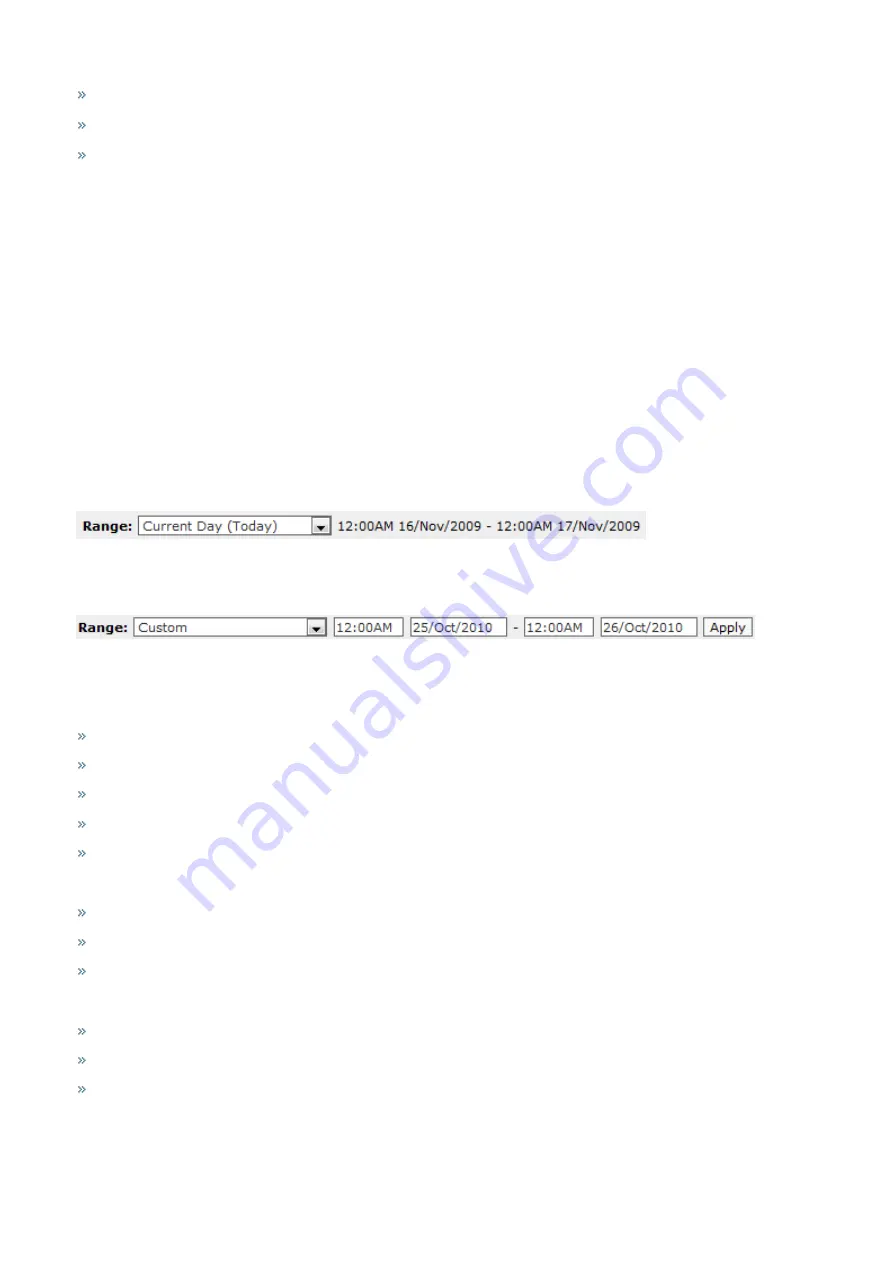
Beside the title of the report, select the desired date range from the drop down list.
7.
To specify a custom date range, in the drop down list select
Custom
. Select the start and end date and time to
include in the report. After the date range is selected, the graphs and charts are immediately updated.
Temporal granularity of stored data
The Exinda Appliance stores data for the following time intervals:
2 years of data - this year, previous year & last 12 months
2 months of data - this month, previous month & last 30 days
2 weeks of data - this week, previous week & last 7 days
2 days of data - today, yesterday & last 24 hours
1 day of data - this hour, last hour & last 60 minutes, last 5 minutes
For the Applications, URLs, Users, Hosts, Conversations and Subnets Reports, the data is stored at:
Hourly granularity for up to 2 days (today, yesterday, this hour, previous hour)
Daily granularity for up to 2 months (this week, last week, this month and last month)
Monthly granularity for up to 2 years (this year, last year)
For the Interface, Network, Reduction, Optimizer, Service Levels, System the data is stored at:
10 second granularity for 1 day (except Network)
5 minute granularity for 2 weeks
30 minute granularity for 2 months
Содержание EXNV-10063
Страница 98: ...Exinda Network Orchestrator 2 Getting started 98 6 Click New The New Virtual Hard Disk wizard opens ...
Страница 99: ...Exinda Network Orchestrator 2 Getting started 99 7 Select VHDX as the Disk Format type and click Next ...
Страница 130: ...Exinda Network Orchestrator 2 Getting started 130 Screenshot 35 The life cycle of configuration status ...
Страница 369: ...Exinda Network Orchestrator 4 Settings 369 ...
Страница 411: ...Exinda Network Orchestrator 4 Settings 411 Screenshot 168 P2P OverflowVirtualCircuit ...
Страница 420: ...Exinda Network Orchestrator 4 Settings 420 Screenshot 175 Students OverflowVirtualCircuit ...
Страница 451: ...Exinda Network Orchestrator 4 Settings 451 ...


