Non-Overhaul Removal and Replacement
Teledyne Continental Motors, Inc.
TM
10-104
IOF-550 Permold Series Engine Maintenance Manual
1 April 2007
10.
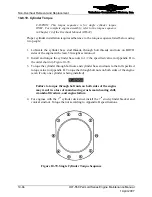
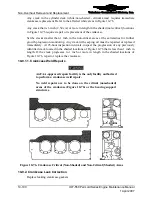
Apply a ½-inch wide strip of 180 grit emery cloth against the newly polished 1-inch
area on the crankshaft with a firm pressure to lightly scratch (not score or gouge) a
new helix design in a 30
°
pattern in the plated area as shown in Figure 10-80. Rub the
emery cloth in the plated area outward toward the propeller flange, counter-
clockwise. For left-hand rotating engines, rub clockwise. Rotate crankshaft by hand
and continue rubbing with the 180 grit emery cloth until the entire 1-inch plated area
(Figure 10-80) around the crankshaft is lightly scratched with the helical design.
(Lightly scratching the crankshaft in this location promotes a better seal and prevents
leakage.)
11.
Wipe the plated area (Figure 10-80) with acetone. Ensure the crankshaft is free of any
debris and particulate matter to facilitate a clean seal.
10-9.4.2. Crankshaft Nose Oil Seal Installation
WARNING
If all power is not disconnected, a loose or broken wire could
allow the engine to start and the propeller to rotate. Do not
stand or place equipment within the arc of the propeller.
Procedure
1.
Clean the etched helix pattern on the crankshaft.
2.
Remove the spring and reinforcing ring from the crankshaft nose oil seal.
3.
Unhook the spring ends using an unwinding motion.
4.
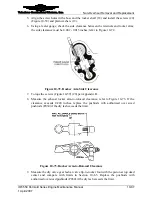
Verify the seal spring (Figure 10-79) length is 7 - 53/64 0 inches -1/32
inches. If the spring length is not within this tolerance, replace it.
5.
Place the spring around the crankshaft in the helix area.
6.
Turn the spring ends in an unwinding direction and allow one end to wind into the
other end.
7.
Apply Shell Alvania No. 2 Grease to the lip of the new seal and the propeller flange.
8.
Squeeze the seal until it is egg shaped and install it on the crankshaft starting from the
propeller flange using the Crankshaft Oil Seal Installer Tool (Chapter 3, Special
Tools and Supplies).
9.
After the oil seal is installed on the crankshaft, wipe the grease from the oil seal and
crankshaft. Verify the outer diameter of the oil seal is clean and dry.
10.
Press the reinforcing ring into the oil seal recess in both directions from the split.
Ensure the reinforcing ring is in the deepest part of the recess all the way around.
11.
Install the spring in the oil seal cavity.
12.
Apply Loctite 30516 to the mating crankcase flange.
13.
Spray Loctite Loc Quic Primer 7649 on the oil seal counterbore and allow it to dry for
1 to 2 minutes.
14.
Apply a translucent coat of Gasket Maker on the wall of the oil seal counterbore.
Refer to Gasket Maker application instructions in Appendix C.
15.
Using thumb pressure, work the seal into the crankcase counterbore.


