23.4 Camera control
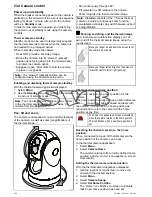
Power up and standby
When the breaker connecting power to the camera is
switched on, the camera will run a boot up sequence
lasting for about 1 minute, after which the camera
will be in
Standby
mode.
In order for the camera to operate, you must bring
the camera out of standby mode using the camera
controls.
Thermal camera standby
Standby mode can be used to temporarily suspend
the thermal camera's functions when the camera is
not needed for a prolonged period.
When in standby mode the camera:
• Does NOT provide a live video image.
• Moves the camera into its “stowed” (parked)
position (lens facing down into the camera base)
to protect the camera optics.
• Engages its pan / tilt motors to hold the camera
in place in rough seas.
Note:
The “stowed” (parked) position can be
configured using the camera's setup menu.
Enabling and disabling thermal camera standby
With the thermal camera application displayed:
1. Select
Menu
.
2. Use the
Standby
menu item to switch the camera
in and out of standby mode.
Note:
You can also use any of the camera controls
in the thermal camera application to “wake” the
camera from standby mode.
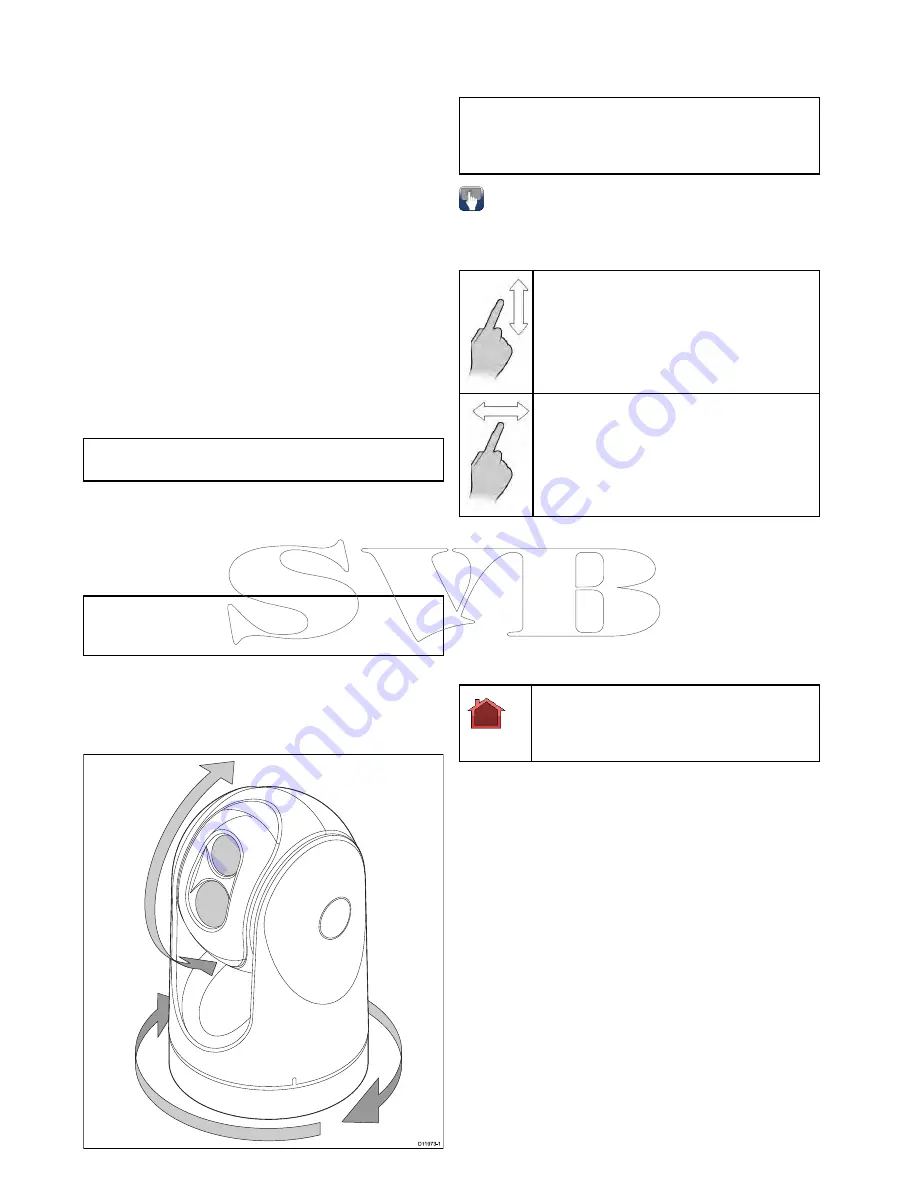
Pan, tilt and zoom
The camera controls allow for pan and tilt (elevation)
of the camera, as well as zoom (magnification) of
the thermal image.
D11973-1
• Pan continuously through 360º.
• Tilt (elevate) to ±90º relative to the horizon.
• Zoom (magnify) the thermal camera image.
Note:
Stabilized variants of the T-Series thermal
cameras include a continuous zoom function,
non-stabilized variants can switch between x2 and
x4 magnification.
Panning and tilting, and the thermal image
On a touchscreen multifunction display you can
pan and tilt the thermal camera image using the
touchscreen.
Move your finger up and down the screen to tilt
the camera up or down.
Move your finger left and right on the screen to
rotate the camera left or right (panning).
Thermal camera home position
The home position is a preset position for the
camera.
The home position usually defines a useful reference
point — for example, straight ahead and level with
the horizon. You can set the home position as
required and to return the camera to the home
position at any time.
The home icon appears on-screen momentarily
when the camera returns to the home position.
The icon flashes when a new home position is
set.
Resetting the thermal camera to the home
position
When connected to a pan, tilt thermal camera the
home position of the camera can be set.
In the thermal camera application:
1. Select
Menu
.
2. Select
Camera Home
.
The camera returns to its currently defined home
position, and the “Home” icon appears on-screen
momentarily.
Setting the thermal camera home position
With the thermal camera application displayed:
1. Use the joystick or touchscreen to move the
camera to the desired position.
2. Select
Menu
.
3. Select
Camera Set-up
.
4. Select
Set Home Position
.
The “Home” icon flashes on-screen to indicate
that a new home position has been set.
354
a Series / c Series / e Series
Summary of Contents for c125
Page 2: ......
Page 14: ...14 a Series c Series e Series ...
Page 41: ...13 GPS receiver 14 Thermal camera 15 Wireless connection Planning the installation 41 ...
Page 48: ...48 a Series c Series e Series ...
Page 80: ...80 a Series c Series e Series ...
Page 118: ...118 a Series c Series e Series ...
Page 184: ...184 a Series c Series e Series ...
Page 188: ...188 a Series c Series e Series ...
Page 206: ...206 a Series c Series e Series ...
Page 228: ...228 a Series c Series e Series ...
Page 290: ...290 a Series c Series e Series ...
Page 310: ...310 a Series c Series e Series ...
Page 340: ...340 a Series c Series e Series ...
Page 374: ...374 a Series c Series e Series ...
Page 422: ...422 a Series c Series e Series ...
Page 436: ...436 a Series c Series e Series ...
Page 462: ...462 a Series c Series e Series ...
Page 463: ......
Page 464: ...www raymarine com ...


