Using slider bar controls
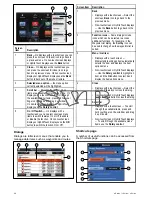
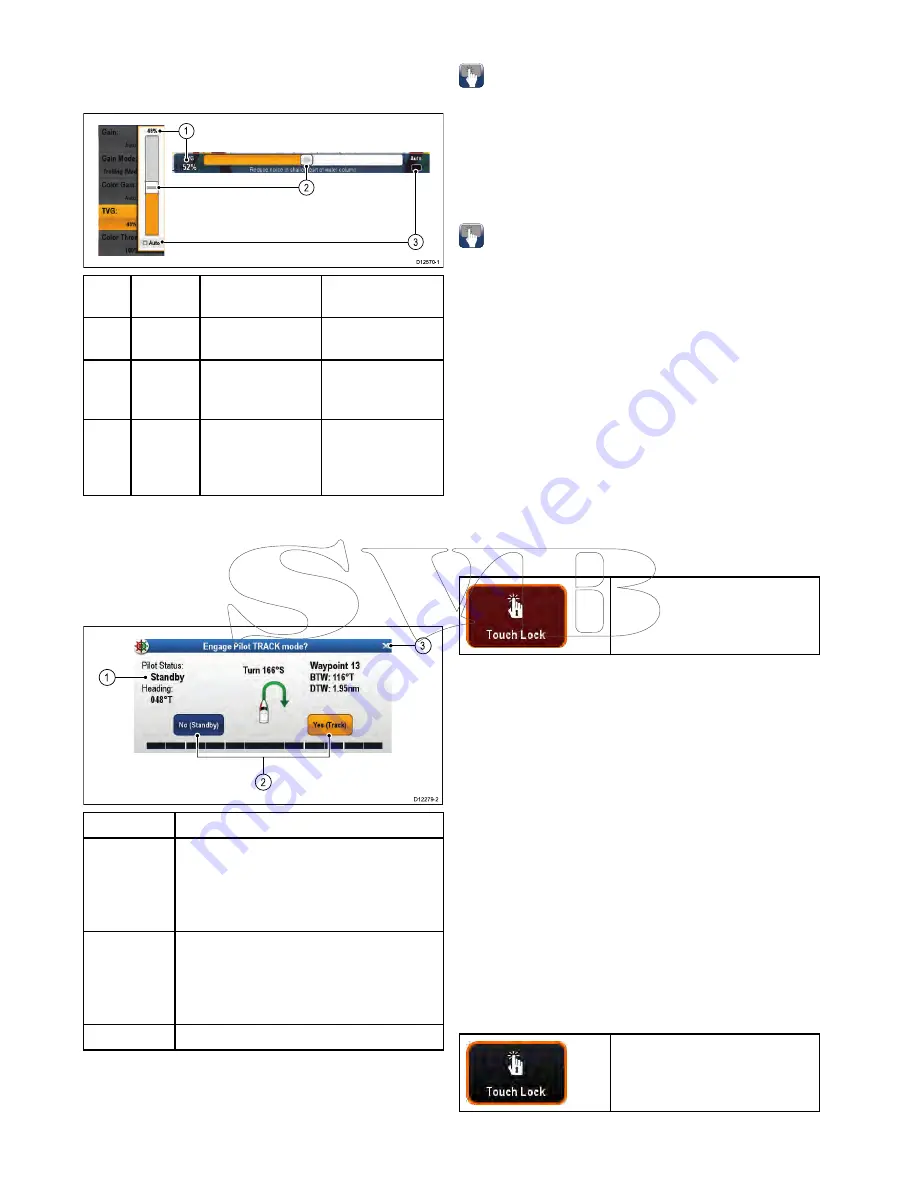
Slider bar controls provide a graphical representation
of numeric data and enables you to quickly change
setting values.
1
2
3
D12570-1
Item
Descrip-
tion
Non—Touch
operation
Touch operation
1
Current
value
N/A
N/A
2
Slider
control
Use the
Rotary
control
to adjust
value
Slide the slider
Up
or
Down
to adjust
value.
3
Auto
Press
Ok
button
to switch between
Auto and manual
adjustment.
Select to switch
between Auto
and manual
adjustment.
Using control dialogs
Control dialogs enable you to control externally
connected equipment, such as an autopilot unit.
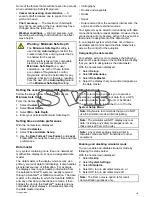
The following diagram shows the main features of
a typical control dialog:
D12279-2
1
3
2
Screen item
Description
1
Status
— provides status information for the
connected equipment. For example, the Pilot
Control dialog displays the locked heading
and current navigation mode for a connected
autopilot unit.
2
Control icons
— provide direct control of
the connected equipment. For example, the
Pilot Control dialog
Standby
and
Track
icons
enable you to instruct a connected autopilot
unit to perform specific functions.
3
Close
— Closes the control dialog.
6.11 Basic touchscreen operations
Placing and moving the cursor using
touch
To place or move the cursor around the screen on
a touchscreen multifunction display follow the steps
below.
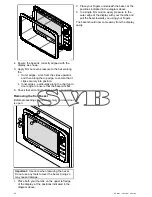
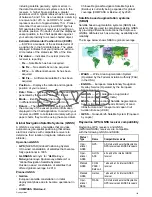
1. Touch the screen at any position on the screen to
place the cursor there.
Touchscreen lock
On a multifunction display with HybridTouch you can
lock the touchscreen to prevent accidental use.
For example, locking the touchscreen is particularly
useful in rough water or weather conditions.
The touchscreen can be locked and unlocked from
the homescreen. The touchscreen can only be
unlocked using physical buttons.
Locking the touchscreen – New e Series
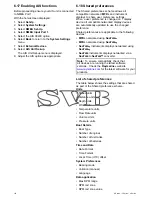
On new e Series multifunction displays the
Homescreen contains a dedicated Touch Lock icon.
With the homescreen displayed:
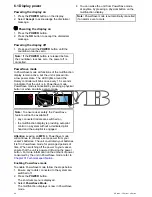
1. Select the
Touch Lock
icon.
It changes color to indicate that the touchscreen
is disabled. All functions are still available using
the physical buttons.
Touchscreen is locked. All
functions remain available using
physical buttons.
Locking the touchscreen - touch only
displays
When a touch only display is paired with an optional
remote keypad the touchscreen can be locked.
From the Homescreen:
1. Select the
Set-up
icon.
2. Select
Touch-Lock
so that On is highlighted.
The touchscreen is now locked.
Unlocking the touchscreen – New e Series
You can unlock the touchscreen by following the
steps below.
With the homescreen displayed:
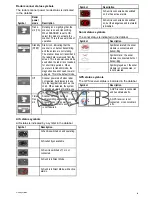
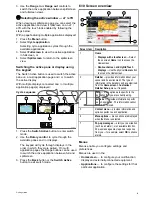
1. Use the UniControl to highlight the
Touch Lock
icon.
2. Press the
OK
button.
The Touchscreen is enabled.
Touchscreen is unlocked.
100
a Series / c Series / e Series
Summary of Contents for c125
Page 2: ......
Page 14: ...14 a Series c Series e Series ...
Page 41: ...13 GPS receiver 14 Thermal camera 15 Wireless connection Planning the installation 41 ...
Page 48: ...48 a Series c Series e Series ...
Page 80: ...80 a Series c Series e Series ...
Page 118: ...118 a Series c Series e Series ...
Page 184: ...184 a Series c Series e Series ...
Page 188: ...188 a Series c Series e Series ...
Page 206: ...206 a Series c Series e Series ...
Page 228: ...228 a Series c Series e Series ...
Page 290: ...290 a Series c Series e Series ...
Page 310: ...310 a Series c Series e Series ...
Page 340: ...340 a Series c Series e Series ...
Page 374: ...374 a Series c Series e Series ...
Page 422: ...422 a Series c Series e Series ...
Page 436: ...436 a Series c Series e Series ...
Page 462: ...462 a Series c Series e Series ...
Page 463: ......
Page 464: ...www raymarine com ...

