


56
Operation of the Monitor Wall
3
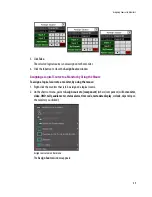
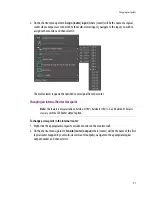
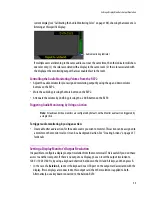
•
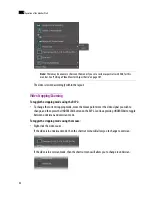
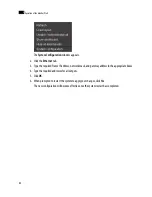
Press the Enter key to start/pause the timer.
•
Use the number keys to set or modify the preset time.
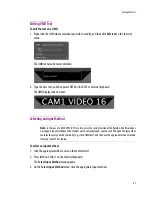
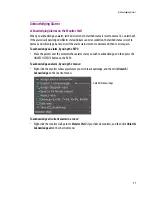
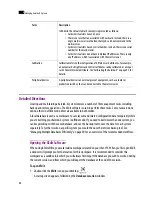
Triggering Actions
To trigger an action:
1. Move the pointer over a monitor associated with the action you wish to trigger.
The pointer changes to a hand icon.
2. If the action is not triggered automatically, click or double-click the monitor.
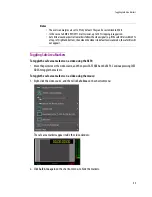
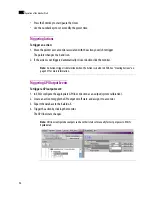
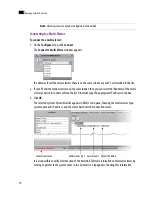
Triggering GPI Output Events
To trigger a GPI output event:
1. In XEdit, configure the appropriate GPI line’s direction as an output (system calibration).
2. Create an action to toggle the GPI output on/off state, and assign it to a monitor.
3. Export the database to the Kaleido-X.
4. Trigger the action by clicking the monitor.
The GPI line’s state changes.
Note:
An Action’s trigger is determined when the Action is created in XEdit. See “Creating Actions” on
page 237 for more information.
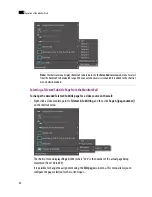
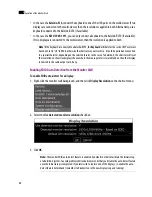
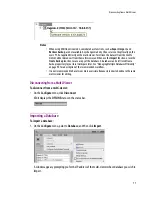
Note:
GPI lines configured as outputs can have their state set manually for test purposes in XEdit’s
System
tab:
Summary of Contents for Kaleido-X
Page 1: ...Kaleido X User s Manual Part Number M770 2800 111 1 June 2011 ...
Page 8: ...viii toc ...
Page 33: ...Loading a Layout 25 Kaleido X16 ...
Page 34: ...26 Getting Started 2 Kaleido X 4RU ...
Page 152: ...144 Creating Logical Sources 7 ...
Page 178: ...170 Setting Up Rooms 8 ...
Page 244: ...236 Creating Layouts 9 ...
Page 253: ...Detailed Directions 245 3 Under Properties General type a Friendly name for the Action ...
Page 256: ...248 Creating Actions 10 ...
Page 272: ...264 Managing Kaleido RCP2 Users 11 ...
Page 348: ...340 Tally Interface Devices 13 ...
Page 350: ......
Page 352: ...344 Using the Serial to TCP IP Dispatcher 15 ...
Page 406: ...398 Index ...