


244
Creating Actions
10
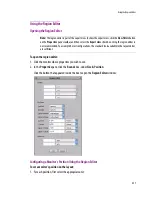
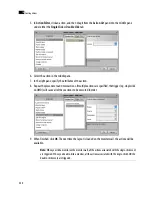
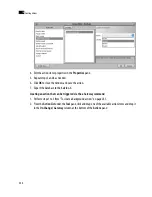
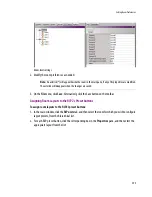
4. Edit the action item’s properties in the
Properties
pane.
5. Repeat steps 3 and 4 as needed.
6. Click
OK
to close the window and save the action.
7. Export the database to the Kaleido-X.
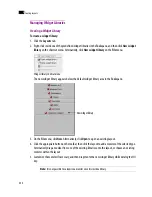
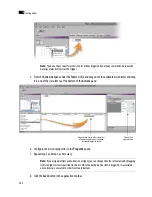
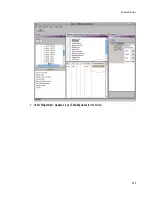
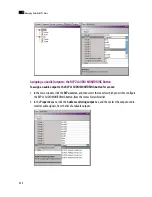
Creating an action that can be triggered via the a Gateway command
1. Perform steps 1 to 3 from “To create a background action:” on page 241.
2. From the
Action List
under the
Tool
pane, click and drag one of the available action items and drop it
in the
On Change / Gateway
column at the bottom of the
Actions
pane:
Summary of Contents for Kaleido-X
Page 1: ...Kaleido X User s Manual Part Number M770 2800 111 1 June 2011 ...
Page 8: ...viii toc ...
Page 33: ...Loading a Layout 25 Kaleido X16 ...
Page 34: ...26 Getting Started 2 Kaleido X 4RU ...
Page 152: ...144 Creating Logical Sources 7 ...
Page 178: ...170 Setting Up Rooms 8 ...
Page 244: ...236 Creating Layouts 9 ...
Page 253: ...Detailed Directions 245 3 Under Properties General type a Friendly name for the Action ...
Page 256: ...248 Creating Actions 10 ...
Page 272: ...264 Managing Kaleido RCP2 Users 11 ...
Page 348: ...340 Tally Interface Devices 13 ...
Page 350: ......
Page 352: ...344 Using the Serial to TCP IP Dispatcher 15 ...
Page 406: ...398 Index ...