


212
Creating Layouts
9
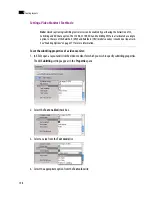
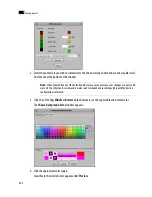
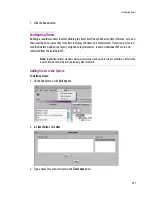
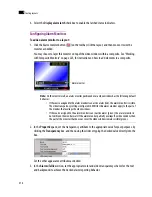
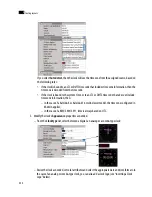
5. Click the button beside
Timer source
:
The
Timer Editor
window appears.
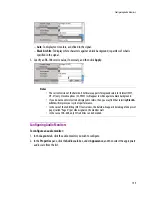
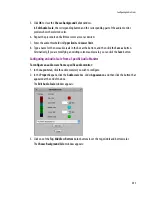
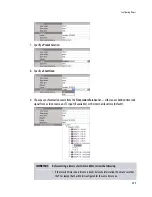
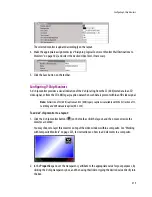
6. Choose a timer (see page 207) from the
Timer List
:
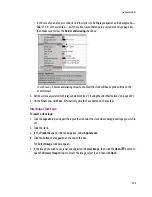
It is also possible to assign a timer to a timer monitor by dragging an existing logical source (containing
a timer assignment) to the monitor.
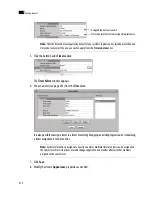
7. Click
Save
.
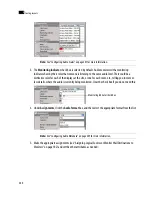
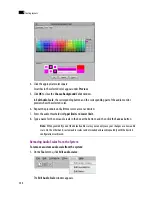
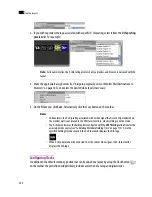
8. Modify the timer’s
Appearance
properties as needed:
Note:
The first time code level applies by default. If your system’s logical sources include more than one
time code level, select the one you wish to apply from the
Time code level
list.
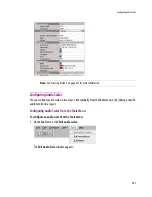
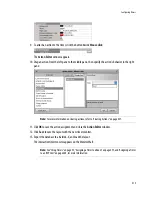
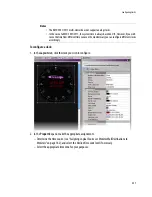
Note:
Each timer monitor is assigned to exactly one timer. Multiple timer monitors can be assigned to
the same timer. Start/stop/reset or mode changes applied to one monitor affect all other monitors
assigned to the same timer.
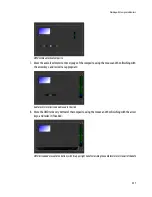
Assigned logical source name
Time code level value from assigned logical source
Summary of Contents for Kaleido-X
Page 1: ...Kaleido X User s Manual Part Number M770 2800 111 1 June 2011 ...
Page 8: ...viii toc ...
Page 33: ...Loading a Layout 25 Kaleido X16 ...
Page 34: ...26 Getting Started 2 Kaleido X 4RU ...
Page 152: ...144 Creating Logical Sources 7 ...
Page 178: ...170 Setting Up Rooms 8 ...
Page 244: ...236 Creating Layouts 9 ...
Page 253: ...Detailed Directions 245 3 Under Properties General type a Friendly name for the Action ...
Page 256: ...248 Creating Actions 10 ...
Page 272: ...264 Managing Kaleido RCP2 Users 11 ...
Page 348: ...340 Tally Interface Devices 13 ...
Page 350: ......
Page 352: ...344 Using the Serial to TCP IP Dispatcher 15 ...
Page 406: ...398 Index ...