


186
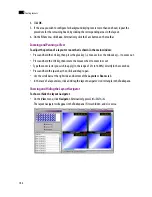
Creating Layouts
9
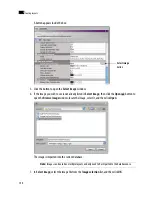
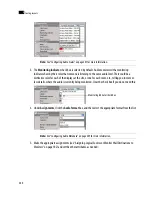
4. Click
OK
.
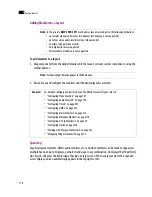
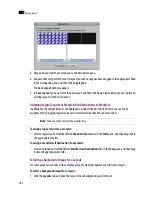
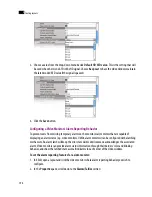
5. If the area you wish to configure for background keying covers more than one head, repeat the
procedure for the remaining heads, by clicking the corresponding areas in the layout.
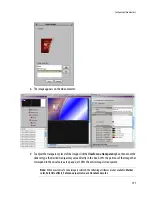
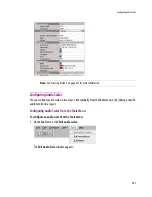
6. On the
File
menu, click
Save
. Alternatively, click the Save button on the toolbar.
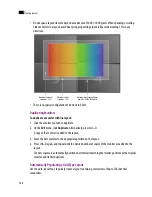
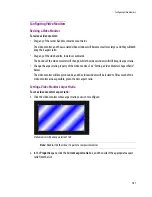
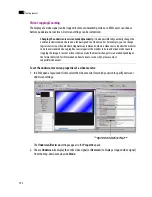
Zooming and Panning a View
To adjust the portion of a layout or room that is shown in the main window:
• Press and hold the Ctrl key, then press the plus key (+) to zoom in or the minus key (–) to zoom out.
• Press and hold the Ctrl key, then rotate the mouse wheel to zoom in or out.
• Type the zoom factor you wish to apply (in the range of 2% to 1600%) directly in the zoom box.
• Press and hold the spacebar, then click and drag to pan.
•
Use the scroll bars at the right side and bottom of the
Layouts
or
Rooms
tab.
•
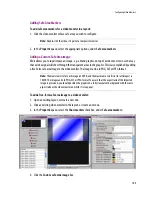
In the case of a layout view, click and drag the layout navigator’s red rectangle in the
Tools
pane.
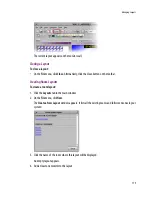
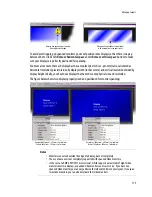
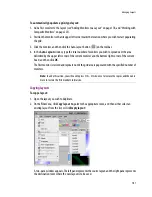
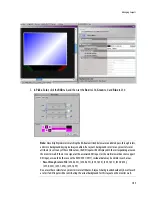
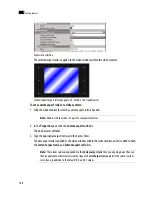
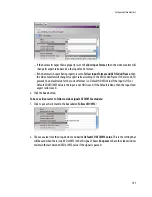
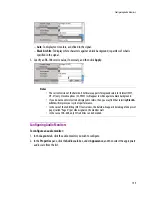
Showing and Hiding the Layout Navigator
To show or hide the layout navigator:
•
On the
View
menu, click
Navigator
. Alternatively, press Ctrl+Shift+N.
The layout navigator will appear in the
Tools
pane if it was hidden, and vice versa:
Summary of Contents for Kaleido-X
Page 1: ...Kaleido X User s Manual Part Number M770 2800 111 1 June 2011 ...
Page 8: ...viii toc ...
Page 33: ...Loading a Layout 25 Kaleido X16 ...
Page 34: ...26 Getting Started 2 Kaleido X 4RU ...
Page 152: ...144 Creating Logical Sources 7 ...
Page 178: ...170 Setting Up Rooms 8 ...
Page 244: ...236 Creating Layouts 9 ...
Page 253: ...Detailed Directions 245 3 Under Properties General type a Friendly name for the Action ...
Page 256: ...248 Creating Actions 10 ...
Page 272: ...264 Managing Kaleido RCP2 Users 11 ...
Page 348: ...340 Tally Interface Devices 13 ...
Page 350: ......
Page 352: ...344 Using the Serial to TCP IP Dispatcher 15 ...
Page 406: ...398 Index ...