


50
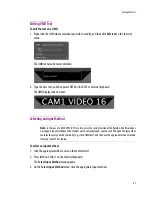
Operation of the Monitor Wall
3
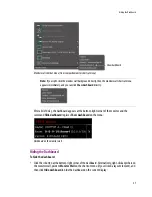
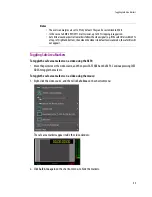
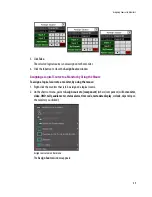
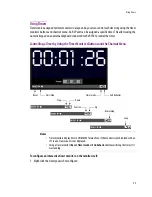
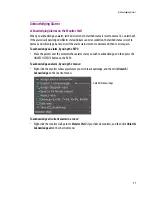
The label of each category/index button in
Assign Source
is based on recurring strings found in the
logical source names available for your system. The
Src
box shows the current assignment.
3. Click through the categories until the
Pst
box shows the logical source you wish to assign to the
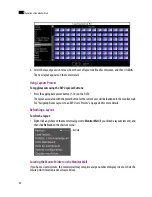
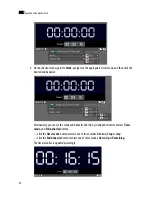
selected monitor. For example, if you wish to assign the logical source named “/Input B/Channel 16”
to the monitor, click
Input B
,
1
, and then
6
:
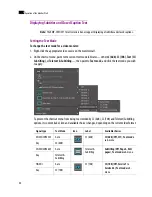
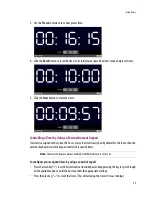
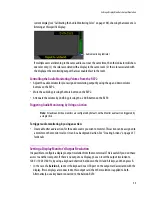
4. Click
Take
.
The selected logical source is now assigned to the monitor.
5. Click the
X
button to close the
Assign Source
window.
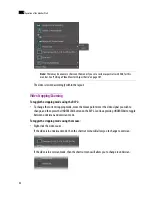
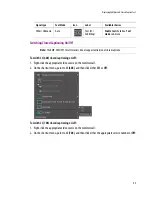
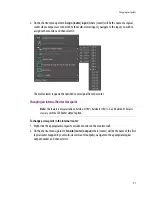
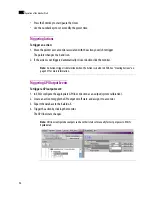
Changing Crosspoints
Changing an External Router Crosspoint
To change an external router crosspoint:
1. Right-click a composite or video monitor on the monitor wall.
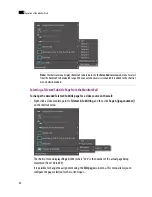
Note:
As of version 5.20 of the Kaleido-X Software, when a multi-viewer manages an upstream router,
you should now manage the router’s physical sources as logical sources within the multi-viewer system
(see page 135). Router sources can thus be assigned to monitor wall elements transparently, just as
sources connected directly to the multi-viewer’s inputs (see “Assigning Sources to Monitors” on page 48).
The KMV-3901/3911 multi-viewers do not support the procedure described below.
Current assignment
Summary of Contents for Kaleido-X
Page 1: ...Kaleido X User s Manual Part Number M770 2800 111 1 June 2011 ...
Page 8: ...viii toc ...
Page 33: ...Loading a Layout 25 Kaleido X16 ...
Page 34: ...26 Getting Started 2 Kaleido X 4RU ...
Page 152: ...144 Creating Logical Sources 7 ...
Page 178: ...170 Setting Up Rooms 8 ...
Page 244: ...236 Creating Layouts 9 ...
Page 253: ...Detailed Directions 245 3 Under Properties General type a Friendly name for the Action ...
Page 256: ...248 Creating Actions 10 ...
Page 272: ...264 Managing Kaleido RCP2 Users 11 ...
Page 348: ...340 Tally Interface Devices 13 ...
Page 350: ......
Page 352: ...344 Using the Serial to TCP IP Dispatcher 15 ...
Page 406: ...398 Index ...